Ginkgopolis Score Calculator
Total success point tokens, district majorities, endgame building cards, resources, and unused New Hand tokens for a final score check.
District 1
District 2
District 3
Final Score Breakdown
| Scoring item | What to count | Point formula | Calculator input |
|---|---|---|---|
| Success point tokens | Gross tokens earned during the game | Face value total | Success point tokens earned |
| Returned tiles | Tiles returned after first tile supply exhaustion | 1 success point each | Tiles returned field |
| Unused New Hand tokens | New Hand tokens still behind your screen | 2 success points each | Unused New Hand tokens |
| District first place | Highest presence in a same-color district | Total resources in the district | District rank: First place |
| District second place | Second presence in that district | Your resources in the district | District rank: Second place |
| Solo district | All district resources belong to you | 2 points per district resource | District rank: Only player present |
| Card bonus type | Counted item | Point formula | Good when |
|---|---|---|---|
| Color resource card | Your resources on blue, yellow, or red buildings | 1 point per matching resource | You concentrated cubes in one color |
| Small building card | Your 1- or 2-floor buildings | 1 point per building | You spread across many low stacks |
| Tall building card | Your 3-floor or taller buildings | 3 points per building | You built vertical towers |
| Action icon card | Exploiting, Urbanizing, or Constructing bonus cards | 2 points per matching card | Your tableau leans into one action |
| Flat 9 card | The card itself | 9 points | You simply own the card |
| Color tableau card | Blue, yellow, or red cards in your area | 2 points per matching card | Your built cards share a color |
| Action | Main scoring hook | Resource impact | Endgame reminder |
|---|---|---|---|
| Exploit a building | Can gain success points from yellow buildings | Blue grants tiles, red grants resources | Exploiting icon cards may score later |
| Urbanize | Can trigger nearby building production | Places a new 1-floor tile and resource | Urbanizing icon cards may score later |
| Construct a floor | May give another player points when replacing | Places resources equal to new height | Constructing icon cards may score later |
| Build over lower number | Success point payment can reduce net score | No direct resource gain from the payment | Enter paid points as construction penalty |
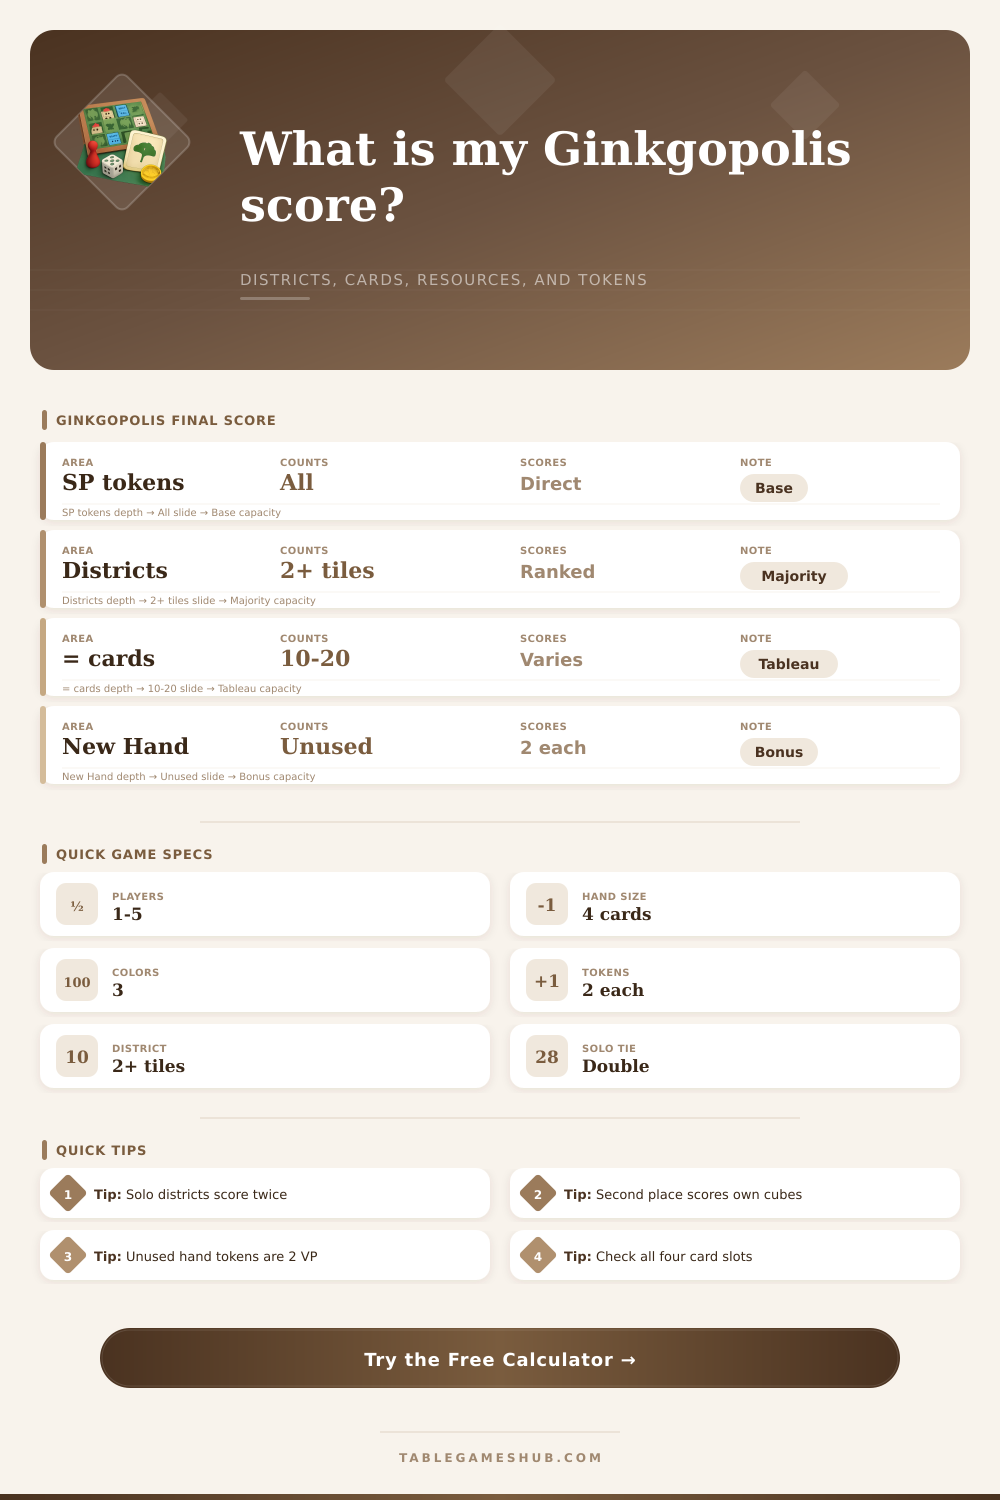
Ginkgopolis eventually hits a point where the supply of tiles depletes and the game changes. Instead of a puzzle about space placement, it becomes an exercise in bookkeeping. You can place your buildings and trade away all day long, but winning will require understanding what’s beneath those physical pieces: How many points do they represent? This is where Ginkgopolis’ final scoring gets thick.
You evaluate endgame cards. You count majorities within districts. You tally leftover resources. You add up tokens. Trying to keep track of all this while playing risks leaving behind some minor bonus that turns out to be the difference-maker. So what good is keeping track of all this? If you don’t keep track, you risk the great mistake of forgetting something small that might end up being important.
How to Score Your Points
Success point tokens earned during play make up base of your score. Simple enough, but it doesn’t stay that way for long. District scoring adds some complexity. Two or more building sharing an edge (orthogonal adjacency) form a district if they’re all the same color. You get points proportional to the sum of resources contained in it if you have the most in the district. Those in second get only their own resource, and solos double what they get.
That sets up a nice conflict between concentrating power and spreading out to take more districts. On one hand you want to put down lots of buildings, but on the other hand you don’t want to spread yourself too thin and find nothing clustered thick enough to be a majority anywhere. On the other hand, you can also go big into certain places and lock them down for high value majorities, but leave others ripe for someone else’s picking.
Once you input how many resource are in each, the calculator will crunch the numbers for you. It saves you from multiplying everything together and trying to figure out who gets extra points due to ties at the same time. Most players tend to trip up on tie breaking. In a situation where two player have an equal amount of resources in a given district, whoever has the tallest building wins. And if that’s tied? Whoever has the highest number on their tallest building will win. Sounds tedious until you discover that one tile placement can swing the majority from yours to theirs.
You also need to resolve the comparisons, and entering your rank ensures they is done correctly. There are some reference tables on the page which lay this all out clearly… No need for having the rule book open as you try to figure out how many cubes to count. In addition to districts, there’s also your final surge of four endgame cards.
Depending on how you play out the tableau, different types of cards is helpful. Build up? Cards that give you three points for each of your tall buildings will now be useful. Go wide? Resource-heavy strategies and smaller building is where it’s at. Here’s the catch: you don’t know what cards you’re going to draw until they land in front of you during the game. That means you have to build an engine capable of adapting to whatever cards show up.
For many players, this is where they go wrong. They focus too deeply on one specific path. They stake all their chips on a tower strategy, only to realize that the endgame favored many small buildings instead.
Smaller, but meaningful, bonuses is given for returned tiles and unused New Hand tokens. While two points per unused token may not seem like much, at the tail-end of a close match, it could be enough to catch up, or stay ahead. If there are relevant color-resources cards in play, then having the resources stacked in your buildings matters too. The tool consolidates all those different sources into one final number so you can work out what really earned your points.
Did you win because you controlled more districts? Was it because your cards aligned well? Or was it simply because you were efficient with collecting tokens? Knowing that breakdown will help improve your next round of play. Maybe you’ll discover that you should of hoarded more resources for certain end-game scenarios instead of running around chasing districts.
Scoring Ginkgopolis is more than just adding points. It’s about summing them up. It’s about figuring out who got paid off for their investment. Being able to change is rewarded here, scattered effort is punished. Running those numbers through a calculator removes the friction of having to count by hand and lets you concentrate on the story of how well (or poorly) you did.
Where did the points come from? Where did they go? Clear answers are worth something. It is worth improving them. They transform a chaotic endgame point total into an ordered account. Next time you sit down to start building a city, you’ll know exactly what to put first.