My City Score Calculator
Total an episode score from visible trees, exposed rocks, empty light-green spaces, color neighborhoods, wells, churches, mine bonuses, skipped buildings, and progress-symbol placement.
🏙Legacy Episode Presets
⚙Episode Setup
🌳Board Features and Empty Spaces
🏠Buildings, Churches, Wells, and Mines
🧩Component and Spec Comparison
📋Reference Tables
| Scoring Profile | Use When | Included Items | Ignored Fields |
|---|---|---|---|
| Base | Opening rules | Trees, rocks, empty spaces, passes | Groups, wells, churches, mines |
| Groups | Largest-color rule appears | Base plus red, blue, yellow largest groups | Wells, churches, mines |
| Wells | Well tiles are active | Base, groups, completed wells | Churches, mines |
| Churches | Church scoring is active | Base, groups, wells, qualifying churches | Mines unless separately tracked |
| Mines | Gold veins can award points | All common public scoring modules | Only custom later-envelope rules |
| Custom | Your envelope has extra scoring | Every filled field plus other points | Nothing entered is ignored |
| Board Item | Calculator Field | Typical Value | Counting Note |
|---|---|---|---|
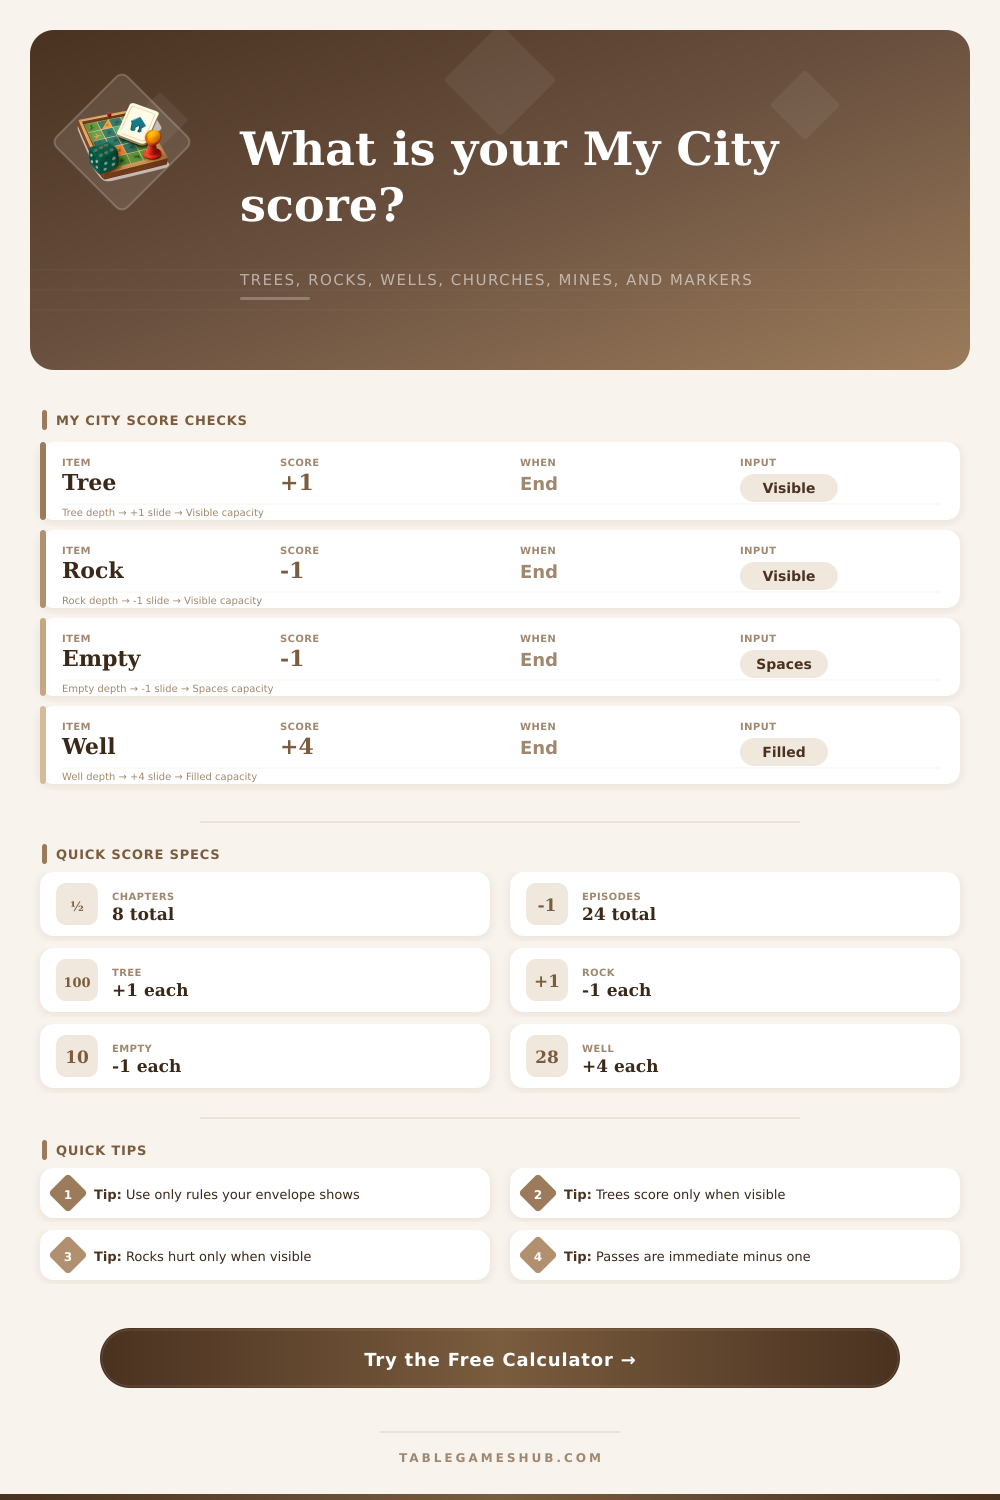
| Visible tree | Visible trees | +1 each | Tree icon must remain uncovered on light-green space. |
| Visible rock | Visible rocks | -1 each | Rock icon subtracts only if it remains visible. |
| Empty build space | Empty spaces | -1 each | Do not count mountains, forest, or blocked spaces. |
| Skipped building | Passes | -1 each | Pass penalties are usually moved immediately on the track. |
| Completed well | Wells | +4 each | Four orthogonal neighboring buildings are required. |
| Church condition | Churches | +3 each | Count churches that meet the active color-adjacency rule. |
| Building Color Check | How to Count | Score Formula | Common Miss |
|---|---|---|---|
| Red neighborhood | Find the largest side-touching red cluster | Cluster size x 1 | Counting diagonal contact as connected. |
| Blue neighborhood | Find the largest side-touching blue cluster | Cluster size x 1 | Adding separate blue groups together. |
| Yellow neighborhood | Find the largest side-touching yellow cluster | Cluster size x 1 | Counting a covered sticker as a building. |
| Church adjacency | Check adjacent colors around each church | Qualifiers x 3 | Using corner adjacency instead of side adjacency. |
| Well ring | Check north, south, east, and west sides | Qualifiers x 4 | Leaving one side open by the river. |
| Episode Placement | Progress Symbols | Calculator Input | Tiebreak Reminder |
|---|---|---|---|
| First place | Usually 2 | Select 1st place | Compare highest rows of empty light-green spaces if tied. |
| Second place | Usually 1 | Select 2nd place | Use the current episode assessment if it differs. |
| Lower placement | Usually 0 | Select 3rd or 4th | Sticker rewards may still differ by envelope. |
| Eternal game | None | Choose Eternal mode | Progress markers are a legacy campaign feature. |
✨Scoring Tips
Count trees, rocks, and empty spaces first, then score building-color groups. That keeps permanent stickers and episode-only features from getting mixed into the base terrain total.
If a scoring rule has not appeared in your campaign yet, leave its field at zero or choose an earlier profile. The custom profile is best for late games with extra revealed scoring.
When you sit down to play a round of My City, you think you’re getting an easygoing city planning sim. Place some nice houses, see the score tick upward. That’s when the bottom drops out: The last number shows that your score has plummeted well below what you anticipated. Why? You missed a rock poking out from under a structure somewhere, or you missed all the blank light-green spaces that dont count. On the surface, the way the game scores your efforts seems deceptively simple, but it conceals sharp edges that catch casual players off guard.
Knowing which invisible bonuses and penalties is stacking against you can be the difference between getting a victorious placement on the board and staring at a seemingly impossible-to-close gap on the track. Density vs Aesthetics is at the heart of the game. Each light green square is a point against you, so it makes intuitive sense that you should cover as much space as you can with buildings. After all, empty space is wasted potential. However, when you do cover everything, you often end up putting building in bad spots which then leads to other parts of your map being broken up (i.e., exposing natural features or breaking up your color groups).
How to Score Better in My City
Once you plug in your visible terrain features into the calculator above, it’ll run the math for you. So instead of wasting time subtracting out those pesky rocks yourself (and focusing on strategy), it takes care of the arithmetic for you. The other part of your early game strategy are shaped by two opposing forces: trees and rocks. If they’re not hidden behind a building and is still in view at scoring time, a tree yields a point. A rock does the reverse: It subtracts a point if it’s left exposed. Combine those two factors with a building tile that lands right in between a tree and a rock, and you have a true conundrum.
Do you cover up the tree and forfeit any benefit from having it visible? Or leave it uncovered which could result in exposing nearby rock? Most people opt for the former because losing points is worse then not gaining a single bonus point. It’s a defensive approach. It doesn’t do much for how your little corner of city looks, but it steadies your score as you wait for your neighborhoods to start clustering.
Over the course of the game’s eight chapters, fresh scoring modules appear, adjusting your assessment criteria for each placement. Adjacency requirements is added… And it makes you consider neighboring tiles (three or four) rather than one at a time. Churches only earn points if they border all four of their side edges with other buildings, requiring forward thinking that ensures adjacent squares aren’t filled with mismatched colors (or remain vacant because of a pass penalty). You’ll also find yourself rethinking corner adjacency, as that doesn’t count toward these buildings; pay attention to the north, south, east, and west and be sure to check them all.
The page also has a handy reference table outlining which rules apply in which episodes. This way you can see which rules are active so you don’t waste time counting churches before they actualy contribute to your total. Another wrinkle is color grouping, which incentivizes planning ahead instead of getting things done immediately. “Oh, there’s a lot of blue ones right here,” sounds simple enough, until you find out that buildings needs to be directly adjacent on the sides to count, and diagonals don’t connect anything. Separate piles might appear as one big pile from afar, so people gets in trouble by adding them together when the game doesn’t recognize their connection.
Sometimes it pays off to leave an open area uncovered if it means breaking apart a big block that will hurt your final score. It forces you to balance clearing your hand now with keeping your high scoring areas intact. Passes are an unusual penalty. They hit you right away and can make it impossible to play any good tiles after that. Because of this, they deserves their own calculation in terms of momentum loss for you and gain for your opponents. In addition to the scoring at the end of the episode, the calculator accounts for these immediate deductions for skips separately. That way it’s clear if you’re running out of tiles to play, as opposed to managing them poorly.
If you can track that down, it means you can change tactics next round instead of accusing fate of being unfair when you weren’t prepared enough. But in the end, knowing My City comes down to understanding the rules of that particular envelope and building your city to fit those needs. Some envelopes will punish you for trying to expand too aggressively; others require you to be stingy with your city-building resources. Watching closely during drafting so that you don’t find yourself with no empty spaces left before the finish line can save you some serious penalty points at the end of the round.
It’s less about building a lot and more about building smart: making sure everything fits the criteria that are currently being scored. And lastly, when you learn to look beyond the tiles and see them instead as a connected set of point sources, those confusing episodes will suddenly become crystal clear.