Coimbra Score Calculator
Total a Coimbra final score with editable voyage points, influence scoring tiles, optimized diploma sets, monastery points, end-game card bonuses, guards, coins, and crowns.
Use a preset as a starting point, then adjust every field to match the player board and the four influence scoring tiles in your game.
Diploma icons may come from character cards and monasteries. Wild diplomas are assigned automatically to maximize the set score.
Select the point tile above each track and your finishing rank. If the player marker is still on space 0, choose no scoring rank.
Guards Track
Coins Track
Pilgrim Track
Prestige Track
| Category | What to enter | Calculator method | Common check |
|---|---|---|---|
| Voyages | VP printed or earned from each invested card | Adds all four voyage fields | Do not score uninvested voyage cards |
| Influence tracks | Tile value and your final place on each track | Applies first, second, or third place points | Markers on space 0 score no influence VP |
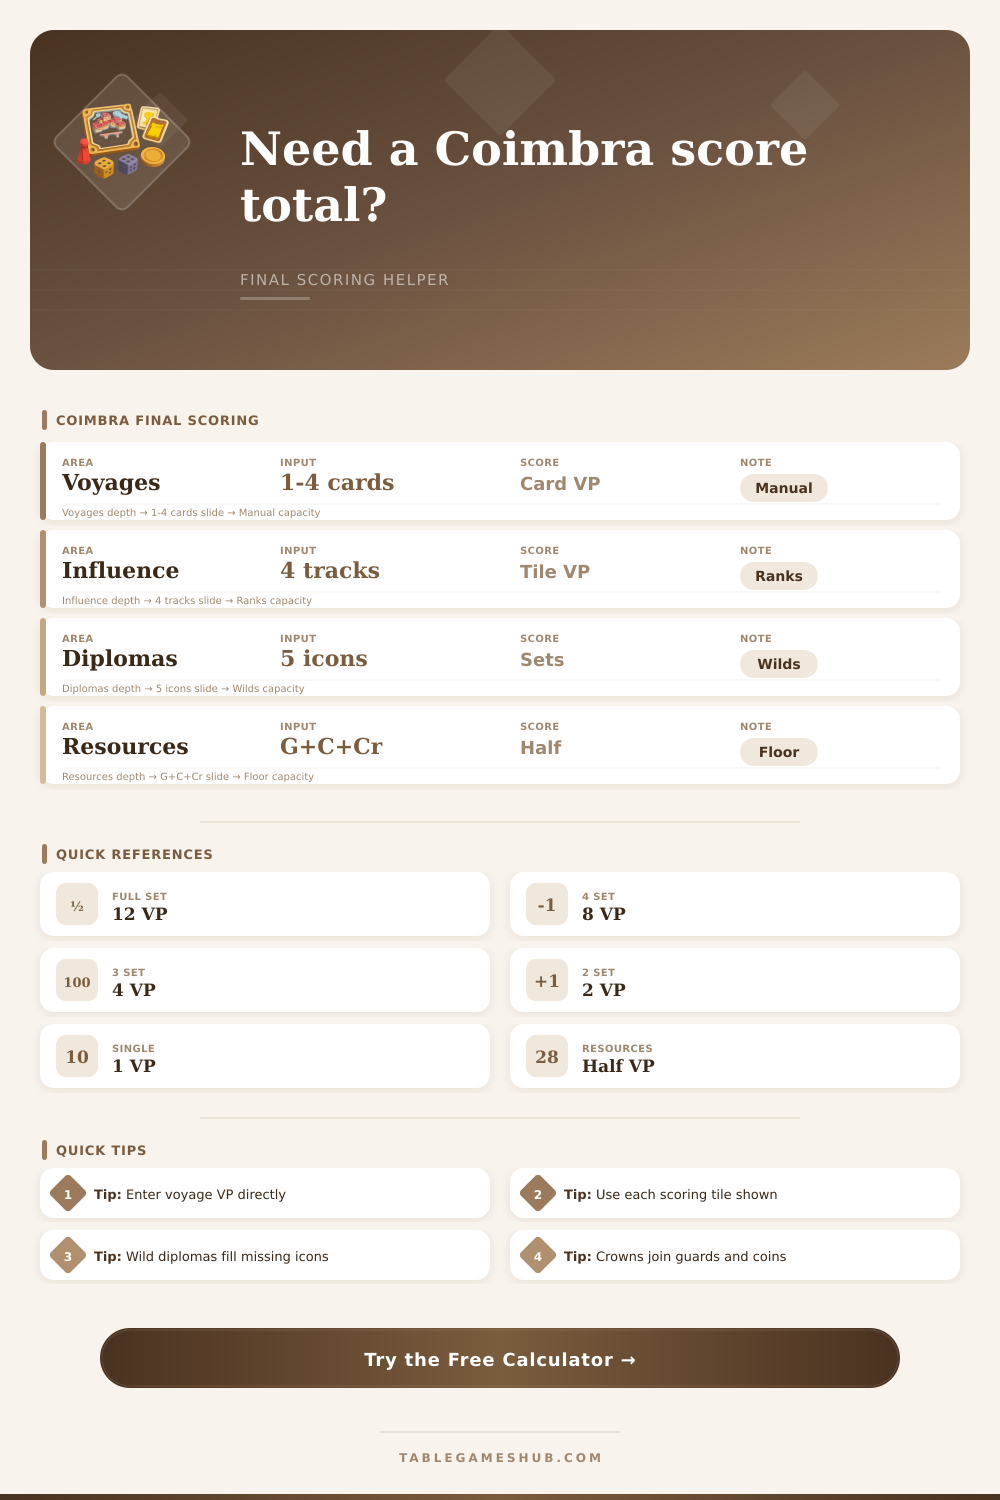
| Diplomas | Five icon counts plus wild diplomas | Builds the highest-value legal set mix | No icon is used in more than one set |
| Cards and monasteries | Manual VP from end-game bonuses | Adds the two manual VP fields | Resolve conditional card text before entering |
| Guards, coins, crowns | Remaining track resources and final crown total | Rounds down half of the combined amount | Use the crown count from new player order |
| Set size | Different icons needed | Victory points | Wild use |
|---|---|---|---|
| 5-icon set | All five different diploma icons | 12 VP | Wilds can fill missing icon types |
| 4-icon set | Four different diploma icons | 8 VP | Strong fallback when one type is short |
| 3-icon set | Three different diploma icons | 4 VP | Often better than splitting into singles |
| 2-icon set | Two different diploma icons | 2 VP | Same value as two singles, but still legal |
| Single icon | One diploma icon | 1 VP | Used when no larger set improves the score |
| Situation | 2 players | 3 players | 4 players |
|---|---|---|---|
| First place on a track | Scores top tile value | Scores top tile value | Scores top tile value |
| Second place on a track | Scores if within 3 spaces when rule checked | Scores if within 3 spaces when rule checked | Scores middle tile value |
| Third place on a track | No third-place scoring | No third-place scoring | Scores bottom tile value |
| Tied spaces | Earlier disk in stack is higher | Earlier disk in stack is higher | Earlier disk in stack is higher |
| Space 0 marker | No VP | No VP | No VP |
Influence check: Match each dropdown to the tile above that exact track before entering your rank. Coimbra can change the scoring pressure from game to game.
Diploma check: Count diploma icons from character cards and monasteries together. The optimizer treats wild icons as the missing types that produce the best total.
In Coimbra, most games do not end with huge sweeping plays. In fact, they ends in small margins; the kind where a single coin or a single guard token makes all the difference between first and second place. After several hours of coordinating three separate action tracks, it’s easy to forget such small numbers. So leave the spreadsheet at home: this calculator does the math for you while you check your standing.
The general gist of how this works is fairly straightforward for most player. Finish contracts and gain points. Move up influence tracks and adjust your score marker to match. Then there’s a complex end game where you need to add a bunch of scores from different systems which aren’t necessarily compatible. You must count up remaining resources, add influence bonuses based on certain tiles revealed at the end, evaluate diploma sets, and count up voyage cards. These step can be difficult to keep track of while playing.
Why You Need This Score Calculator for Coimbra
Now for the tracks that confuse the hell out of newbies: The influence tracks. There are four of them in play. Each has a scoring tile that indicates how much each position is worth. It varies from game to game which one is displayed over each track in the calculator; you choose it yourself. Because of this, getting first on a high-value tile is worth a lot more than getting first on a low-value one. Then there’s the issue of where you rank compared to the leader. If you’re playing a two-player game, you’ll only get points for coming in second if you’re within three spaces of the leader, and this encourages players to remain close instead of falling too far back.
The input process involves careful thinking about what sort of diploma(s) you want to earn. It’s not as simple as “add ’em all together.” Some icons is better than others. For example, earning a full set of five distinct icons gives 12 points, which is a big swing over the four points from having four copies of the same icon. The tool recognizes this, and makes the most of it by allocating your available wild diplomas to the most valuabel missing combos. Basically, you tell it how many copies of each icon (and wildcard) you’re keeping in reserve, and it does the math for you.
There’s also the matter of resources. Unlike most board games, where you can’t save money because it’s all about spending, Coimbra values having extra coin, crown, and guard at the end of the game. You combine these three resources into a single pool and divide by two, rounding down. So if you’re sitting on a guard and five coins, that’s worth three points. Doesn’t seem like much until you find yourself tied in a close game. The calculator will add them up for you after you enter how many tokens youve got left.
The Voyage cards give you a minimum number of points that never changes. You fill in their values (in the four spots where you can play one per player), and those are automatically scored at the end of each round; no optimizing necessary, simply add up the numbers on your cards. But if you ignore the Voyage cards, you’ll regret it. They make up most of your score through the middle phases of the game before things shift during the finale.
Character cards and monasteries. Certain tiles have variable points based off the setup (i.e., some monasteries provide points for placing one, while others trigger bonuses upon meeting additional conditions). There are fields for manually adding those points to the calculator as well. That way, no bonus points falls through the cracks in your mad dash at the end to tally up everything.
While knowing every single scoring element isn’t necessary, understanding the relationships between them is much more critical. One could be dominant in terms of resources but weak when it comes to making voyages; one might have a greater influence over players but struggle to collect enough diploma. All this combines into your final score. The tool includes reference tables that show the points for different levels of influence and groups of diplomas. These can also serve as a quick guide if questions come up about how things like third place are scored with more players or what happens during ties.
This doesn’t alter gameplay. But it alters verification. Instead of adding up coins in the last round and double checking your math, you just use a calculator. No more math friction means you won’t have to worry about whether your addition is correct, letting everyone focus on enjoying the end of the game instead.
Coimbra is all about making decisions that matter, which makes it beautifully complex. Letting the calculator handle the count ensures that strategies wins out and mental math at the table doesn’t determine whose turn it is to smile. Knowing that is something you should of have at the ready each time you play.