Spirit Island Branch & Claw Calculator
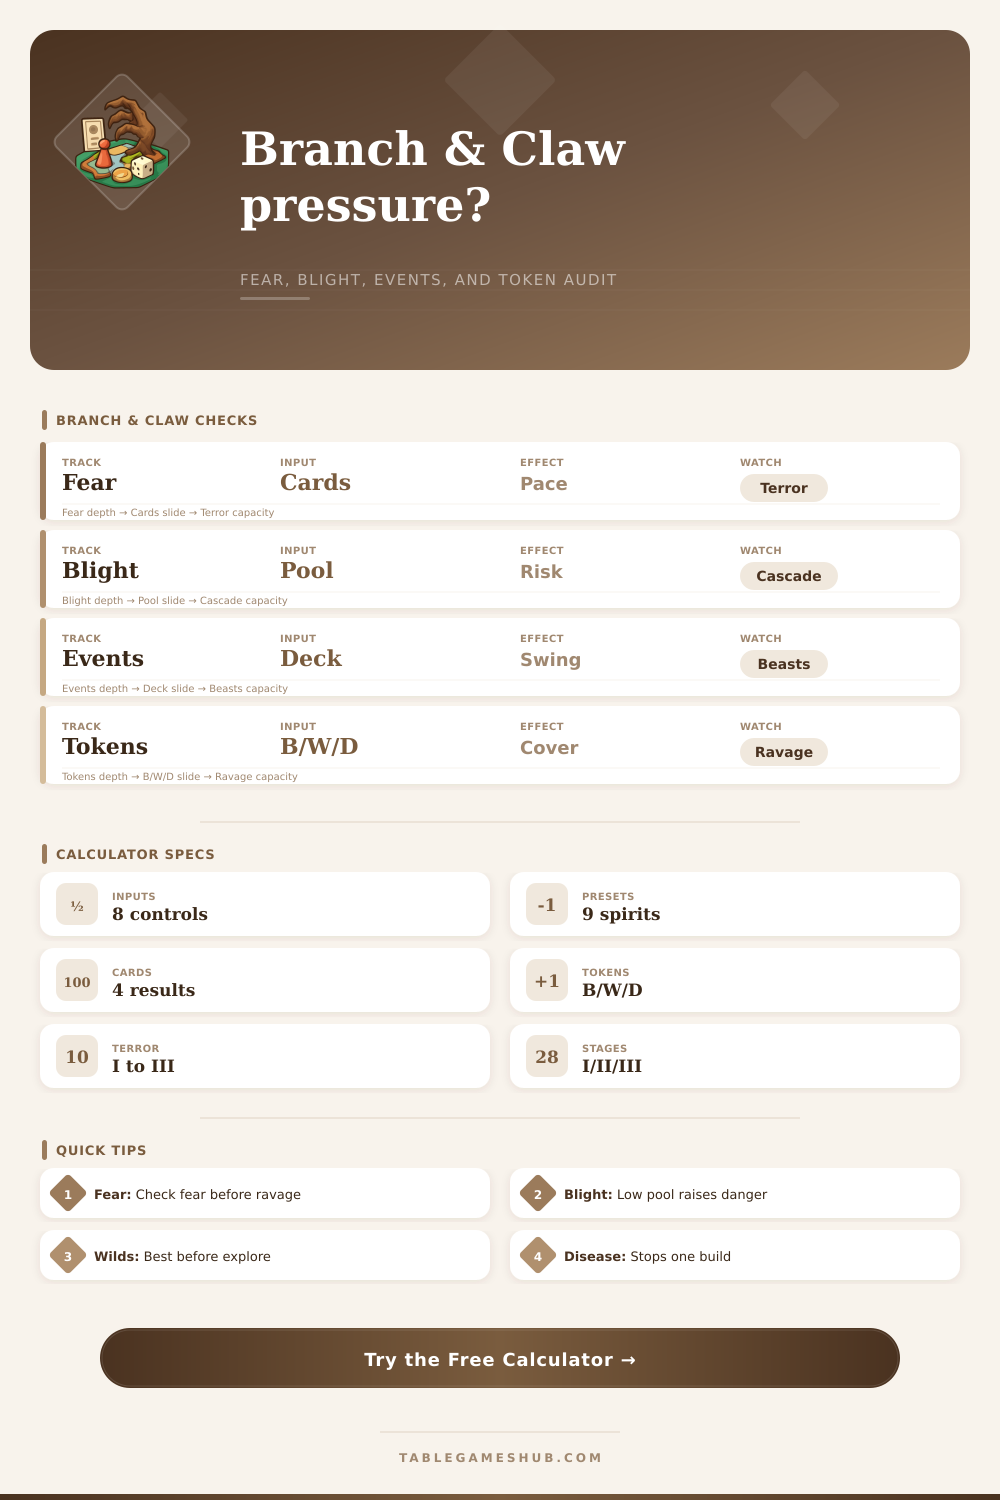
Estimate Branch & Claw island pressure from fear progress, blight margin, event volatility, beasts, wilds, disease, adversary level, terror level, spirit count, and invader stage.
Sets the fear threshold at 4 fear per spirit and scales board width.
Models how sharply explore, build, and ravage tempo is rising.
Higher terror reduces the amount of island clearing still required.
Uses level and adversary texture to weight risk rather than naming a winner.
Combines earned fear cards and current fear toward the next card.
Weights cascade risk and how much event damage the island can absorb.
Represents the kind of Branch & Claw event impact you are bracing for.
Stores the token counts used for beast event risk and prevention cushion.
The fear clock scales from the selected spirit count.
Beasts add event swing while wilds and disease create cover.
Escalation pressure rises from level 0 through level 6.
Named presets load practical Branch & Claw board profiles.
| Token map | Beasts | Wilds | Disease | Calculator read |
|---|---|---|---|---|
| Thin tokens | 1 | 0 | 0 | Almost no prevention, low beast swing. |
| Beast pack | 6 | 1 | 1 | Events can spike damage or fear quickly. |
| Wilds screen | 2 | 5 | 1 | Strong explore prevention with moderate event risk. |
| Disease lock | 1 | 1 | 5 | Build prevention is the main cushion. |
| Stacked defense | 4 | 4 | 4 | High cover, but beast events still matter. |
| Event read | Pressure | Token tilt | Best audit use |
|---|---|---|---|
| Calm event read | Low | Minor token swing | Use for stable turns with no event panic. |
| Beast-heavy event read | Medium | Beasts matter most | Check lands with beasts near towns or cities. |
| Wilds-friendly event read | Low | Wilds gain value | Good when Stage II explores are the problem. |
| Blight event read | High | Blight pool matters | Use when the card or pool is already fragile. |
| High swing event read | High | All tokens matter | Good for uncertainty before a key ravage. |
| Board pressure | Risk weight | Common strain | Calculator response |
|---|---|---|---|
| Stage I, no adversary | Light | Single land cycle | Fear and token cushion can lead. |
| Stage II, level 2 | Medium | Build tempo | Disease and wilds gain prevention value. |
| Stage II, level 4 | High | Town or escalation flood | Pressure rises unless terror is advanced. |
| Stage III, level 5 | Severe | Wide ravage coverage | Blight and prevention dominate priority. |
| Stage III, level 6 | Extreme | Capital or land crush | Calculator expects urgent containment. |
| Track state | Calculator signal | Helpful when | Watch item |
|---|---|---|---|
| Quiet coast | Low fear pace | Early control is strong | Fear cards may be late. |
| Threshold turn | Near next card | One fear push can matter | Resolve before relying on it. |
| Terror run | Victory pressure | Terror III is close | Clear remaining city targets. |
| Blight card flipped | Fragile pool | Ravages are stacked | Cascade risk rises fast. |
| Critical blight | Emergency | One cascade can swing the game | Prevent ravage before scoring. |
Separate prevention from damage.
Wilds and disease reduce future invader actions; beasts are more volatile because events can turn them into fear, damage, or extra trouble.
Read fear and blight together.
A near fear card can justify a riskier ravage plan, but a flipped or critical blight card should move prevention back to the top of the audit.
It’s tempting to pull out your action points and go where your gut tells you to defend, except your gut is probably fighting actual mathematics of the board. Just because you dropped three wilds doesn’t mean you’re in the clear, the Branch and Claw deck do not care how comfortabley you are feeling. Veterans know this. Hopeful players will get caught up in emotion and forget to do a brief check of blight margins and fear pace.
This calculator run the numbers for you, breaking down different tokens into single risk score, letting you determine whether it’s a genuine safety net or mere psychological comfort. It’s also a race against spirit counts and terror levels. It’s not like you can let fear happen in a vacuum. Three spirits? Every card out of the deck are more important because there’s less wiggle room for victory. At Terror I, there’s some breathing room, but that vanishes quickly as things move up the stage. Each time you pull a card, the tool tell you how close you are to being ahead in the long run versus merely surviving the short term.
How to Stop Guessing and Start Planning
Most players is getting in over their heads with blight because it’s an abstract number until it flips and then all of a sudden you have half your board on fire. If the blight pool gets critical, or even if it isn’t flipped yet but there’s another cascade, then a single additional cascade will end your game. If the blight pool is healthy then it’ll give you some margin for error: you can risk some other space without worrying about it. Because the blight track determines how many events you can really afford to take damage from, you can’t just ignore it.
If the calculator say there’s a lot of blight danger, shift your prevention priorities immediately. Maybe you shouldn’t save that city, maybe you should prevent that damage which would lead to a cascade. The key to that is tokens. They has various uses. Wilds and disease provide consistent protection from building/ exploring actions. Volatile events create pressure from beasts (a beast triggering creates damage/fear). A stack of defense provides breathing room; a sparse map make you vulnerable to all threats.
The page’s table of references explain how those combos work with different event readings, such as why you might want to reduce threat swings (beasts) instead of the risk of exposure (cover). Then there’s the added problem of different levels of enemies. Playing with level one Brandenburg-Prussia doesn’t feel like playing against level two England. The textures of each country create different pressures on the board, so the calculator adjust the risk weight to reflect the particular enemy and what stage they are at. For example, whatever stage you’re at, stage III is really heavy pressure, but certain countries will push you a bit differently; knowing that lets you focus your efforts. Knowing that your opponent is going after a build lock makes disease placement more important than chasing down beasts.
So: Practical tip: Separate prevention from damage control. Beasts are unpredictable, they can help (or hurt) based on the event card you draw. Disease prevents the invaders from building, while wilds prevents them from exploring. The tool’s output of next priority show you where to focus your attention for the coming turn cycle. It isn’t guesswork; it is using probability to prepare for what is most likely to mess up your board state.
Spirit Island is a game about juggling a handful of failed clocks: the level of blight and terror, the invasion numbers, and even the fear progress that’s building up. They’re all ticking towards zero. Your only task is preventing them from reaching it simultanously. You do this by auditing those pressures in advance.
This takes the guesswork out of your turn. It lets you stop reacting to threats and begin predicting them. You are not just surviving the next card, but controlling how quickly everything proceeds. And that control could of come less from blind reaction and more from clear vision of the board, beyond the mist of tokens strewn here and there and the mounting panic.