The Red Cathedral Score Calculator
Total final prestige from the score track, completed tower sections, ornamentations, banner presence, workshops, influence cards, rubles, and leftover resources.
🎯Score Presets
Score Breakdown
📝Prestige, Workshops, and End State
🏰Tower Sections, Banners, and Decorations
Tower 1
Tower 2
Tower 3
Tower 4
Tower 5
Tower 6
💰Rubles, Resources, and Influence Inputs
📊Current Score Grid
📘Scoring Reference Tables
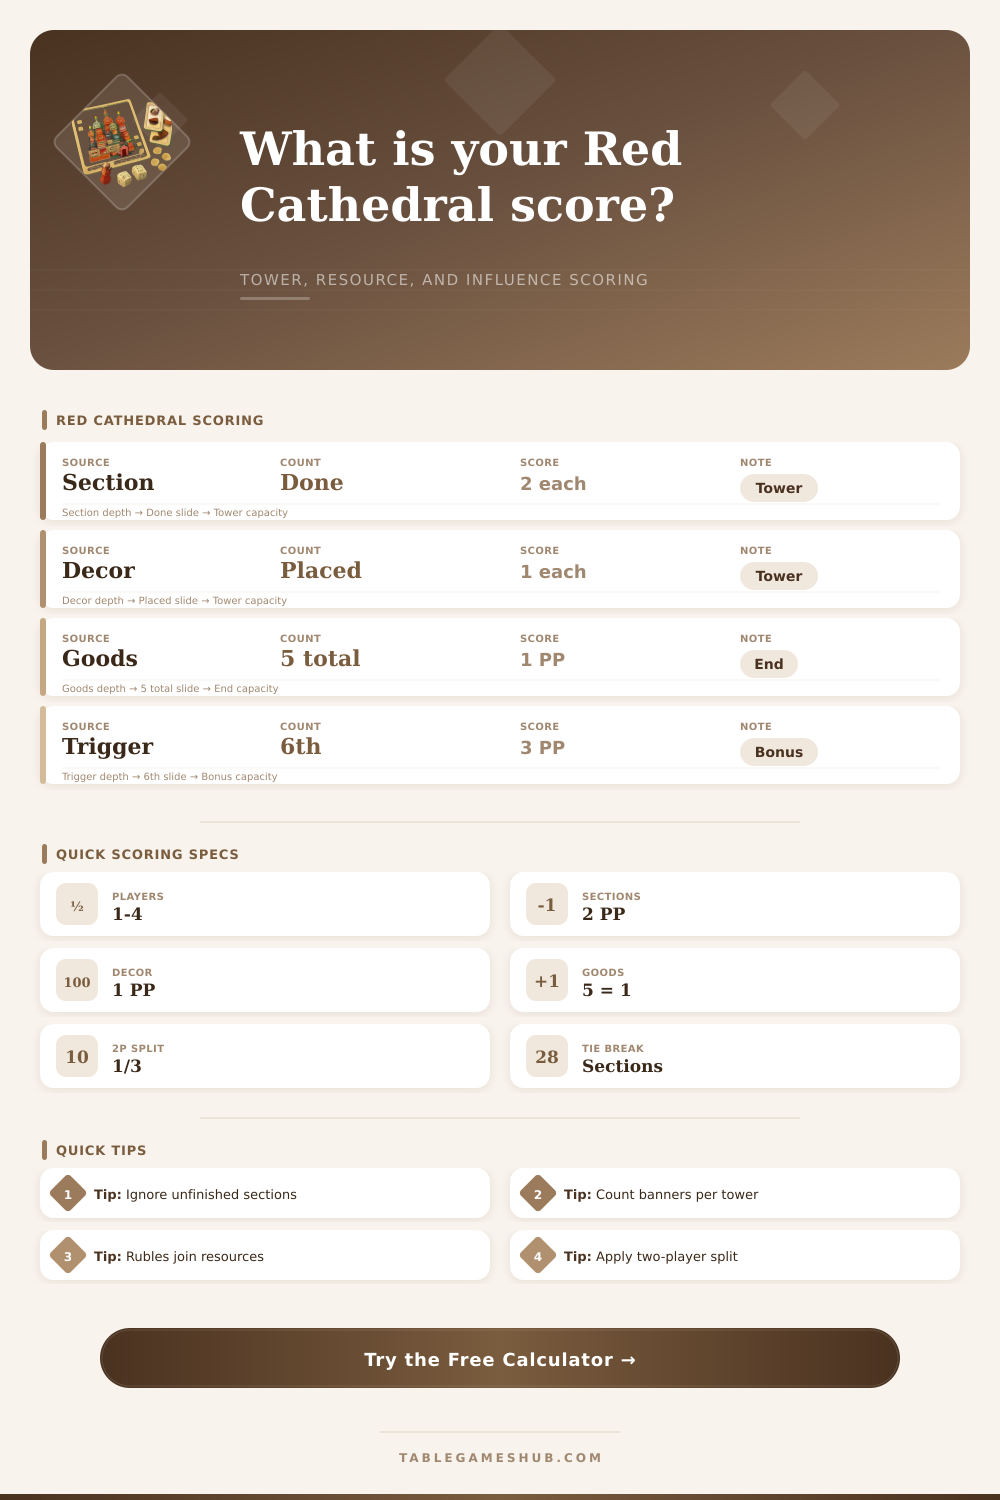
| Scoring area | What counts | Formula used | Calculator note |
|---|---|---|---|
| Prestige track | Score marker after final step-down | Entered prestige | Move back to the closest lower prestige space before adding end scoring. |
| Leftover goods | Rubles plus materials returned | Floor(total goods / 5) | Rubles and resources share the same group-of-five conversion. |
| Tower value | Completed sections and all ornamentations | 2 per section + 1 per decor | Unfinished cathedral cards add no tower value. |
| Tower presence | Your banners plus your ornamentations on completed cards | Ranked by tower | Players with no presence in a tower receive no tower points. |
| Player count | Leader award | Follower award | Tie handling used here |
|---|---|---|---|
| 4 players | Full tower value | Half, quarter, then eighth | Tied positions pool their awards and split evenly, rounded down. |
| 3 players | Full tower value | Half, then quarter | Same pooled tie method as four players. |
| 2 players | Full tower value | One third of tower value | If presence is tied in a tower, neither player scores that tower. |
| Solo audit | Entered share only | No opponent ranking | The tool awards your tower value when you have presence, for checking your sheet. |
| Component | Input field | Score role | Common audit |
|---|---|---|---|
| Banner | My presence in each tower | Determines tower rank | Include banners from white workshop spaces once placed on cards. |
| Door, arch, cross | All decor and placed decor | Adds tower value and player presence | Decoration points earned during play should already be on the prestige input. |
| Workshop tile | Face-up workshop tiles | Supports contract and engine notes | Some influence cards care about all six face-up tiles. |
| Influence card | Influence prestige fields | Adds card-specific prestige | Enter only cards that score at the end and are not already on the track. |
| Preset | Main scoring lane | What it tests | Best manual check |
|---|---|---|---|
| Balanced Builder | Track plus mixed towers | Typical four-player final count | Compare completed sections to tower section totals. |
| Tower Majority | High banner and decor presence | Rank splits and tower awards | Check tied tower positions before scoring. |
| Influence Finish | Contracts and decoration cards | End card add-ons | Make sure card bonuses are not already on the score track. |
| Two Player Duel | Special two-player tower rule | One-third awards and tied towers | Set opponent 2 and opponent 3 presence to zero. |
💡Scoring Tips
When the final card is flipped in a Red Cathedral game, the last few minutes can often feel like a fever dream. The market have been emptied. The last decorative arch has been placed. Your hand is exhausted from card shuffling. Banner placement need to be checked. Ornament counts needs to be tallied. Sections needs to be counted. Leftovers need dividing by five. Victory should of been fun, but all this work ruins the mood. When you’re tired you’re more likely to make a minor arithmetic mistake, and that can mean turning a sure thing into a hotly debated tie. Having an audit solution to check scores is therefore important. The calculator above does the hard work of adding up resources, towers, and prestige so you can focus less on math and more on how well you play.
Scoring is where the game has two parallel tracks. On one track, you are collecting points from things that happen in the game. You earn these as you move through the prestige track which is a linear progression. Then there’s the second track, which is how many people you have physically present on each of the six tower. Those tracks don’t always move at the same pace. You can be way ahead on the board but still fall far behind in actual presence on the towers. That’s where the tool splits those streams into different lines, asking what your final place on prestige track will be after you lose your spot in the recognition spaces.
How to Score Your Game
Don’t accidentally take bonus points that expire once the round ends. Because the value of being on a tower lasts until the game ends whereas any recognition bonus is temporary. It isn’t as straightforward as add one for each ornament and two for each completed section of the tower. You earn points for having your banners placed in towers, but only after those points are pooled and awarded based off who has the highest number of banners in that tower. That part trips most folks up when trying to do calculations by hand. Even though they have your banners hanging in an incomplete section, it doesn’t get added to the pool.
The tower value stays permanent until the game closes. The tables on the page spell it out clearly. Awards shows how ties are broken. They scale with the number of players. In a four player match, half goes to whoever is on top and a fourth goes to the person in second. But in a two player duel, it becomes quite different than. If you tie, nobody gets a thing off that tower.
This is enough to alter your entire end game strategy. Maybe you’ll throw away a point somewhere else so that you’re not dead even on a higher-value tower. While resources are frequently overlooked and underappreciated (at least by me), when the time comes, it’s the last thing that anyone want to think about. A pile of leftover resource gets lumped together into a common pool, and every resource provides a point of prestige for the remaining five. Though it may be tempting to save some up during game to build engines later, there’s a limit on how efficient you’ll be at keeping them towards the end. Four bricks? Nothing. Turn one into a cheap action or hold off discarding it if you’re strategic enough, just make sure you get rid of it before the tally, maybe even earlier. The calculator will automatically combine all five of these resources along with your rubles. You won’t have to argue about tie-breakers, and you won’t have to do any mental math for division either.
Additional layers of complexity vary by game, adding workshop tiles, influence cards and other elements. Some contracts will offer rewards for being present in specific towers, or building particular types of decorations. These lead to secondaries that pull you away from the primary goal: building a house! There are also fields available for this sort of element in the tool. Without giving up on the core scoring, you can enter scores from your Archivist cards and Contractor expansions. It’s especially helpful if you’re trying out various modules but wish to have something reliable to check against your score.
All that said, math alone doesn’t make for a good score. That shows how you played the game well. Did you take big risks? Did you get big rewards? If so, did you go too far in pursuit of status? Did you dominate banners on those key towers? Maybe you wasted all your resources along the way. Maybe you got greedy and missed one key element and never recovered. Run it through the calculator and you’ll see. It will either tell you you played smartly or it will tell you you blew it. And at its best, the number should look like a score you earned, rather than something you calculated.