Kite Perimeter Calculator
Map sail edge length, allowances, and finished roll length for clean diamond, box, delta, and rokkaku builds.
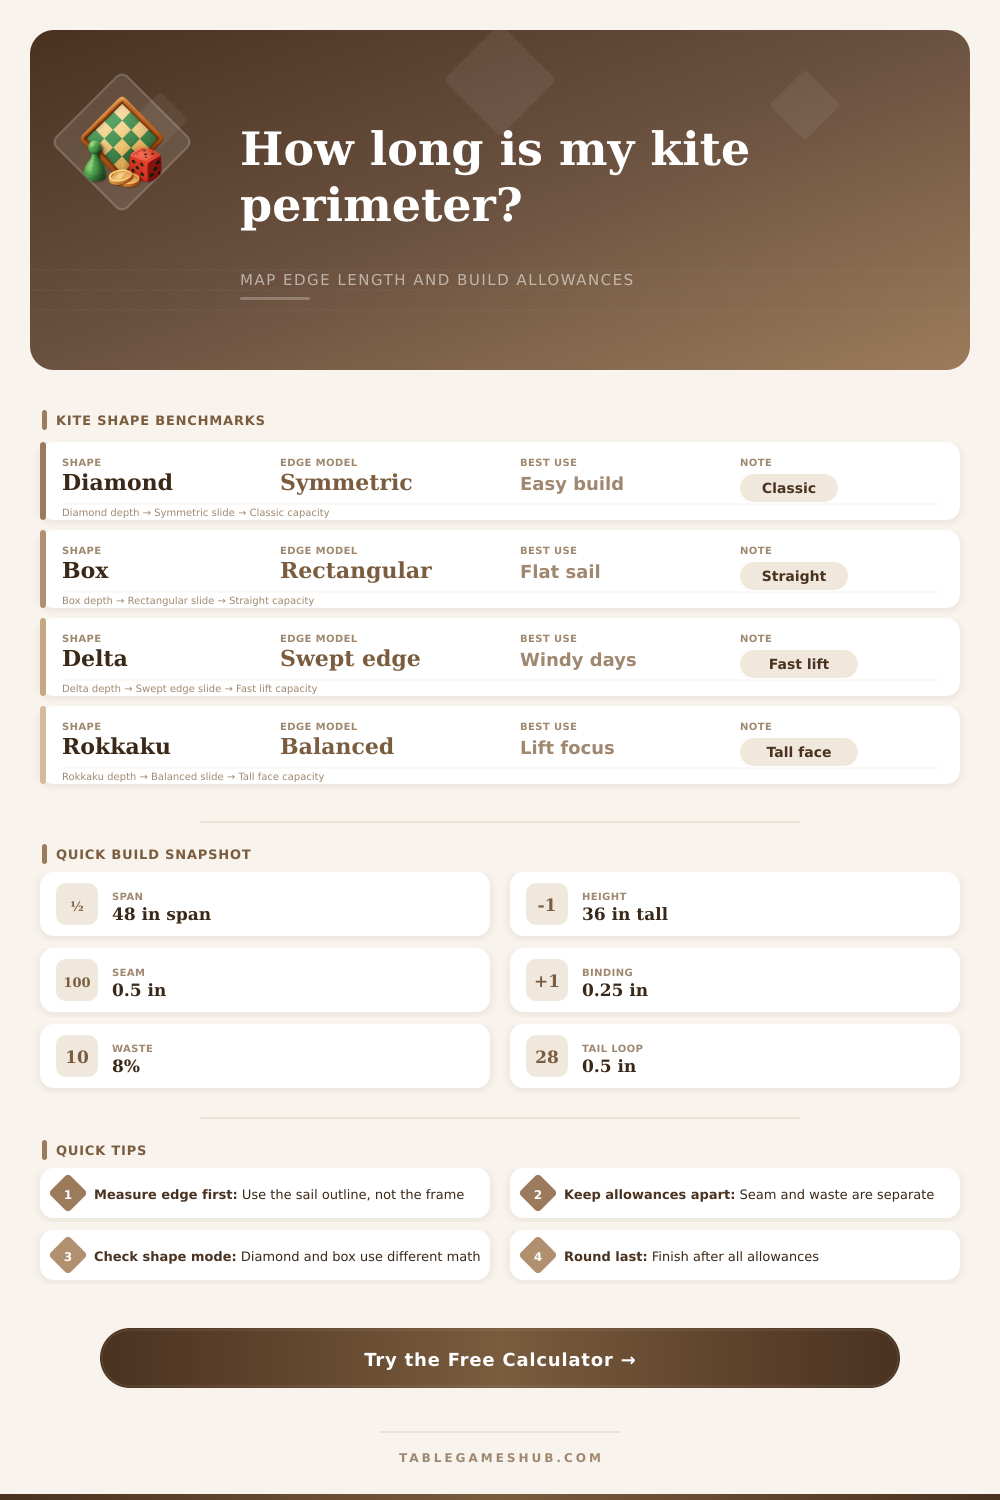
| Shape | Edge model | Best use | Note |
|---|---|---|---|
| Diamond | Symmetric | All-round | Fastest to draft |
| Box | Rectangular | Stable air | Simplest perimeter |
| Delta | Swept edge | Windy days | Long leading edges |
| Rokkaku | Tall hex | Lift focus | Balanced sail |
| Material | Stretch | Trim | Use |
|---|---|---|---|
| Ripstop | Low | Tight | Light builds |
| Paper | Very low | Sharp | Practice kites |
| Mylar | Low | Clean | Bright sails |
| Laminate | Medium | Careful | Large frames |
| Size band | Span | Height | Perimeter |
|---|---|---|---|
| Mini | 18-24 | 12-18 | 40-70 |
| Park | 30-42 | 22-30 | 85-130 |
| Display | 48-60 | 32-44 | 140-190 |
| Large | 66+ | 46+ | 200+ |
| Allowance | Use | Range | Impact |
|---|---|---|---|
| Seam | Edge fold | 0.25-0.75 | Raises cut length |
| Binding | Hem tape | 0.10-0.50 | Edge finish |
| Overlap | Patch join | 0.20-0.60 | Corner strength |
| Waste | Spare roll | 5-12% | Final buffer |
This calculator turns kite span, height, and allowances into a clean perimeter plan for diamonds, boxes, deltas, and rokkakus. It keeps seam, binding, and waste separate.
To calculate the fabric requirement for a kite, you need to understanding the perimeter of the kite sail. The perimeter of the sail is the outer edge of a fabric that forms the sail. However, you need to add extra fabric to accommodate seam allowance and buffer for fabric waste.
If you dont allow enough fabric for these allowances and buffers, you will likely run out of fabric before you are done sewing your kite. To construct a diamond kite, you need to take precise measurement of the span of the kite from wingtip to wingtip and the height of the kite from the nose to the tail. However, you will also have to take into account the depth of both the nose and the tail of the kite since the flight path of a diamond kite are curved.
How to Measure Fabric and Perimeter for a Kite
The upper edges of the diamond kite may be of a different length than the lower edges of the kite depending on the depth of the nose of the kite. You have to take these measurements to ensure that the perimeter of the kite is correctly; otherwise, the hem of the kite may bunch or the binding will run out during the construction phase. Box kites is of a different shape to the diamond kite as they have straight rectangular side to the kite.
For box kites, you will measure the span of the kite from edge to edge along the top and bottom edges of the kite. You will also measure the height of the box kite along the side edges. You will have to allow for seam allowances for these edges as the seam allowance will strengthen the box kite.
You will also have to allow space within the kite for the tail loop and the corners of the kite. Finally, you will have to include a percentage of waste in the calculation of the size of the box kite as the waste allowance will account for possible trimming mistakes. Delta kites have edge that are swept which allow for the kites to remain stable in areas with strong winds.
The span of a delta kite will not be even as the leading edges will be of a longer measurement then the trailing edges of the delta kite. For example, the leading edges of a delta kite may be 54 percent of the span of the kite while the remaining 34 percent may belong to the trailing edges of the kite. Rokkaku kites are hexagonal in shape and have perimeters that are balanced around the midpoint of the height of the kite.
Finally, many hybrid kites contain the feature of other types of kites but each type of kite require the use of specific mathematical calculations when determining the amount of fabric that will be used to construct the kite. The material that you will use for the kite will play a crucial role in determining the perimeter of the kite. For instance, if you use ripstop nylon for the kite, then the material will not stretch much so the trim of the ripstop nylon will be precise.
Paper is another material that will not stretch but is difficult to work with as it does not allow for many mistakes in the construction phase of the kite. Mylar require precise hems as the mylar may otherwise curl. Laminate will stretch more than ripstop nylon so there will have to be more overlap in the construction of the kite with laminate.
The size of the kite will dictate the size of the seam allowance of the kite. For instance, if the kite to be constructed is small and the span is under 24 inches, then 0.25 inches can be allotted for the seam allowance. For large kites with a span of 66 inches, the span allowance will have to be 0.75 inches.
When calculating the perimeter of the kite, there are some mistake that you must avoid. One of the most common is measuring the frame of the kite instead of the perimeter of the sail. The frame consist of rods while the remainder of the perimeter of the kite is formed from the fabric.
Another mistake is combining the seam allowance with the waste percentage. You use the seam allowance to join the edges of the fabric while the waste percentage is allotted as a safety margin in case of trimming mistakes in the construction process of the kite. Finally, you will have to make sure that you allot space in the kite for the tail loop to prevent the tether from ripping the fabric of the kite.
The perimeter of the kite will play a crucial role in determining the tension of the sail. If the perimeter of the kite is too tight, the kite will stall. However, if the perimeter of the kite is too loose, the kite will flap in the wind.
To prevent these problem, it is important to use binding to create hems that are weather-proof and to incorporate overlaps that will create rod pockets for the rods of the kite frame. Finally, you must take time to plan out the measurements of the kite so that it will fly correctly. If you do not plan out the correct perimeter of the kite, then you will have to repair the kite while it is in the air.