Isle of Skye Score Calculator
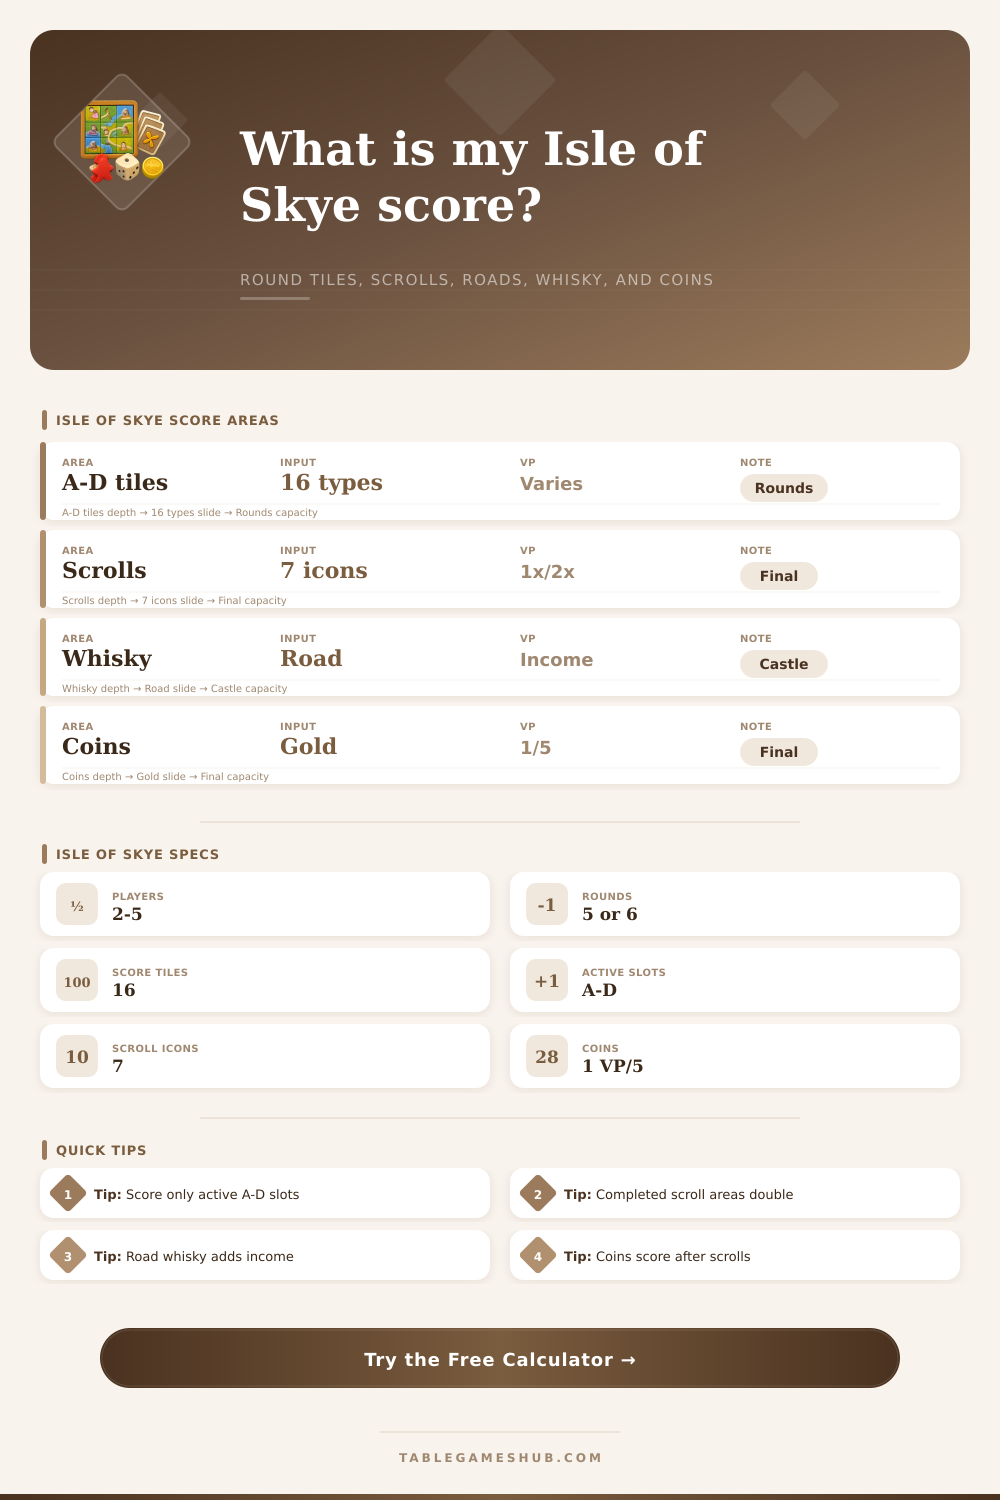
Total the active A-D scoring tiles, final scrolls, castle-road whisky income, livestock, territory patterns, and leftover coin VP.
⚑ Game Presets
🗓 Round and A-D Scoring Tiles
Choose the four scoring tiles assigned to slots A-D, then select the current round. For 2-4 players the standard six-round slot pattern is built in. For 5 players, use the active-slot override to match the board side at your table.
🗺 Clan Territory Inputs
📜 Final Scroll Inputs
Enter how many scroll tiles of each type are in open areas and completed areas. Completed-area scrolls score double. Identical scrolls both score.
Score Breakdown
🧮 Isle of Skye Reference Grid
📋 Scoring Tile Reference
| Scoring Tile | Calculator Input | Formula | Rule Note |
|---|---|---|---|
| 2x2 landscape squares | Completed 2x2 squares | 2 VP each | Tiles may count in multiple squares. |
| Completed areas | Completed areas | 1 VP each | Roads do not divide areas. |
| Sheep | Sheep icons | 1 VP each | Count all sheep in your clan territory. |
| Large completed areas | Completed areas of 3+ tiles | 3 VP each | Area must be completed and at least 3 tiles. |
| Mountain brochs | Mountain areas with 1/2/3+ brochs | 1/3/6 VP | Each mountain area scores by its broch count. |
| Building sets | Broch-farm-lighthouse sets | 5 VP each | Each building can serve one set only. |
| Whisky majority | Whisky majority VP | 0/2/5 VP | Requires at least one whisky tile. |
| Ship majority | Ship majority VP | 0/2/5 VP | Requires at least one ship. |
| Farm livestock | Animals on or adjacent to farms | 1 VP each | Each sheep/cattle scores once at most. |
| Gold majority | Gold majority VP | 0/2/5 VP | Use the current gold comparison. |
| Road cattle | Cattle connected by roads | 2 VP each | Road must run through the cattle tile. |
| Ship + lighthouse water | Water areas with both | 3 VP each | One score per qualifying water area. |
| Road-connected tiles | Tiles connected to castle by road | 1 VP each | Road must run through each counted tile. |
| Vertical lines | Vertical lines of 3+ tiles | 3 VP each | Vertical is relative to the castle tile. |
| Largest completed water | Tiles in largest completed water area | 2 VP each | Only the largest completed water area. |
| Completed mountains | Completed mountain areas | 2 VP each | Mountain texture is decorative only. |
📜 Final Scoring Reference
| Final Item | Base Rate | Completed Area | Calculator Behavior |
|---|---|---|---|
| Sheep scroll | 1 VP per 2 sheep | Double scroll value | Uses floor(sheep / 2). |
| Whisky scroll | 1 VP per 2 whisky tiles | Double scroll value | Uses floor(whisky tiles / 2). |
| Ship scroll | 1 VP per 2 ships | Double scroll value | Uses floor(ships / 2). |
| Cattle scroll | 1 VP per cattle | Double scroll value | Uses all cattle icons. |
| Broch scroll | 1 VP per broch | Double scroll value | Uses all brochs. |
| Farm scroll | 1 VP per farm | Double scroll value | Uses all farms. |
| Lighthouse scroll | 1 VP per lighthouse | Double scroll value | Uses all lighthouses. |
| Coins | 1 VP per 5 gold | No doubling | Uses floor(gold / 5). |
💡 Scoring Tips
You don’t realize it… but the game is almost done. It’s close. Are you winning? Is your opponent?
In Isle of Skye, points is hidden in plain sight and scored in layers, including immediate round scoring. By the time you think you’re up 3 points going into round six, your opponent has racked up a pile of majority wins and scrolls that might be different than the difference maker. Players are frequentely on edge when it comes to counting gold coins, roads, and sheep at the end of game. It’s complicated, but it’s layered scoring.
How to Count Your Points Correctly
Each of the four active slots on board scores immediately. Every couple of turns those slot rotate out and in to change the scoring. At the end of the game there’s the scoring for your scrolls, the tiles that sit in your clan territory. Those show their value at the end, when everything are tallied up.
You input how many of what scrolls you have, and the calculator does math so you don’t have to drag out a set of dice or write anything down while other people wait around. It breaks the scoring categories down into clear totals that separate useful information from distracting noise.
One mistake new players make is forgetting which spaces on their scrolls are complete vs. Open. Points will not doubles in any incomplete space (meaning there’s an edge of the space that isn’t filled). Because a small number of scroll can make up a large point deficit, this is important to remember.
Before inputting scores into your board, review what state it’s in. Are there cattle icons connecting from your castle? Did they form a solid line of road leading back? Then yes, they double according to the majority tile rule. If the road cuts out at least once for a single space, then no, you won’t get points for that link.
These formulas aren’t something you’ll need to memorize while playing, as they’re all listed in reference table. Gold coins are another thing that confuses people. These aren’t worth victory points until after scrolls is scored. Also, only one in five coins will count towards final score. Having 6 gold is equivalent to having 1 gold.
Excess gold take up space on the board and restricts other moves. But if you’re far back on the score track, you can use catch-up coins to rebound. This tool takes these ups and downs into account when you enter your current amount of gold and your position compared to other players.
Knowing what scoring tiles is likely to activate at the end of the game helps with strategic planning. The rotation for slots A; D is fairly consistent. Pay attention to slot markers and you can plan four moves out.
It’s easy to view building roads as an afterthought to setting down landscapes. But connecting those roads enables both majority bonuses and whisky income. These bonuses accrue over time and goes unnoticed by players who don’t count their tiles. Sacrifice a point here or there to add a road segment so that you get three whisky tiles scoring in round five rather than none.
Isle of Skye is tense because it builds multiple ways to win based off each move. Every decision carries an opportunity cost. No single action ensure victory. The calculator saves you the brainpower to block out opponents or plan your next combo. There’s no need to crunch numbers on the spot.
It displays how you’re doing at any point, this lets you decide when to risk everything or play it safe until end. You should of used it earlier. When you know exactly where you stand, you don’t have to guess anymore. You can execute. It makes that last round’s stress a calculated gamble instead of a blind leap.