Slackline Force Calculator
Estimate resultant anchor force, horizontal and vertical components, sag angle, rider load, pretension, stretch allowance, and component ratios.
This calculator treats the loaded midpoint as the low point. Force is estimated from vertical equilibrium, sag angle, pretension, stretch allowance, and the larger resultant at either anchor.
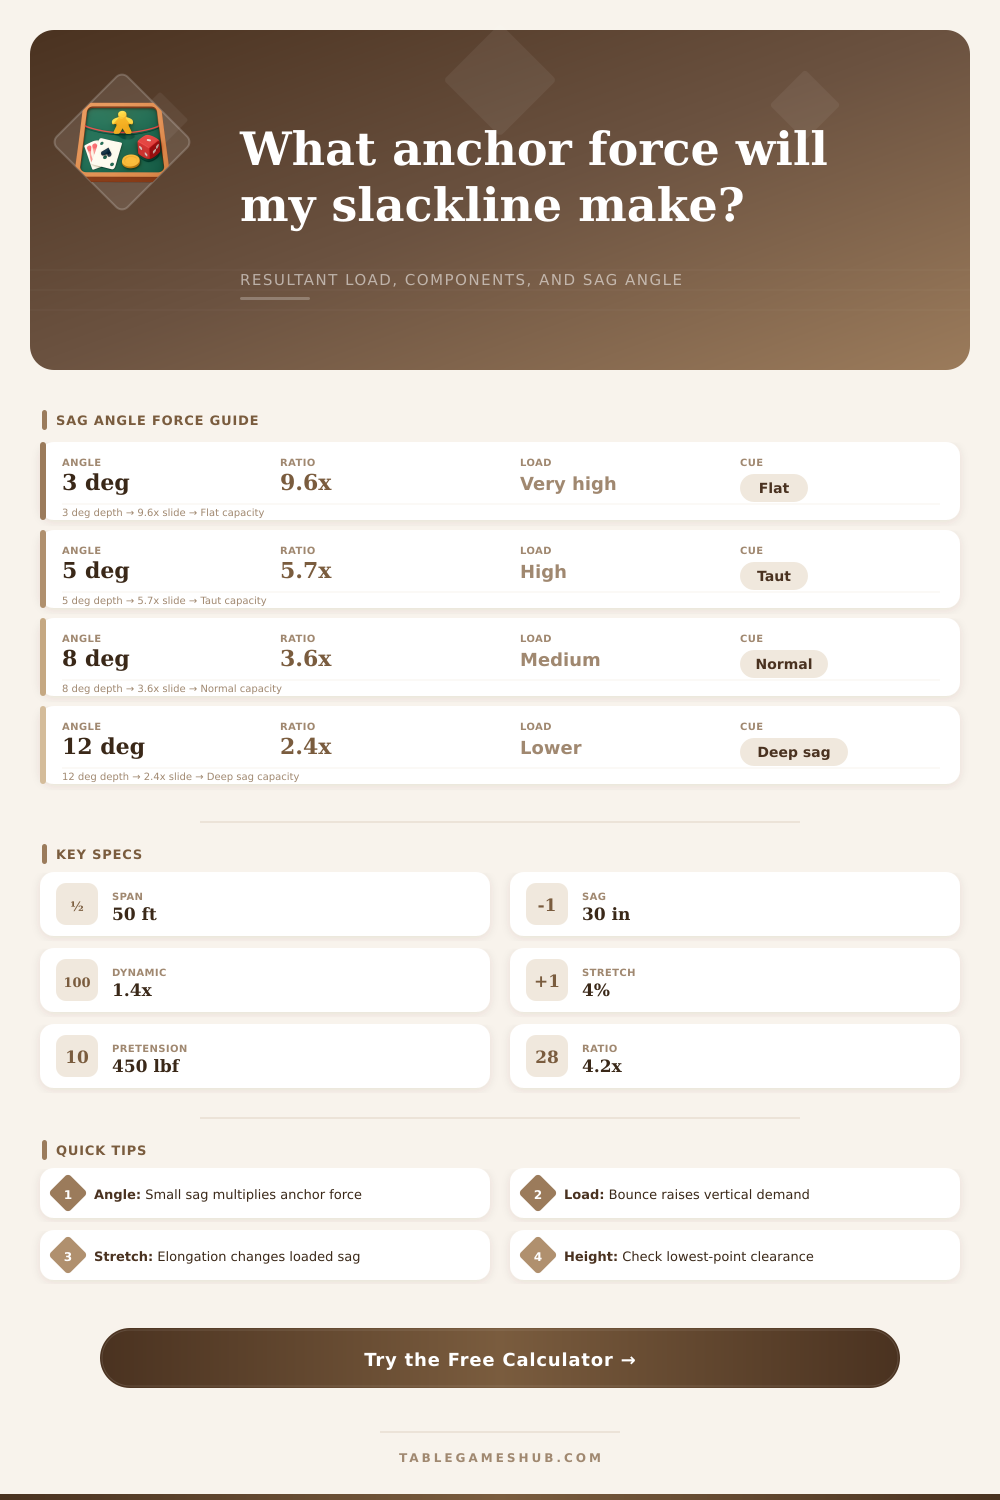
| Per-side sag angle | Anchor resultant ratio | Horizontal component ratio | Force cue |
|---|---|---|---|
| 3° | About 9.6x rider load | About 9.5x | Very flat, force rises sharply |
| 5° | About 5.7x rider load | About 5.7x | Taut setup with high anchor demand |
| 8° | About 3.6x rider load | About 3.6x | Common loaded walking geometry |
| 12° | About 2.4x rider load | About 2.3x | Deeper sag with lower horizontal pull |
| 18° | About 1.6x rider load | About 1.5x | Large sag, clearance becomes limiting |
| Movement type | Multiplier range | Load behavior | Calculator use |
|---|---|---|---|
| Still standing | 1.0x to 1.1x | Mostly static weight | Balance check or slow mount |
| Normal walking | 1.2x to 1.5x | Step impacts and sway | General force estimate |
| Bounce practice | 1.6x to 2.2x | Repeated vertical pulses | Component peak comparison |
| Abrupt catch | 2.0x to 3.0x | Short-duration load spike | Conservative scenario review |
| Stretch input | 50 ft elongation | Pretension effect | Reading |
|---|---|---|---|
| 1% | 0.5 ft | Small adjustment | Stiffer response |
| 3% | 1.5 ft | Moderate adjustment | Typical loaded elongation |
| 5% | 2.5 ft | Noticeable adjustment | Softer line feel |
| 8% | 4.0 ft | Large adjustment | Sag and clearance shift more |
| Anchor height | Loaded sag | Lowest point | Geometry cue |
|---|---|---|---|
| 3.0 ft | 18 in | 1.5 ft | Low training line |
| 4.0 ft | 30 in | 1.5 ft | Moderate clearance |
| 5.5 ft | 42 in | 2.0 ft | Longer span allowance |
| 6.0 ft | 54 in | 1.5 ft | Deep sag check needed |
When you go to set up a slackline, you must have an understanding of how tension and weight interact in the creation of a slackline. The physics behind slacklines have the ability to multiply the bodys weight of the individual to thousands of pounds of tension. Many individuals believes that if an individual weighs 200 pounds that the tension will only apply 200 pounds of force on the slackline anchors.
However, its incorrect in stating that the slackline will only distribute the individuals body weight to the anchors. Instead, the slackline itself acts as a lever, which multiplies the individuals body weight to create a greaterer tension force that is distributed to the slackline anchors. The relationship between the slackline sag and the tension of the slackline is the single most important factor for individuals to understand.
How Tension and Sag Affect Slackline Safety
A slackline that is nearly flat will have a very shallow angle between the slackline and the slackline anchor. To balance the weight of the individual, the slackline will have to create an immense amount of tension along the slackline. If an individual attempts to tension the slackline such that the slackline becomes a tight string between the two slackline anchors, the individual is essentially creating a liability in the slackline system.
A small change in the sag of the slackline will create a massive change in the tension forces applied to the slackline anchors. This non-linear relationship between slackline tension and sag can easily create dangerous outcome for those slackline anchors. The geometric elements of the slackline will determine the amount of tension force that is placed upon the slackline.
The span between the two slackline anchors creates an angle with the amount of sag that is created by the individual standing upon the slackline. If the slackline has a deeper sag, the slackline will create a larger angle. A larger angle allows for the slackline system to distribute the body weight of the individual with less tension force along the slackline.
If an individual increases the amount of sag of the slackline by simply dropping it a few inches, the tension forces upon the slackline will drastically decrease. Therefore, an individual should strive to balance the aesthetic look of the slackline with the safety of the slackline anchors. A slackline with a slight sag is easier on the slackline equipment than a slackline with a flat portion.
Another factor to consider with slacklines is the dynamic load that is placed upon the slackline. The weight of an individual standing still upon the slackline is the static load that is applied to the slackline. However, if an individual is walking or bouncing upon the slackline, the dynamic load will be much greaterer.
The individual will become a moving mass that creates a peak tension force along the slackline. That peak force is often greater than the individual’s resting weight. An individual that is balancing on the slackline may apply only their body weight.
However, an individual that is jumping on the slackline will create a peak tension force that can triple the load of the individual upon the slackline. These dynamic load forces are often what create the snapping of the slackline webbing or the movement of the slackline anchors out of the ground. Another factor in the distribution of tension along the slackline is the slackline webbing itself.
The type of webbing that is used on the slackline can contain different amounts of stretch. Some slackline webbing will have a significant amount of stretch, while other webbing will contain a minimum amount of stretch. The amount of stretch of the slackbing can act as a shock absorber for the individual standing upon the slackline.
The stretch will allow the webbing to allow for some of the dynamic forces to be distributed over a longer period of time. However, the amount of stretch will also alter the pretension of the slackline webbing. For instance, if an individual begins with a very high tension for a webbing with a high amount of stiffness, the slackline will have an immensely high tension without the individual beginning to walk on the slackline.
The height of the slackline anchors and the offset of each anchor will also change the distribution of the tension of the slackline. If one slackline anchor is higher than the other slackline anchor, the slackline will not be even. This evenness will cause the distribution of force along the slackline to be even as well.
If the slackline is even in the middle, one slackline anchor will bear more of the body weight of the individual standing upon the slackline than the other. Additionally, the slackline should be evened in regard to the clearance of the slackline at its lowest point. The slackline should not come too close to the ground at this lowest point.
The main purpose of calculating the various factors of a slackline is to allow an individual to understand the risk of the slackline setup. The ratio of the resultant force of the slackline to the body weight of the individual is another calculation that can be performed to understand the risks of the slackline. If the ratio is five or six to one, for instance, it indicates that the slackline setup is fighting an endless battle between the individual and the physics of the slackline span.
To create an enjoyable walk on the slackline, an individual should find a balance between the tension of the slackline and the sag of the slackline. By understanding each of these factors, an individual can ensure that the slackline is set up in a way that is both safe for the slackline anchors and the slackline equipment itself.