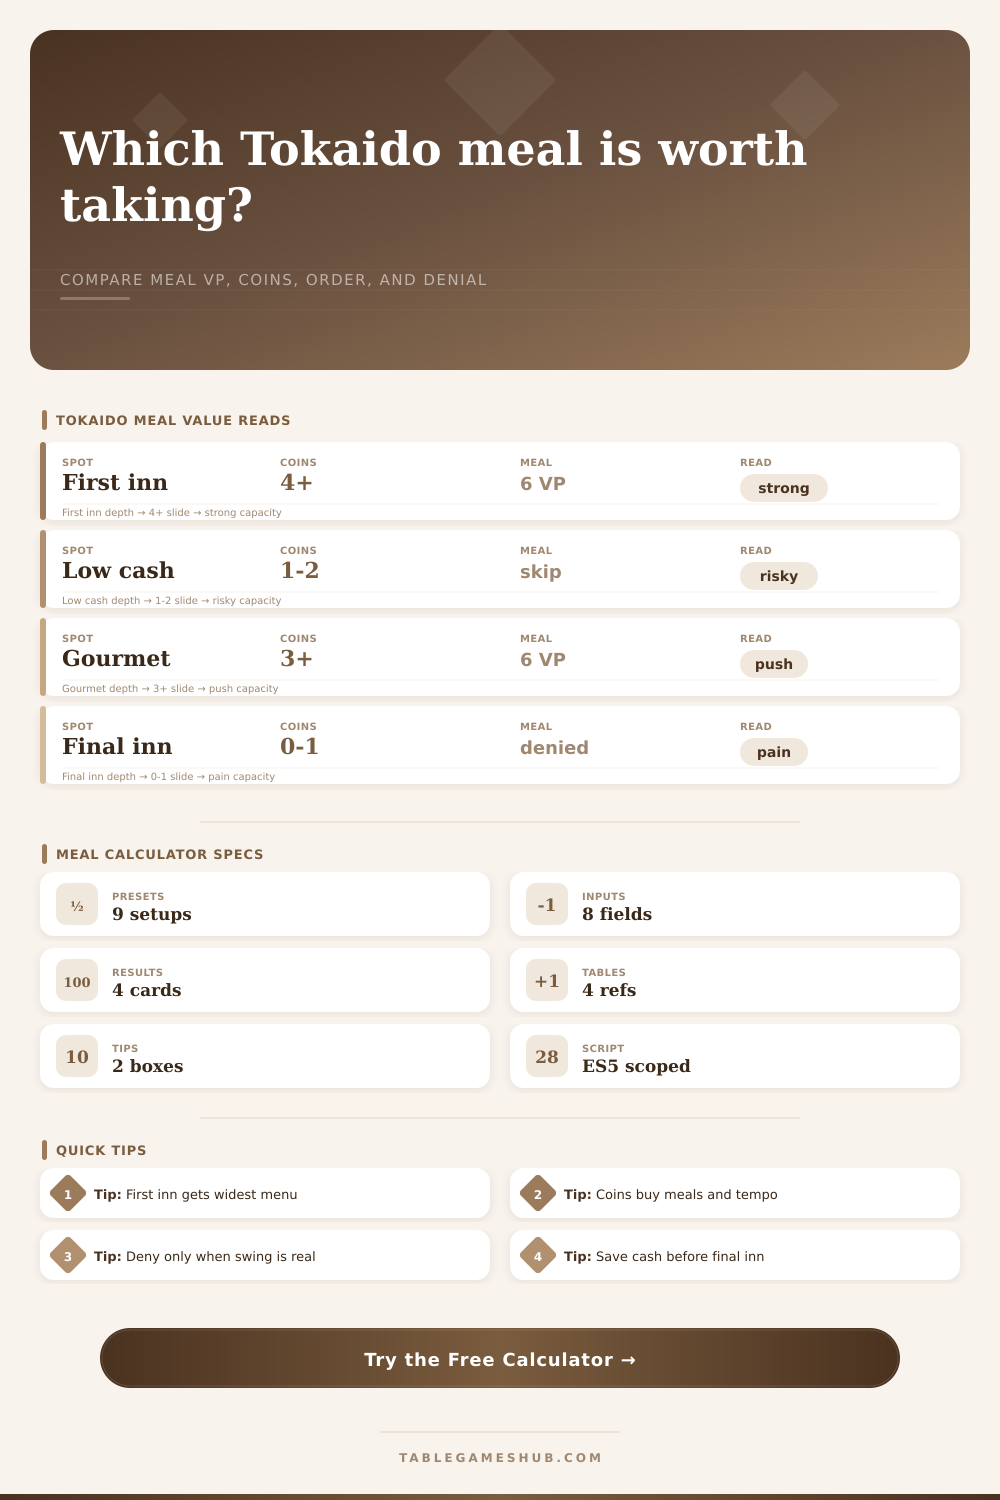
Tokaido Meal Value Calculator
Compare an inn meal by VP, coin pressure, traveler bonus, set progress, turn order, remaining inns, and opponent denial swing.
Use this between inns or when the meal row is revealed. It models the meal as a VP-equivalent choice, not a replacement for table judgement about who still needs food.
Meal Value Read
| Meal Situation | Typical Input | Value Read | Calculator Bias |
|---|---|---|---|
| First inn choice | 4+ coins, 6 VP meal | High control | Rewards full menu access |
| Gourmet traveler | 3+ coins, unique dish | Plan support | Adds achievement pressure |
| Coin-starved meal | 1-2 coins, late order | Fragile | Penalizes lost future flexibility |
| Final inn denial | 0-1 future inns | Big swing | Raises denial and scarcity weight |
| Inn Order | Menu Access | Modeled Factor | Use When |
|---|---|---|---|
| First | Best | +1.2 VP | You can choose any legal dish |
| Early | Strong | +0.7 VP | One or two rivals arrive after you |
| Middle | Mixed | +0.0 VP | Menu quality is uncertain |
| Late | Weak | -0.9 VP | Good dishes may already be gone |
| Last | Worst | -1.6 VP | You may be forced into skip value |
| Coin Reserve | After Meal | Future Inns | Pressure Read |
|---|---|---|---|
| Comfortable | 4+ coins | 2-4 | Meal rarely blocks future food |
| Playable | 2-3 coins | 1-3 | Watch next inn funding |
| Tight | 1 coin | 1-2 | One bad stop can deny the next meal |
| Denied | 0 coins | 0-2 | Only acceptable near game end |
| Set Progress | Bonus | Risk | Calculator Note |
|---|---|---|---|
| No pressure | 0 VP | Low | Meal is mostly printed VP |
| New dish type | +0.8 VP | Low | Small push for variety |
| Near achievement | +1.8 VP | Medium | Useful if rivals also chase it |
| Completes objective | +3.0 VP | High | Strong reason to buy now |
| Duplicate dish | -0.7 VP | Medium | Good only when coins are safe |
Because that’s what happens whenever you reach an inn in Tokaido: You are nervous. Your coin pouch sits open; you look at the menu items, and consider enemy whose hand is stretched out toward a valuable item. It makes people freeze up, because you know that spending coins here might improve your score, but it also depletes your coin supply before the end game when you fund the temples.
But the initial understanding is based off the board state. The order of play also matters quite a lot. First place is seemingly the most desirable position since you’re at the front of the line with maximum menu choices, but it’s a dangerous spot if you go nuts with spending. Because you’ll be able to see everything available up front, early players often makes the mistake of purchasing items that aren’t part of their longer-term strategy. This impacts how much weight the tool gives each player’s position in line. Being late means there probably won’t be anything left by the time it’s your turn and depriving an opponent of a key meal will hurt them more then your own mediocre purchase will help you.
When to Spend Your Coins
Since the model assumes you’re playing against other people who want to win as well, depriving them of cash now allow them to purchase a temple (or subsequent meals) later. Three coins spent at a six-VP meal are a way to pay for future opportunities instead of present-day cash. Spending down to nothing recklessly is a bad idea; there may be another round where you desperately need a few cheap meals but can’t find one, or where you’re dying for a temple but can’t pay.
How many station do you have left? How much money will you need there? The calculator factors that into your security cushion. Do you want to play it safe, or go all-in on the Gourmet achievement? Do you need every coin to score points or block someone else from getting them? Is six points now worth risking losing ten points later when you run out of money? Every choice becomes different depending on set progress. If you are one dish away from completing a food collection, that meal is worth more than its standard value once you add the achievement bonus.
Traveler bonuses and set progress reflect that acceleration: they shows the added value that each dish represents as input into your engine. Unless you’re collecting random meals, the normal value doesn’t apply. Once you’ve got pressure to fill out a set you’ll be tempted to overpay just to get the last dish. It may be a mathematically sound bet, or an exercise in frustration. Use the calculator to see what makes sense.
The value of denial is hard to quantify but if deployed properly can be incredibly strong. To use denial, you must read not only what’s in your hand, but also what’s in opponent’s. Taking their last copy of something they’re working toward will at best provide a small victory point and at worst delay their progress toward a victory point. You can enter an estimate of the denial swing into the tool to factor this in. In general, denying an opponent isn’t worthwhile except in cases where the target value is high. A duplicate dish is a waste of effort to block; a key set-completing meal is not.
The reference tables helps indicate the menu quality level at which it becomes wiser to hold off than buy crummy left-overs. It’s a game of restraint. The desire to go get points and collect is powerful, but that flexibility is what sets the great games apart from the good games. If you’re ahead, hold onto some money for the temple and keep an eye out on the last inn. Only spend when it feels worth it, such as when you complete the set or stop someone from getting a swing.
You should of had a base in the math, now learn to feel when to pay attention and when to throw it away entirely. That tension between table pressure and math is the game.