Santa Maria Score Calculator
Total happiness from conquistadors, shipping, monks, scholars, colonies, dice tempo, and end scoring.
⚓ Scenario Presets
🎲 Score Inputs
Enter happiness already earned during play, then add the final scoring lines that are easiest to miss: bishop and scholar tiles, harbor sets, printed shipment happiness, completed colony lines, and resource conversion.
📦 Resources and Shipping
Santa Maria Score Result
🧮 Component Snapshot
📋 Scoring Reference
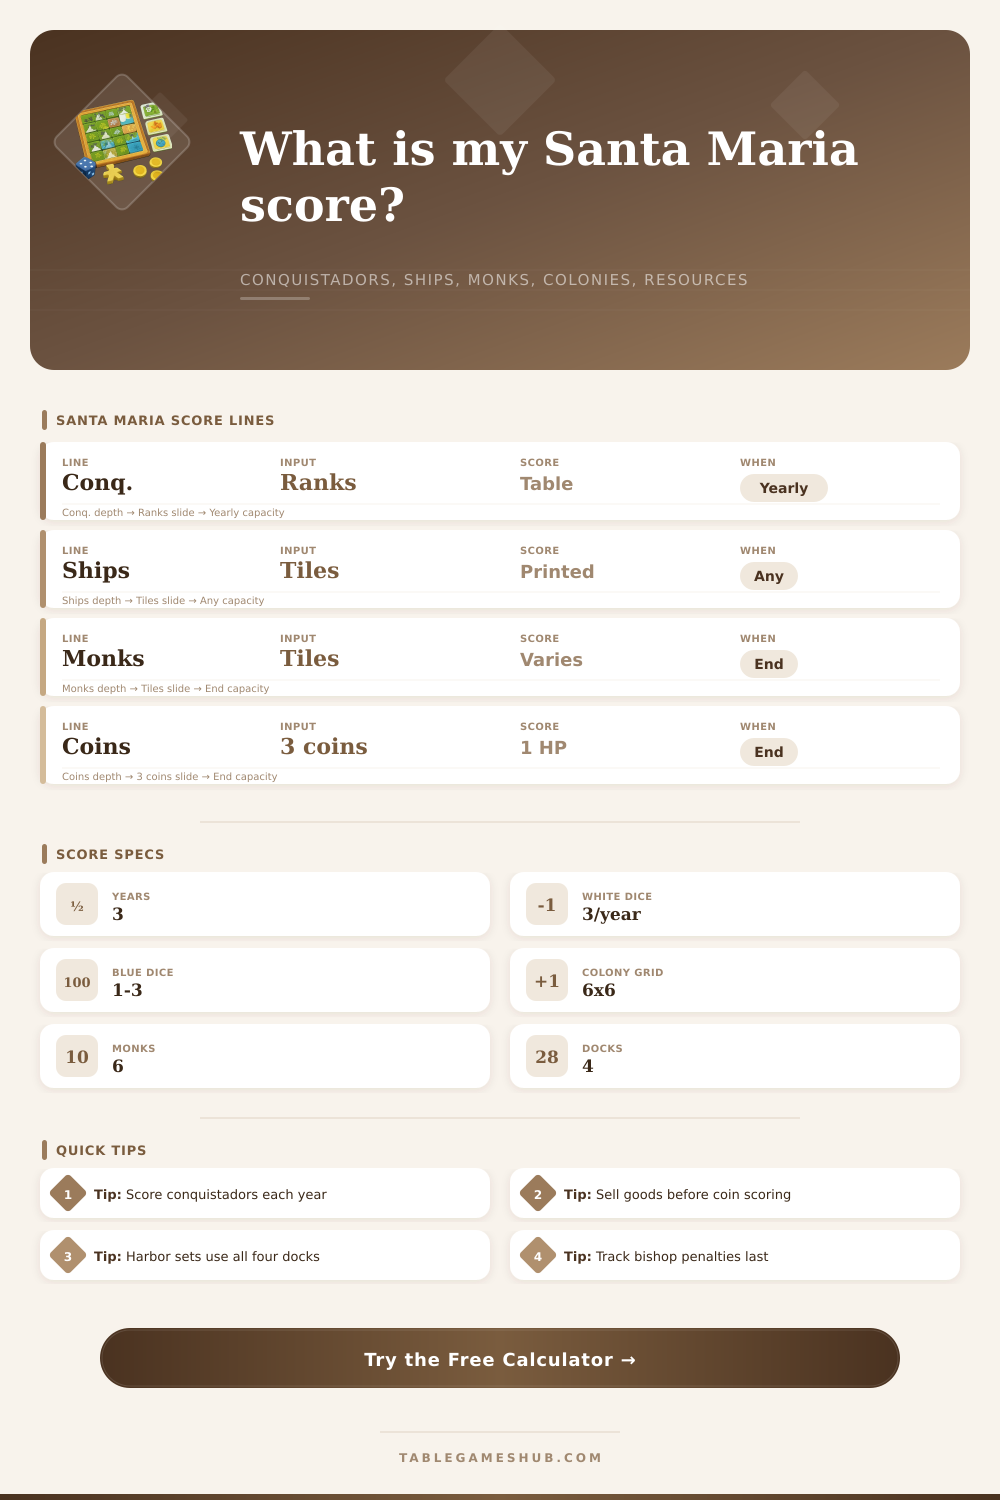
| Score Area | What to Enter | Calculator Math | Check Before Final |
|---|---|---|---|
| Conquistadors | Year 1, 2, and 3 award values | Adds all yearly awards | Track resets after each year |
| Shipping | Printed tile HP plus harbor sets | Tiles + sets x set value | Set needs one tile at each dock |
| Scholars | End points shown on scholar tiles | Direct addition | Do not double count immediate rewards |
| Bishops | Bishop tile points and monk count | Bishop points - 2 per monk | Penalty applies to bishop monks only |
| Resources | Basic goods, advanced goods, coins | Floor of total coins divided by 3 | Wood and grain are basic goods |
🏘 Colony and Dice Guide
| Colony Signal | Useful Input | Score Impact | Result Note |
|---|---|---|---|
| Complete rows and columns | Colonist points | End-game happiness | Empty spaces lower colony finish |
| White dice columns | White dice used | No direct HP | Shows final-year activation tempo |
| Blue dice rows | Blue dice unlocked | No direct HP | Religion progress enables more rows |
| Coin activations | Single-building actions | No direct HP | Useful when dice values miss a key line |
💡 Score Tips
Scoring for Santa Maria can be tough to wrap your head around. There are three years, there are various resources, there’s shipping routes and religious appointments and happiness tokens. When you draw last blue die, the board freezes and you add it all up. A lot of people have a gut feeling about who won but they lack precision to prove it so they end up overestimating or underestimating the final score.
To score isn’t just to add up tokens, it’s a multi-layered process where individual victory pathways is scored independently. You input your end-game assets and yearly awards into the calculator, which does the math for you. It saves time on clean-up. But knowing how those numbers work are more important than simply having a number. The game requires that you weigh short-term rewards against long-term standing. Scoring shows whether or not you struck a sustainable balance.
How to Score in Santa Maria
Take the conquistador track. On paper it appears to be a straight-up race. Move your marker, pick up the reward and go again. However, any player who has made it to a spot gets there slice of the pie. It is a relative game, not an absolute one. Every time multiple people hits one of those top spots, that prize becomes less valuable for each person. In the end the calculator adds up the value over the years, but as you’re playing the game you have to think about how crowded the track is at each point. First place is less important then sole place. That alters how you spends your action points in years one and two.
There’s an additional complication: shipping. There are tiles with printed happiness values that are simple to tally up. But there are also those harbor sets. To get a full set, you need shipment at each dock symbol. Because players concentrate on missions and conversion of certain goods, they overlook the larger picture of what’s happening in their port. Getting a full set is worth a pile of points. Not based off any single value of the tiles included, but the sheer act of having them all together. Sure, you may end up with a large number of points via random shipments, but setting up your harbor fully will beat that by a long shot. This is explained nicely on the reference table. This reminds me to check my sets as well as tiles. Hesitation will be punished.
Your options for monks are limited. Their end-game value depends on where they’re placed. Their late-game value depends on where they are placed. Training scholars will reward you steadily. Missionaries do too. Their work also has its own reward. This is all a very delicate mix. You can stack bishops and create a religious engine. But if the penalties hit hard enough, then the lead shrinks. This is again a small detail. But it is important. The calculator automatically includes all penalties. The net effect of your strategy are displayed.
Till late, resources are second-class citizens. Gold and gems are pricey, wood and grain convert slow. It’s a basic equation you can do in your head, but under pressure people make mistakes. Three coins equal one happiness token. Coins less than that fall into oblivion. Such an unforgiving exchange rate drives people to spend efficientely instead of hoarding. Rarely does it pay to hoard in Santa Maria; there’s no wiggle room in the conversion floor.
Colony completion adds a spatial dimension to the scoring. You get big points for completing both rows and columns on the grid. It’s more about seeing it as a game board with pieces instead of a set of tasks. The white dice from the last year don’t count toward scoring, but show how fast or slow your pace is. If you run out too soon, you may miss vital spots for colonies. That is where folks go astray. They look at their token in-hand count, forgetting empty spaces on the board that can make all the difference.”
These numbers were confirmed easily thanks to the tools offered. However, going through the breakdown is where you get your insights. You might have won because of strong shipping or efficient resource use. Knowing what path was your greatest one allows you to refine your play for the next game. You no longer just play blindly; you play with purpose. The random becomes something that can be learned from.
Consistency matters more then brilliance when playing Santa Maria. A single good maneuver won’t compensate for an otherwise poor strategy. Every flaw in your strategy will be exposed during the score phase. Did you build a low-key empire of religion? Or did you crush everything underfoot and dominate the conquistador track? The numbers don’t lie. Eliminate the guesswork by using the calculator when doing the math. Now turn that number into something meaningful. What do they tell you about the choices you made? Yes, the board doesn’t lie, but it can’t speak for itself. It takes careful scrutiny. All you have to do is learn how to tell which pieces of the narrative count toward the finishing line.