Santa Maria Production Die Calculator
Compare a Santa Maria production die before you spend it: blue row chains, white columns, monk pushes, conquistador routes, scholar combos, coin rerolls, goods, shipping, points, and remaining dice.
1Santa Maria Die Presets
2Production Die Inputs
| Line item | Entered value | Scoring logic | Point effect |
|---|
3Spec Grid
4Reference Tables
| Die type | Typical target | Strong signal | Warning sign |
|---|---|---|---|
| Blue die row | Horizontal production chain | Three or more useful tiles in the row | Long row with empty or blocked spaces |
| White die column | Vertical activation lane | Column includes goods plus a scoring tile | Column only makes raw goods with no outlet |
| Flexible private die | Any row or column you can afford to set | Reroll cost unlocks a better route | Coins spent only add one weak tile |
| Late round conversion | Ships, missions, and point tiles | Goods immediately turn into points | Production cannot be shipped this round |
| Route focus | Count in inputs | Calculator cue | Best use |
|---|---|---|---|
| Goods engine | Goods produced | Goods flow rises faster than track push | Feed a ship or mission before endgame |
| Monk track | Monk/conquistador bonuses | Track push card becomes high | Grab a monk reward or bishop bonus |
| Conquistador road | Track bonuses and shipping points | Net value climbs even with low goods | Take the route when tracks outscore cargo |
| Scholar combo | Activated tiles and track bonus | Tile efficiency is high | Stack scholar, production, and point effects |
| Preset | Die plan | Main payoff | Use when |
|---|---|---|---|
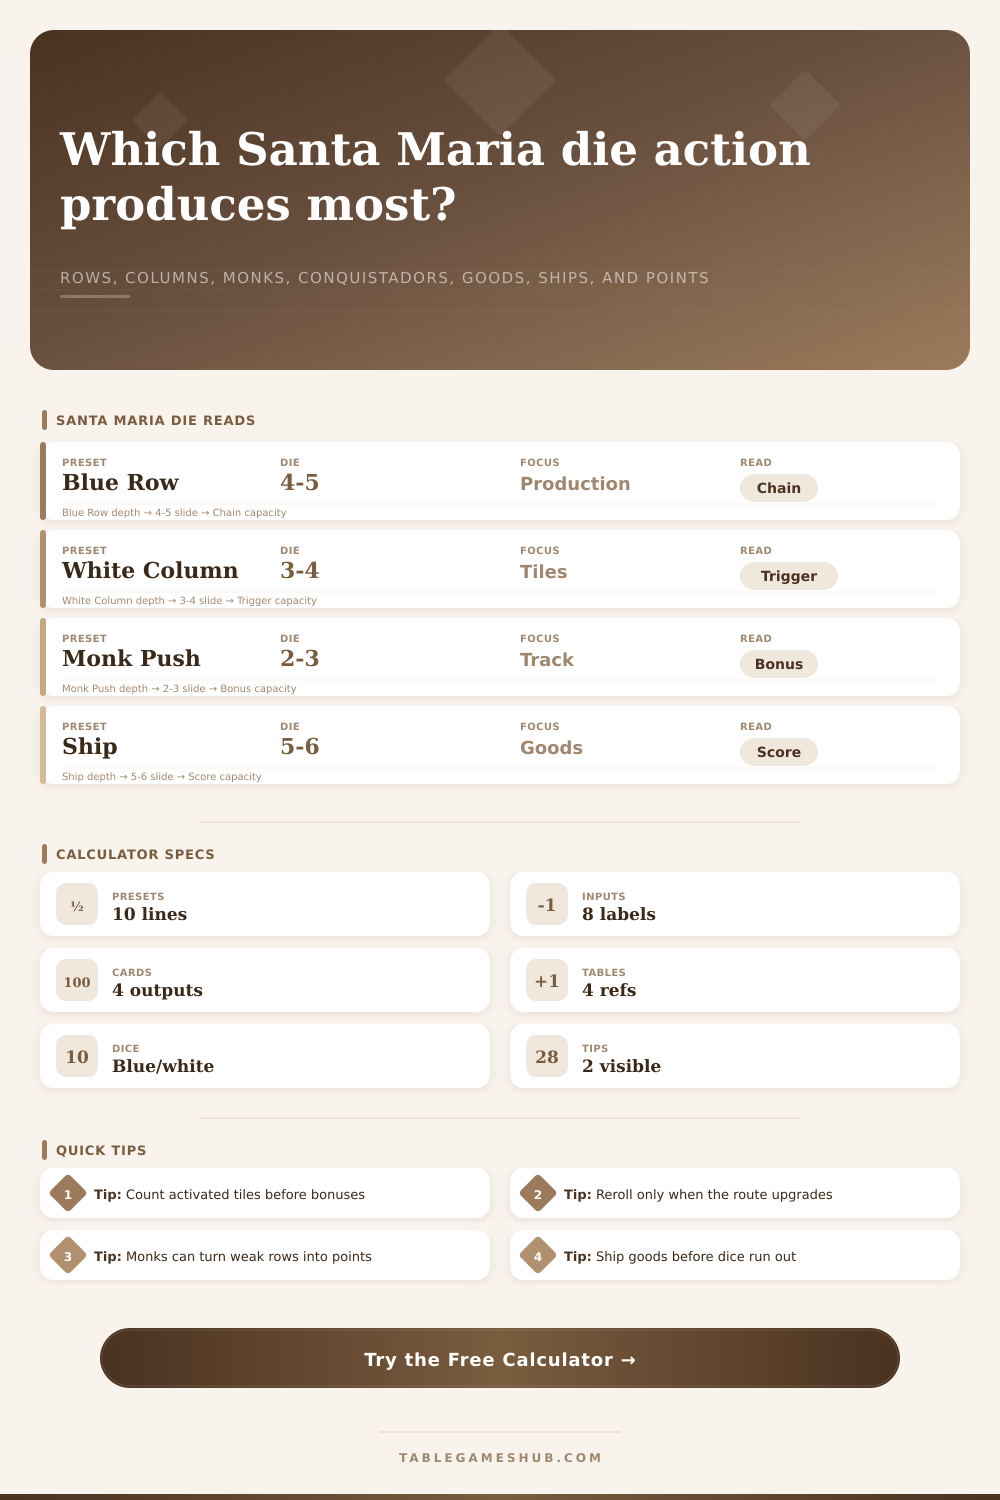
| Blue Die Row Chain | Value 4 across a row | Many tiles plus goods | The row is already built out |
| White Die Column | Value 3 down a column | Cleaner tile efficiency | The column hits quality over quantity |
| Monk Track Push | Low die with track reward | Bonus conversion | A monk jump pays immediately |
| Conquistador Route | Mid die with road value | Track and point mix | Goods alone are not enough |
| Scholar Combo | Adjusted die for combo tiles | Tile efficiency | One reroll triggers several effects |
5Tips
Check tile efficiency before rerolling: a coin reroll is strongest when the new value adds at least two useful activations or turns goods into immediate shipping points.
Separate production from conversion: goods look good, but the die is usually best when a monk, conquistador, scholar, ship, or mission converts them before the round closes.
In Santa Maria most players view dice as a random number generator, but they’re really only half right. It’s true you roll for luck, but you also get to decide which column/row you’ll activate when you do. If you roll well, but hit nothing but blank spots, you might as well have rolled poorly; likewise, if you roll a low number and land on a full tile lane, it could be worth big points. Knowing which side of the street to buy into (or at least what you risk losing by doing so) is often what determine victory or defeat here. Always consider the probable payoff of any given activation path; don’t just go for the biggest number on the board.
After plugging in your own board configuration, the calculator does all that work for you (above), sparing you the mental effort when time is ticking down. And it require you to think about how many tiles is active, which bonus tracks are being pursued, etc., all at one time.
How to Play Santa Maria Well
Because they can see their resources (wood, grain) right there on the board, most players concentrate too much on producing those goods. What they neglect is that conquistador routes and monk pushes also generate cash (or deliver instant points). Frequently, that money/currency/points will be more efficient than gathering raw materials. A vertical column where a die rolls into a scoring spot plus another good tile…that’s the kind of synergy that makes strategic thinking different from merely casual gaming.
Keep an eye on the reroll mechanic. It’s tempting to spend coins to switch up a dice result because it seems like you’re gaining control over your turn. However, it depletes your money supply at a rate far greater then you think. This is where the tool really shines, and can helps you decide whether the additional boost is worth the cost. Rerolling a weak line into a trio of effective tiles is totally worth it. But adding a single marginal benefit will probably cost you more in coin value than you’ll recieve in points/goods.
Remember to watch your end game scoring machine, pay attention when it becomes easy to plan your turns just to get more resources. With fewer dice, your endgame strategies changes radically. Production output is less important in the later rounds: if you’re down to two dice, it doesn’t make sense to build up long chains that need to be activated several times. The calculator defaults for a late game rush mission point out this trade-off by focusing on short term gains (ships) instead of long term investments (building out an engine). Your final few actions should turn your existing stock into VP; they shouldn’t create new goods which can never be shipped out.
Scholar combos and monk tracks has a lot of reward but also quite a bit of variance. The right set of tiles can cause a bonus to spread like a chain reaction from one die roll. That’s when you should of consider the efficiency of each tile. It isn’t simply about how far apart two tiles are, it’s about how good those tiles interact with each other. A seemingly weak scholar activation may be strong alone, but paired with a production tile in the same row, it activate abilities that compound your rewards throughout the remainder of the round.
To that end, they also include some reference tables with their calculator. These allow for a fast look-up of patterns and help you decide when to use one over the other (white column or blue row chain) based off the density of tiles. Get familiar with those tables so you can train your eye. Eventually you’ll begin to see the efficiency of columns versus rows naturaly without having to plug it into the calculator each time. You’ll know what a high-value column looks like just by looking at the table.
To sum up, thinking about individual die rolls in isolation will only get you so far in Santa Maria. Each one opens a particular set of doors on the board; they’re keys. And you need to determine where the keys fit and open up the best loot before flipping them over. Quit random rolling! Plan out what activations you’ll run through as much as you’d plan out how to load up your ships. Sure, the dice are random. But you don’t have to act randomly yourself.