Raiders of the North Sea Calculator
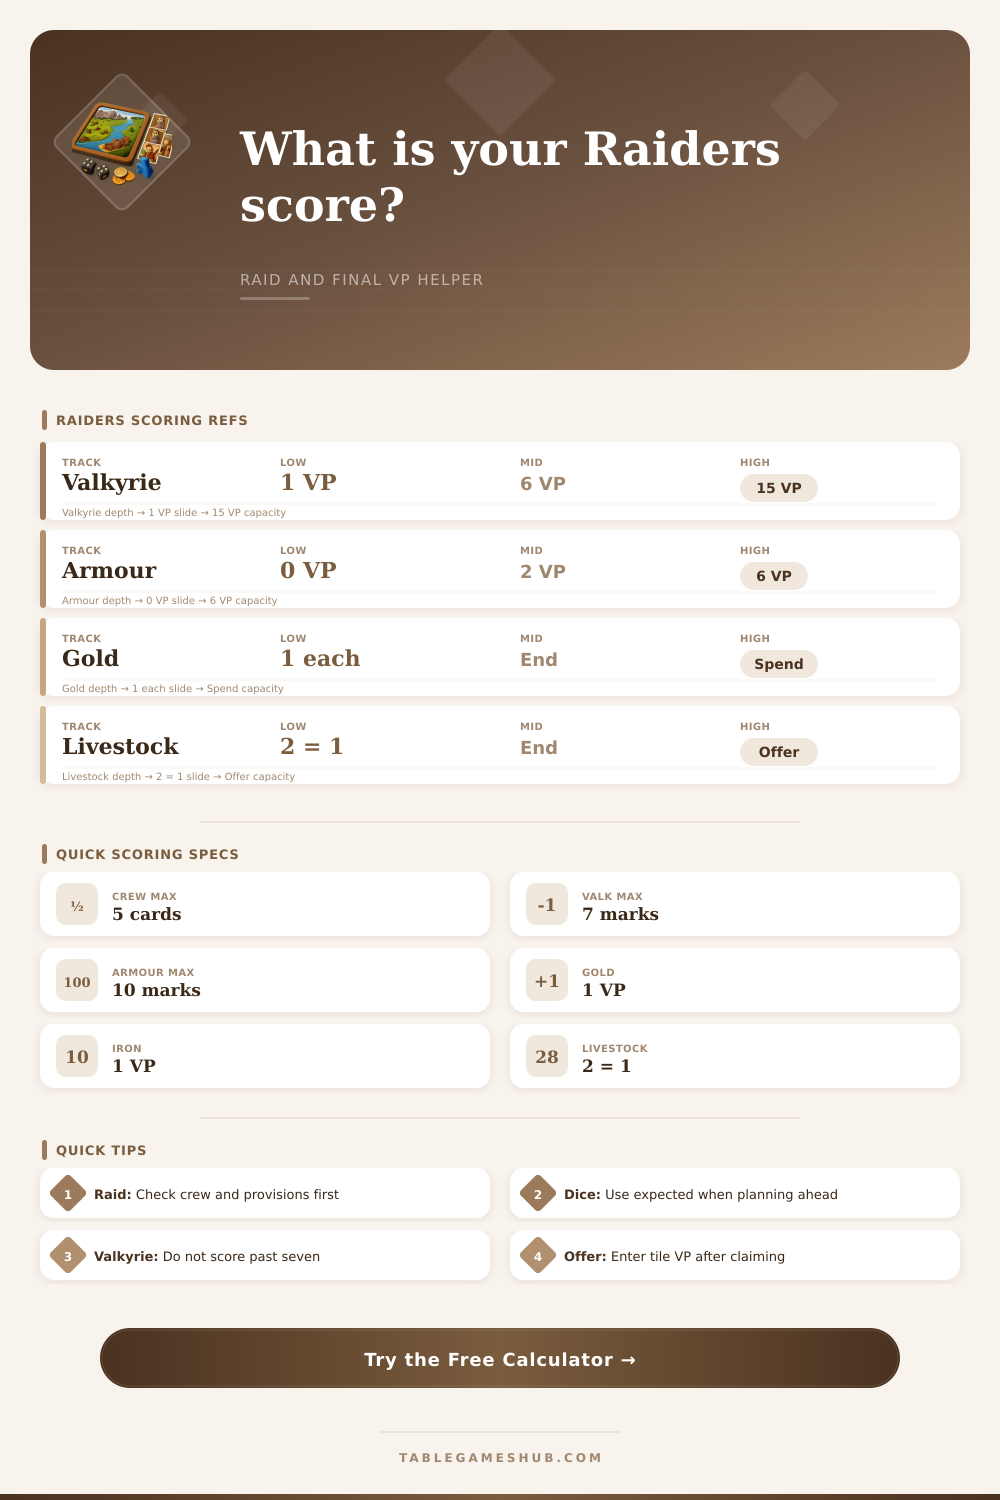
Project one raid, check crew and provision readiness, then combine raid VP with armor, Valkyrie, offerings, crew bonuses, and remaining plunder for final scoring.
🎯Raid presets
⚔Raid and score inputs
🛡End scoring inputs
Score breakdown
📊Live score grid
📜Scoring reference tables
| Score area | Formula used | When it scores | Calculator field |
|---|---|---|---|
| Military strength | Crew strength + crew bonus + armour + dice | During raid | Raid and score inputs |
| Harbor raid | Fixed VP printed by harbor | During raid | Use 1 VP preset or custom fixed VP |
| Other raids | Compare strength to VP thresholds | During raid | Threshold strength and VP fields |
| Crew raid VP | Direct VP from hired crew abilities | During raid | Immediate crew VP from this raid |
| Offerings | Tile VP total | End game or as claimed on track | Claimed offering tile VP |
| Remaining plunder | Gold + iron + floor(livestock / 2) | End game | Gold, iron, livestock fields |
| Track level | Valkyrie VP | Armour VP | Note |
|---|---|---|---|
| 0 | 0 VP | 0 VP | No end-track score yet |
| 1 | 1 VP | 0 VP | First Valkyrie matters immediately |
| 2 | 2 VP | 0 VP | Armour still mainly helps raids |
| 3 | 3 VP | 2 VP | Armour begins end-game scoring |
| 4 | 4 VP | 2 VP | Middle track value |
| 5 | 6 VP | 2 VP | Valkyrie jumps here |
| 6 | 8 VP | 4 VP | High mid-game marker |
| 7+ | 15 VP max | 4 to 6 VP | Valkyrie scores only up to seven |
| Raid type | Typical needs | Dice | Planning note |
|---|---|---|---|
| Harbor | Low crew, low provisions | None | Best for early plunder and worker upgrade. |
| Outpost | Middle crew, provisions | 1 die | Good bridge into armor and stronger raid turns. |
| Monastery | Often gold plus provisions | 2 dice | Check gold cost before counting end plunder. |
| Fortress | High crew, provisions, gold | 2 dice | Can end the game once only one set remains. |
| Resource | End VP | Common spend | Calculator handling |
|---|---|---|---|
| Gold | 1 VP each | Monastery or Fortress entry, offerings | Gold cost is subtracted before end plunder. |
| Iron | 1 VP each | Armoury upgrades, offerings | Enter iron after planned armour spending. |
| Livestock | 1 VP per pair | Long House provisions, offerings | Odd leftover livestock scores 0 VP. |
| Provisions | 0 VP | Raid entry | Used for readiness, not final score. |
💡Scoring tips
Your ship’s built, your crew’s engaged, provisions are loaded in the hold, now do you go raid? Will it pay off in points for you to mount up? That’s where Raiders of the North Sea create a slight tension as you weigh near term treasure versus building toward longer game. Do you bump your Valkyrie token or hit that Outpost for a bit of gold instead?
You won’t know what makes sense until you run the numbers and realize that whoever wins use a different scoring scheme than you need to account for. Enter your starting resources into calculator below, and let it work out the math, freeing you from trying to keep track of multipliers and conversions while time runs short.
Use This Calculator to Win
Essentially, this comes down to weighing the worth of military strength on raid against the worth of what that strength becomes post-raid. You are determining whether you clear the first threshold for base points or the second tier for bonus victory points, depending on if you think you’ll clear it with your hired crew strength and dice roll expectations. That’s why it matters more than raw loot: Clearing a high threshold will usually leave you with less to spend later. If you get an additional three points now, you will lose the ability to make a crucial offering for gold a little bit later in the game.
That isn’t something you can easily tell just by looking at it, you have to see those numbers laid out in front of you before you know what that tradeoff is. The tool also illuminates another aspect of resource management: what’s valuable at the end isn’t necessarily valuable throughout the game. At the end of the game, gold is a point, as is iron. However, livestock is worth points in multiples, but only if theyre in pairs. That means an odd number of livestock are effectively dead weight (unless you can turn them into something else before the body count).
The calculator takes this into account by using lowest possible value of whatever livestock you hold. This ensures you aren’t artificially boosting your estimated score with leftover pieces that won’t be worth anything at end anyway. It’s a common error to assume all your furnitures will be valuable come the end, just because it exists. That’s not true; some things are more valuable in sets than alone.
The Armour and Valkyrie marks is also worth taking care with as they lead into different tracks. After seven, the Valkyrie track caps out entirely, so you’re wasting a few crew members who would of otherwise contributed towards offerings or raids. Armour will boost your military strength, making it easier to clear raid thresholds. It also earns you points on its own by the end of the game. It’s laid out well in the reference table on the page, you can see when Armour begin counting towards your final score, starting at level three.
Knowing when to move away from supporting your raider and start earning for yourself is where the pros separates from everyone else. These mid-game points; while they may not be as flashy as raids. Offer a reliable flow of points for players who tend to overlook them. Collecting an offering takes a little bit of time and strategic placement, as you need enough room to claim the tile. However, you’ll get those points immediatly.
Using this tool, you’re able to type in what offerings you’ve collected individually, which will help you see how much weight those smaller wins contribute to your overall performance versus the big-money wins from raids. A couple expensive offering can close that margin between first and second far more effectively than a risky attempt at taking down a Fortress that could fail completely.
It also recognizes how pressure dynamics shift depending on player count. You’re given some breathing space in a two-player game, as you can chase ideal strategies without feeling someone directly in your face. Four players fill the board and everything comes at a price of opportunity loss. Hoarding resources is less feasible when multiple opponents is racing forward on each track. You will need to move quicker and take slightly less efficient actions to remain competitive.
The calculator accounts for this in its readiness warnings based off player count. Simply put, you’re running all those scenarios in your head, how many resources do I have? Where are my enemies positioned? Do I have enough to take out that last strongpoint? How much more iron and gold can I hold onto without depleting what I need on the final turn?
It’s that fine line between conservation and aggression… But you want to be aggressive just enough to strike that final, valuus enemy before converting whatever wealth you still possess into VP by the game’s end. The projection tool helps remove guesswork from those scenarios. Instead of sailing blindly, your longship now finds straight paths through the fog of war. These are informed choices rather than guesses.