Quadropolis Score Calculator
Total a Quadropolis city from building types, districts, tower stacks, shop customers, parks, factories, harbor rows and columns, expert offices, monuments, energy, inhabitants, and end-game token penalties.
Load a sample Mayor or Expert city, then adjust the buildings, resource tokens, rows, columns, and district details to match your player mat.
Enter activated or scoring buildings. If you use the grid reader, it will fill the common count, district, park, harbor, and factory fields while leaving exact stack heights and shop customer counts editable.
| Building group | Low count | Second count | Third count | Fourth count | Expert count | Scoring note |
|---|---|---|---|---|---|---|
| Tower blocks | Score by height; each stack uses 1 energy. | |||||
| Shops | Score by customers; each shop uses 1 energy plus its inhabitants. | |||||
| Parks | Parks score adjacent tower blocks and absorb extra energy. | |||||
| Office towers | Expert-only aid: height value plus 2 VP per adjacent office link. |
Optional grid reader: choose each built tile, then click read grid. Mayor mode reads the 4 by 4 city; Expert mode reads all 25 spaces.
Grid Summary
Grid is ready for Mayor / Classic city scoring.
| Category | Score | Resource use | Notes |
|---|
| Building | Main input | Score pattern | Resource check |
|---|---|---|---|
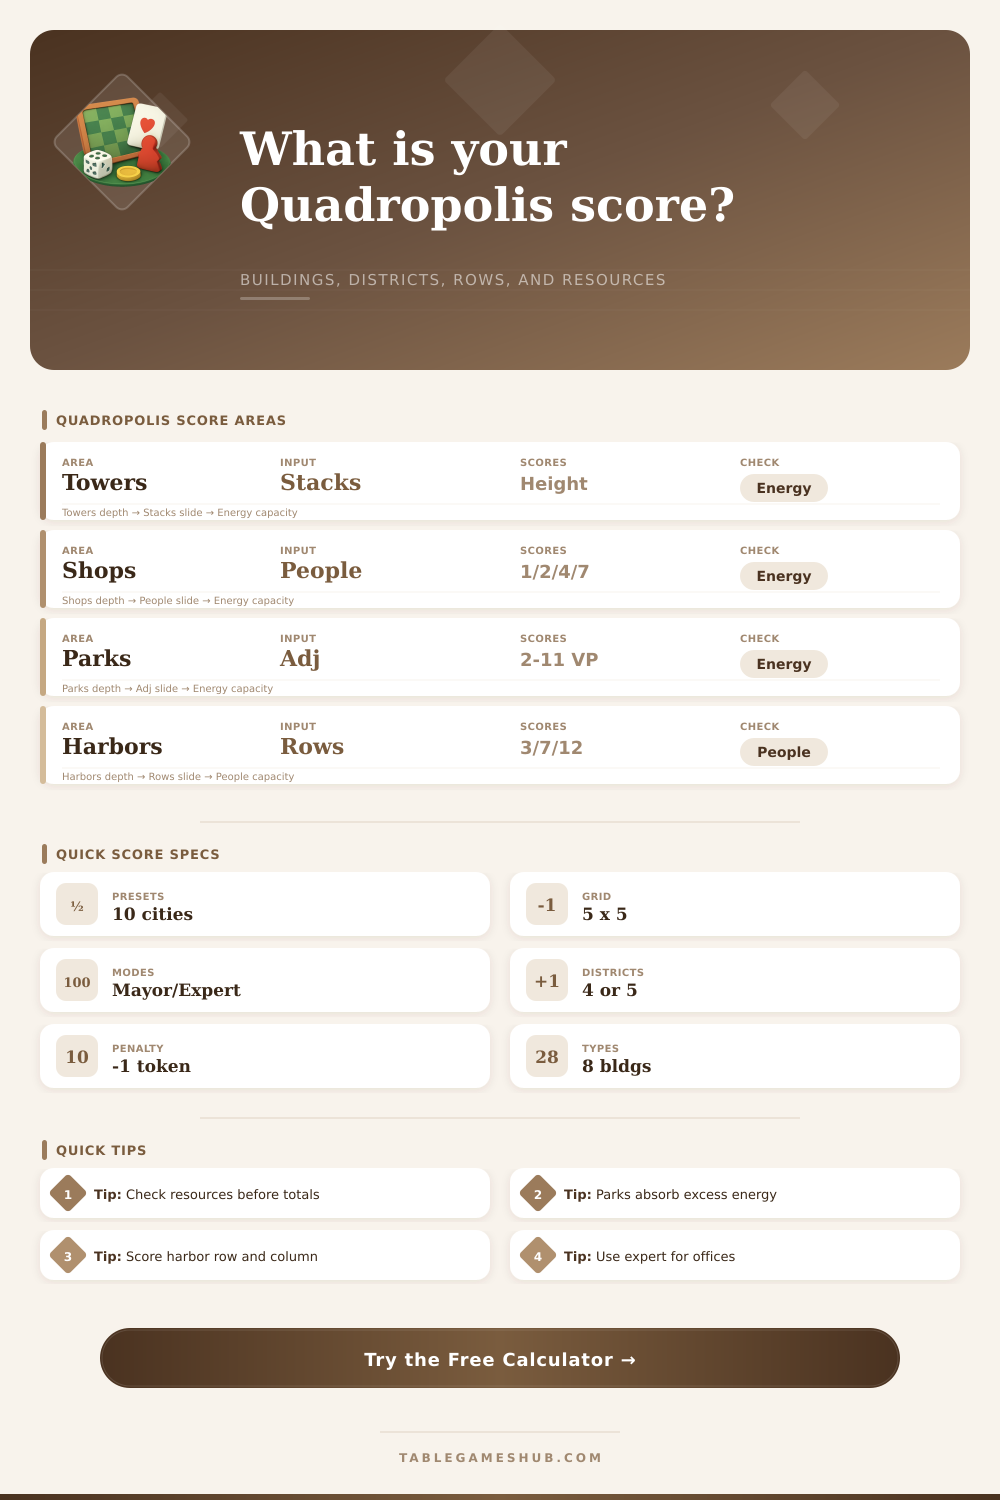
| Tower block | Stack height | 1, 3, 6, 10 by floors | 1 energy per stack |
| Shop | Customers | 1, 2, 4, 7 by inhabitants | 1 energy plus customers |
| Public service | District spread | 2, 5, 9, 14, 20 | 1 inhabitant per tile |
| Park | Adjacent towers | 0, 2, 4, 7, 11 | Absorbs excess energy |
| Factory | Shop and harbor adjacency | 2 per shop, 3 per harbor | 1 inhabitant per factory |
| Harbor | Best row and column | 0, 3, 7, 12, 18 | 1 inhabitant per harbor |
| Office tower | Expert height and links | Height plus adjacency links | 1 energy per office stack |
| Monument | Adjacent building mix | Parks positive, industry negative | Expert scoring aid |
| Mode | City spaces | District target | Row and column note |
|---|---|---|---|
| Mayor / Classic | 4 by 4 | 4 service districts | Harbor row and column each cap at 4. |
| Expert | 5 by 5 | 5 service districts | Harbor row and column may reach 5. |
| Grid reader | Optional | Auto-filled services | Counts every visible harbor by row and column. |
| Manual scoring | Any table state | Edit every field | Use when stack height or tile text needs a correction. |
Resource tip: Calculate energy and inhabitants before final score. Quadropolis points can look strong until unassigned tokens and missing activations are checked.
Grid tip: Use the grid reader for districts, parks, factory adjacency, and harbor rows or columns, then manually tune stack heights and exact shop customers.
And that’s it, the final round in Quadropolis is all about scoring. After three phases of tile stacking, energy management, and haggling over who gets to live where, you’re finally down to the final round and staring at a combination of harbors, parks, and towers. It is easy to feel overwhelmed by the sheer volume of victory points scattered across your city map.
Before doing anything with them, understand what is being counted. And this is where folks go wrong. People gets excited about the largest tower. They don’t consider how the pieces fits together. Each part of your city take up space or eats resources; including towers.
Scoring Tips for the Final Round
Those are easy point-getters, one per level. But they cost energy, and you need energy to keep stacking them. Shops use both energy and citizen, but reward you by giving you more potential points with each customer you acquire. The balance here (the game’s engine) is one of input/output: how much do I have? How many inputs can I manage with my outputs? In other words, no, you don’t get to construct whatever has the most points. You only get to construct what you can afford. Putting four story shop on every square will leave you without population, so then those shops becomes dead weight.
Because parks do not score on their own merit, they force a different kind of logic. They don’t score for themselves; they reflect the values of their surroundings. If there’s nothing else around them, then a park in a corner is worth less than a park beside four towers. It means you have to make adjacency a primary strategy rather than something that occurs after-the-fact. You want to get value out of your tower investments via parks without having to spend additional energy on the lawn. It’s a little thing, but it’s got meaning.
The same can be said for factories. Placed adjacent to industrial or commercial zones, factories will score higher. With correct placement, factories converts the surrounding clutter into points.
When evaluating harbors, don’t limit yourself to immediate neighbors; you need to consider the big picture. Examine full columns/rows for uninterrupted stretches of water accessibility. Individual harbor tiles only contributes value if they extend an existing chain. Your score is based off the maximum length of any such line, either vertical or horizontal, meaning isolated placement tends to generate lower scores than tight clusters. It rewards concentration over diversity. You’re wagering that one powerful axis can be more impactful then multiple mediocre ones.
Office towers add another wrinkle in expert mode. They are connected, and being near them is rewarded with a network effect that trumps traditional tower stacking. You get a lot of points per monument, but it is risky. It gets a bonus for being near civic buildings. However, it punishes you for having any other neighbors, such as water or industry. If it’s next to a factory, its score might be penalized despite any bonuses from adjacent parks. This requires precise positioning. One wrong move next to an industry and everything cancel out.
The calculator above does this work for you, sparing your brainpower when you’re down to the endgame.
The last filter is resource management. Typically you will receive some sort of penalty for every inhabitant and/or unspent energy token in existence. In other words, it’s not just about maximizing gains but also about minimizing waste, efficiency. If there are excess energy tokens, parks can absorbs them like a pressure valve, but only if they are placed in the right spot. Each building type interacts with your resources in different ways, which is explained in the reference table found on the page. Ideally, your city is going to be tight; no loose ends affecting your final score.
And finally, like any good game about building cities, you must balance short- and long-term gain. Each turn you’re weighing taking a tower now for some quick points versus leaving room for a park down the line which will multiply those points later. And the response you decide, whether it’s to go for the tower, to build a park, or anything else, hinges upon what resources you’ve got on hand at the moment as well as how your grid has shaped up. There’s no one right way to win; just the best response to the city you’ve created.
When the game comes to a close, it’s time to audit the system you’ve crafted piece by piece. A misplaced token or missed adjacency can swing the results of a tight race, so it should of paid to double-check the moddern numbers.