Azul Crystal Mosaic Calculator
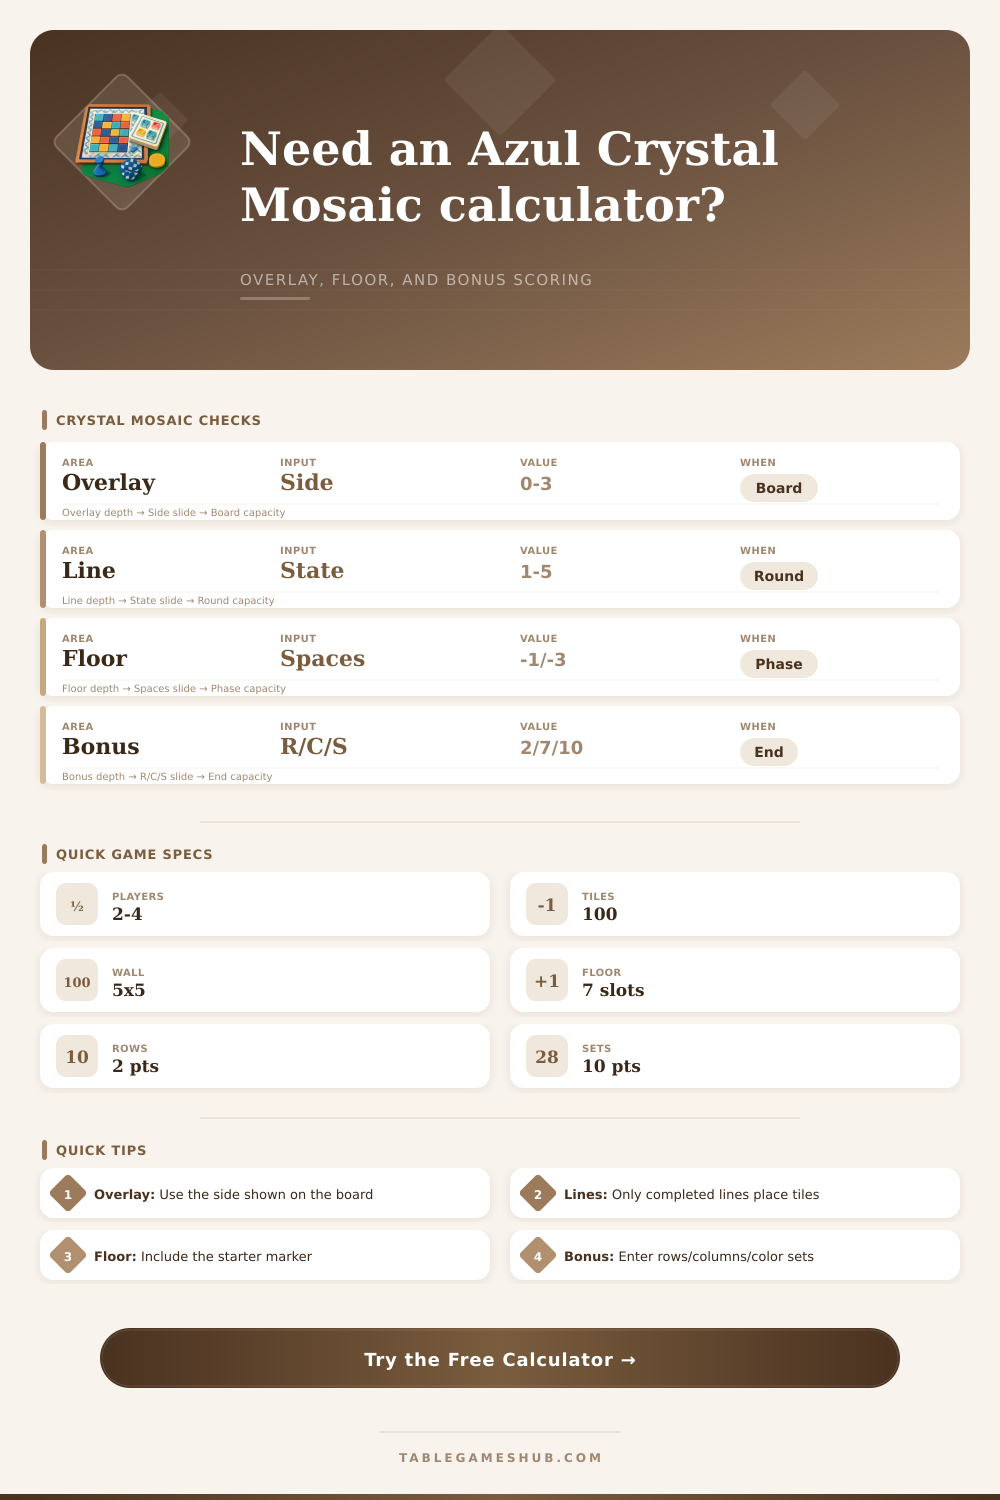
Score a Crystal Mosaic board state with overlay side, pattern-line completion, wall tile adjacency, floor penalties, completed rows, completed columns, color sets, and final bonus math.
1Crystal Mosaic Presets
Load a named board state, then tune the overlay, pattern line, adjacency, floor, and end bonus code to match the player board.
2Overlay and Score Inputs
3Crystal Mosaic Component Grid
4Scoring Reference Tables
| New wall tile state | Horizontal adjacent tiles | Vertical adjacent tiles | Immediate score |
|---|---|---|---|
| Isolated crystal tile | 0 connected | 0 connected | 1 point |
| Horizontal group | 1 to 4 connected | 0 connected | Horizontal group size |
| Vertical group | 0 connected | 1 to 4 connected | Vertical group size |
| Cross group | At least 1 connected | At least 1 connected | Both axes count the new tile |
| Pattern-line state | Line size | Wall tile placed | Calculator effect |
|---|---|---|---|
| Line 1 complete | 1 tile | 1 wall tile | Normal placement score |
| Line 2 or 3 complete | 2 to 3 tiles | 1 wall tile | Adds a small line efficiency note |
| Line 4 or 5 complete | 4 to 5 tiles | 1 wall tile | Flags high tile commitment |
| No line completed | Partial | 0 wall tiles | Adjacency score is held at zero |
| Floor spaces | Penalty used | Overlay note | Score floor |
|---|---|---|---|
| 0 | 0 loss | Clean overlay round | No change |
| 1 to 2 | -1, -1 | Small draft spill | Cannot go below zero |
| 3 to 5 | -2 spaces active | Check pattern lines | Cannot go below zero |
| 6 to 7 | -3 spaces active | Penalty is heavy | Cannot go below zero |
| Bonus type | Completed feature | Points each | Bonus field slot |
|---|---|---|---|
| Completed row | Five tiles across | 2 | First R/C/S number |
| Completed column | Five tiles down | 7 | Second R/C/S number |
| Completed color set | All five of a color | 10 | Third R/C/S number |
| Crystal overlay nudge | Entered side state | 0 to 3 | Added before floor |
5Scoring Tips
Enter the overlay first: the calculator assumes the visible Crystal Mosaic side is legal, then applies its side note to the wall placement score.
Use the R/C/S bonus field carefully: write completed rows, columns, and color sets as three numbers, so 2/1/1 means 4 + 7 + 10 bonus points.
It’s a bit of a look-but-don’t-touch experience at first, because Azul’s scoring rules has a way of throwing people off. There are times when you’ll confidently lay down a tile only to discover it triggered a penalty for exposed floor which can cost you dearly on the scoreboard. Most mistakes come from misunderstanding how points work relative to board setup.
How do you balance short-term gain of instant placement scores against long-term structure bonuses? The final score is broken down by component in the above calculator. From there you can see exactaly how much value came from adjacency versus how much was lost to the floor, this helps inform your strategy for next turn. Perhaps you’ll notice most of your points are coming from filling out rows and columns? In that case, you’ll know to look for those colors first. Let the calculator do the math then let it help you make your moves.
How to Score Well in Azul
A lot of people fail to notice floor penalty until it’s too late. That seven slot track becomes a ticking clock for misplaced tiles. When you can’t gets tiles on your board, it won’t be long before penalties skyrocket. In the short term, losing a couple of tiles off your board because they spill onto floor doesn’t seem like much. Over multiple rounds, however, those couple of points pile up and pull down your overall score. It’s clear from the reference table how this increase over time.
Recognizing that higher floors (three and above) come with larger penalties will affect your decision about taking a little bit of damage today for better opportunity tomorrow. Adjacency scoring doesn’t follow intuition. When new people plays the game, they often put down tiles where there’s space but forget about how those placements affect the moves ahead. That tile may earn you one point now. Placed beside another tile however, it might’ve formed a longer line, increasing your score more quickley.
With the scoring input section, you can see this tradeoff in action. Adjusting vertical and horizontal connections gives you two ways to see payoff for clustering tiles instead of scattering them around. Tiles clustered in dense mosaics gets greater scores thanks to their adjacency bonuses.
People also get confused about Endgame bonuses as something that’s all random chance. It’s actualy about controlling your board during the game. You’ll get 7 points for filling out an entire column. Sounds great right? Then you remember that you could of gotten those 7 points by managing your adjacencies carefully.
The trick is knowing how much to sacrifice today for tomorrow’s plans. You also need to know how much to play it safe so you don’t die to floor penalties before you finish setting yourself up for sweet endgame bonus. On the other hand, being too conservative can mean not having enough time to go after large bonuses while your board sits half empty.
The overlay side selection in the calculator accounts for different game states and variations. Regarding game state and variety, the overlay considers your side selection. Some folks likes to begin with certain layouts because they force specific strategic choices from beginning. For example, some will favor mosaics over clears or vice versa.
The fundamentals are consistant regardless. Minimize floor loss and maximize adjacency. From there, the tool refines its calculations. You get an honest estimate of your position.
To master Azul, you must stop thinking about placing pieces. Instead, start thinking like a resource manager. Each tile is a currency that you either spend now for instant points or save until later for potential combination scores. There’s no right way, there are only expensive detours.
Use the calculator to look back at previous games to see what went wrong. Do you keep missing vertical adjacencies? Are you overextending on an early color? When you catch yourself falling into those same traps it’s much easier to learn how to avoid them. It’s not enough to win this game. It’s also about understanding why you made the right move (and why you didn’t make another).
That is what separates a good player from a great player. With time and patience comes clarity.