Heat Pedal to the Metal Calculator
Estimate move pace, corner overspeed, stress volatility, slipstream timing, lap turns, and heat wear before choosing a racing line.
🏁Race Presets
Pick a sample race state, then adjust the inputs to match your current gear, hand, deck pressure, corner, and slipstream plan.
⚙Turn Inputs
Predicted Move
0
spaces including selected slipstreamCorner Delta
0
safe marginLap Pace
0
estimated turns per lapWear Risk
0%
risk bandCalculation Breakdown
🔧Component and Race Spec Grid
📊Gear and Heat Pressure Table
| Gear | Typical Use | Stress Comfort | Heat Pressure | Calculator Note |
|---|---|---|---|---|
| 1 | Hairpins, recovery, blocked lines | High comfort because speed range is controlled | Low unless boosting from the corner | Best gear for clearing heat and avoiding surprise overspeed. |
| 2 | Balanced corner exits and short straights | Moderate comfort with one stress card | Medium if boost heat is spent | Good default when the next corner is close but not tight. |
| 3 | Fast approach, attack lines, catch-up turns | Volatile with two or more stress cards | High if heat reserve is below three | Use slipstream carefully because the extra spaces can arrive after movement. |
| 4 | Long straights and final lap pushes | Low comfort unless deck is predictable | Very high if corner is within range | Best when the corner is far away or the planned line can absorb overspeed. |
⚠Corner Approach Guide
| Delta | Status | Heat Need | Planning Move |
|---|---|---|---|
| -4 or less | Under pace | 0 | Boost, gear up, or seek slipstream. |
| -3 to 0 | Controlled | 0 | Hold the line and preserve heat. |
| 1 to 2 | Hot entry | 1-2 | Spend heat only if the next turn is gentle. |
| 3 or more | Critical | 3+ | Reduce speed, skip slipstream, or downshift soon. |
💨Slipstream Timing Table
| Pack State | Expected Value | Risk | Use When |
|---|---|---|---|
| Open track | 0 spaces | Low | No target car is likely after movement. |
| Normal pack | 2 spaces | Medium | You expect to land one or two behind. |
| Dense pack | 2-4 spaces | High | Chaining is possible but corner risk rises. |
| Blocked line | 0-2 spaces | High | Traffic may deny the ideal landing space. |
🗂Preset Scenario Reference
| Preset | Core Problem | Starting Gear | Corner Limit | Main Watchout |
|---|---|---|---|---|
| Monaco Hairpin | Short distance into a tight corner | 1 | 4 | Stress and boost can instantly exceed the line. |
| USA Long Straight | Fast pace before the next braking zone | 4 | 9 | Heat reserve must survive the next downshift. |
| Italy Chicane | Medium speed into back-to-back limits | 2 | 5 | Slipstream may overshoot the second corner setup. |
| Wet Tight Corner | Low grip entry with thin heat reserve | 2 | 4 | Wear risk rises faster on wet profile. |
| Final Lap Push | Aggressive attack near the finish | 3 | 7 | Useful only if remaining spaces justify the burn. |
| Cooldown Line | Regain control after heavy heat spend | 1 | 6 | Move may be slow but stabilizes future turns. |
🧮Risk Formula Cues
| Factor | Adds Risk | Reduces Risk | Why It Matters |
|---|---|---|---|
| Stress | More hidden draws | Fresh speed deck | Unknown speed can push past a corner limit. |
| Heat | Low reserve | Five or more heat | Overspeed and boost both need heat to stay stable. |
| Traffic | Blocked line | Open track | Cars ahead can change slipstream value after movement. |
| Track | Wet or technical | Fast straight | Tighter sections punish excess spaces more severely. |
💡Race Planning Tips
Heat in most racing games are simply another resource bar that depletes while playing aggressively, but out on-track it’s much less forgiving. Overspeeding into a corner or flooring it during a race generate immediate heat. Poor handling of your stress cards wont help either. You’ll need to plan the correct distance between you and car ahead before braking, try doing it by feel, and you’re liable to overshoot and drop places in no time flat.
The above calculator crunches all those complicated numbers around slipstream variables, deck probabilities and gear ratios, allowing you to plot a proper line instead. “Fast isn’t as important as well timed. You need to know where and how much heat you has to dump on your way through a tight spot. That’s why studying the whole move, not the next turn alone, is so critical.
Why Heat Management Matters in Racing
What if you nail that fast straight but then get dumped in a hair pin with no heat left for the overspeed card? It feels good going into it but you gets a ticket coming out. The pros think strategically while button mashers goes full throttle.
These are the inputs. The inputs in this tool are based off actual mechanical limitations. How fast you’ll go is limited by what gear you have. A lower gear limit the maximum distance you can travel. Lower gears makes it more predictable where you’ll land. Higher gears increase max speed, but they has high variance if you’re unlucky and draw a bunch of stress cards. For example, if you’re in 4th gear with a few stress cards left in the deck, one bad draw can knock you completely off-track.
A quick look at the reference tables helps explain the trade-offs here: basically how much heat pressure you can handle based on your gear level and typical stress comfortly level. This is made worse by Slipstream. Once you have worked out where you land after that first move, it then adds more space behind it; so work out how far down the road you’ll end up before adding the slipstream effect.
Too many driver simply use their card draw to plan their approach into the corner and completely ignore the second part. The result is they are too far over the apex by just the narrowest of margins. Unless that total distance places you comfortabley inside the corner limits, don’t go for a slipstream chain.
It all changes when traffic enter the equation. In an open lane, you can plan your line with exact precision, there’s nothing out there that will block your progress. But a crowded pack brings uncertainty: Will another car obstruct your preferred route? What if it suddenly forces you into an unplanned collision? That makes every slipstream opportunity less valuable, too. It also increases the odds that you’ll feel stress from having to make sudden maneuvers. To reflect those factors in its risk scores, the tool take into account pack conditions, providing you with a better idea of where things could go pear-shaped.
Heat recovery matters just as much as how hard you spend your heat. Because you have only so much heat capacity, you can’t sustain max aggression for long. Taking gentler lines around corners and downshifting strategically can refill your tank without sacrificing much time. Consider them recovery periods required to allow later speed bursts. Too often we ignore the need to recover and is left gasping at some point in the race when we just plain run out of gas while other folks keep plugging along.
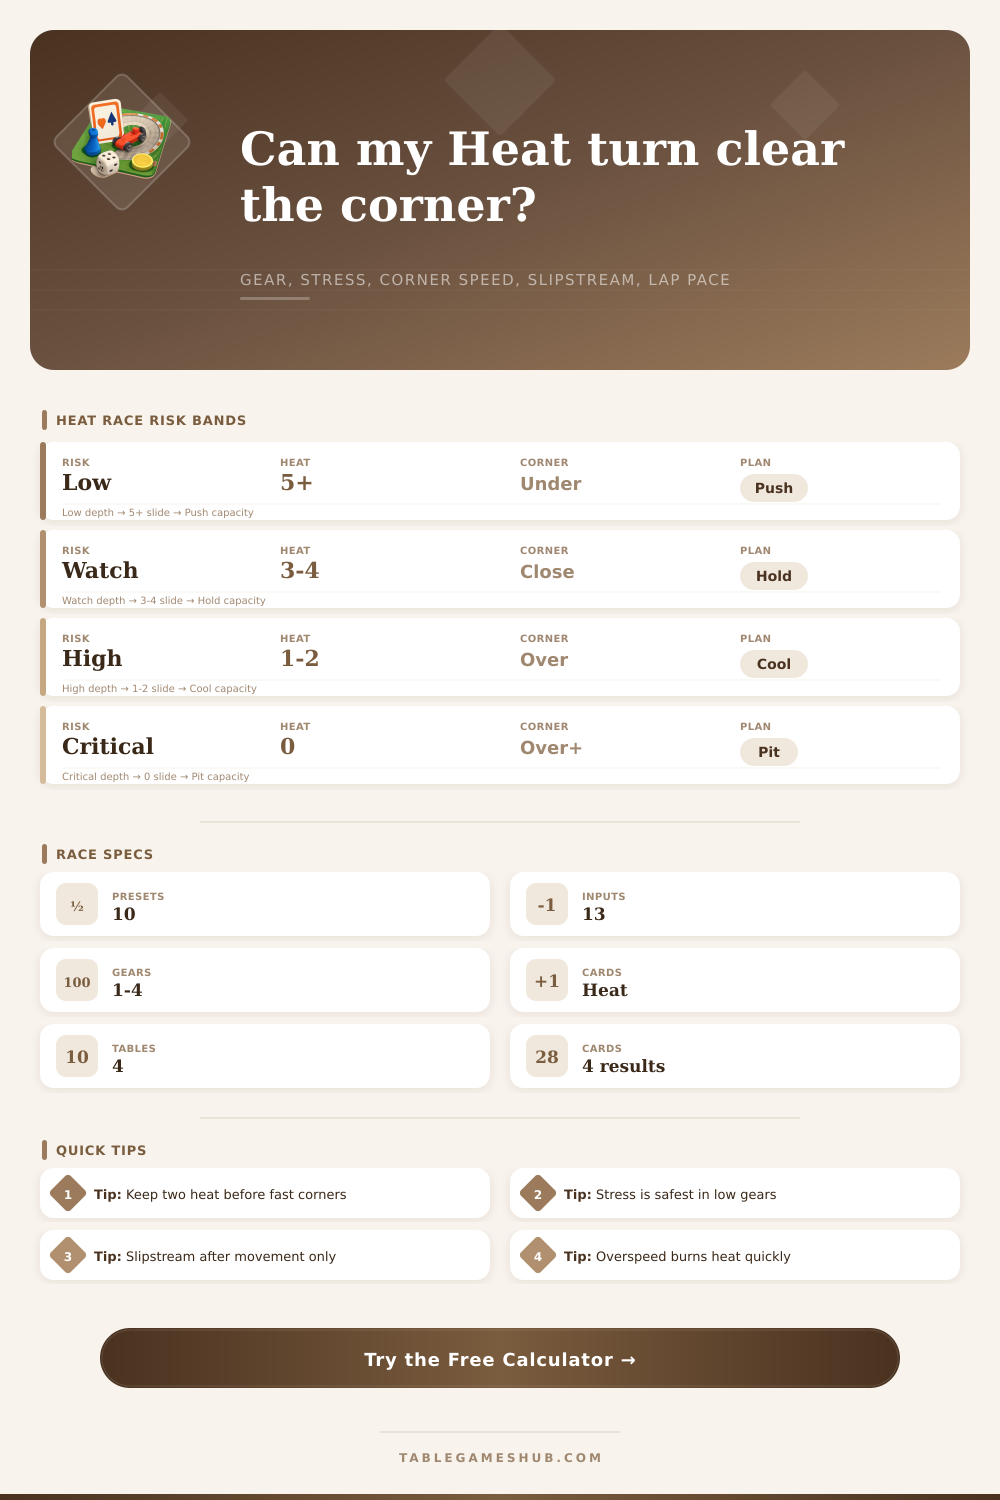
These are all very fast guidelines, shown visually through risk bands. If it shows low risk, then you’re taking aggressive lines but you still have plenty of room for error. You can get away with things. If it says high risk, well, you know that one small slipup here could mean getting penalized for the lap or an expensive incident. Take those as indicators to how aggressive or not to be, based on what the race conditions are like. Don’t just assume what your car is capable of doing.
The bottom line is that heat management is all about short-term versus long-term. Each boost you take today is one fewer option for tomorrow. Each stress card you draw makes you more likely to get knocked offline by some unpredictible thing. You run the math prior to pulling a line so that you know whether a gamble will pay off or if you should of sit tight until you can find something less dicey. Calculating those couple of spots right is what makes the difference between victory and disaster.