Evolution Score Calculator
Total your end-game Evolution score from food bag tokens, living species population, body size, trait cards, and scoring profile details.
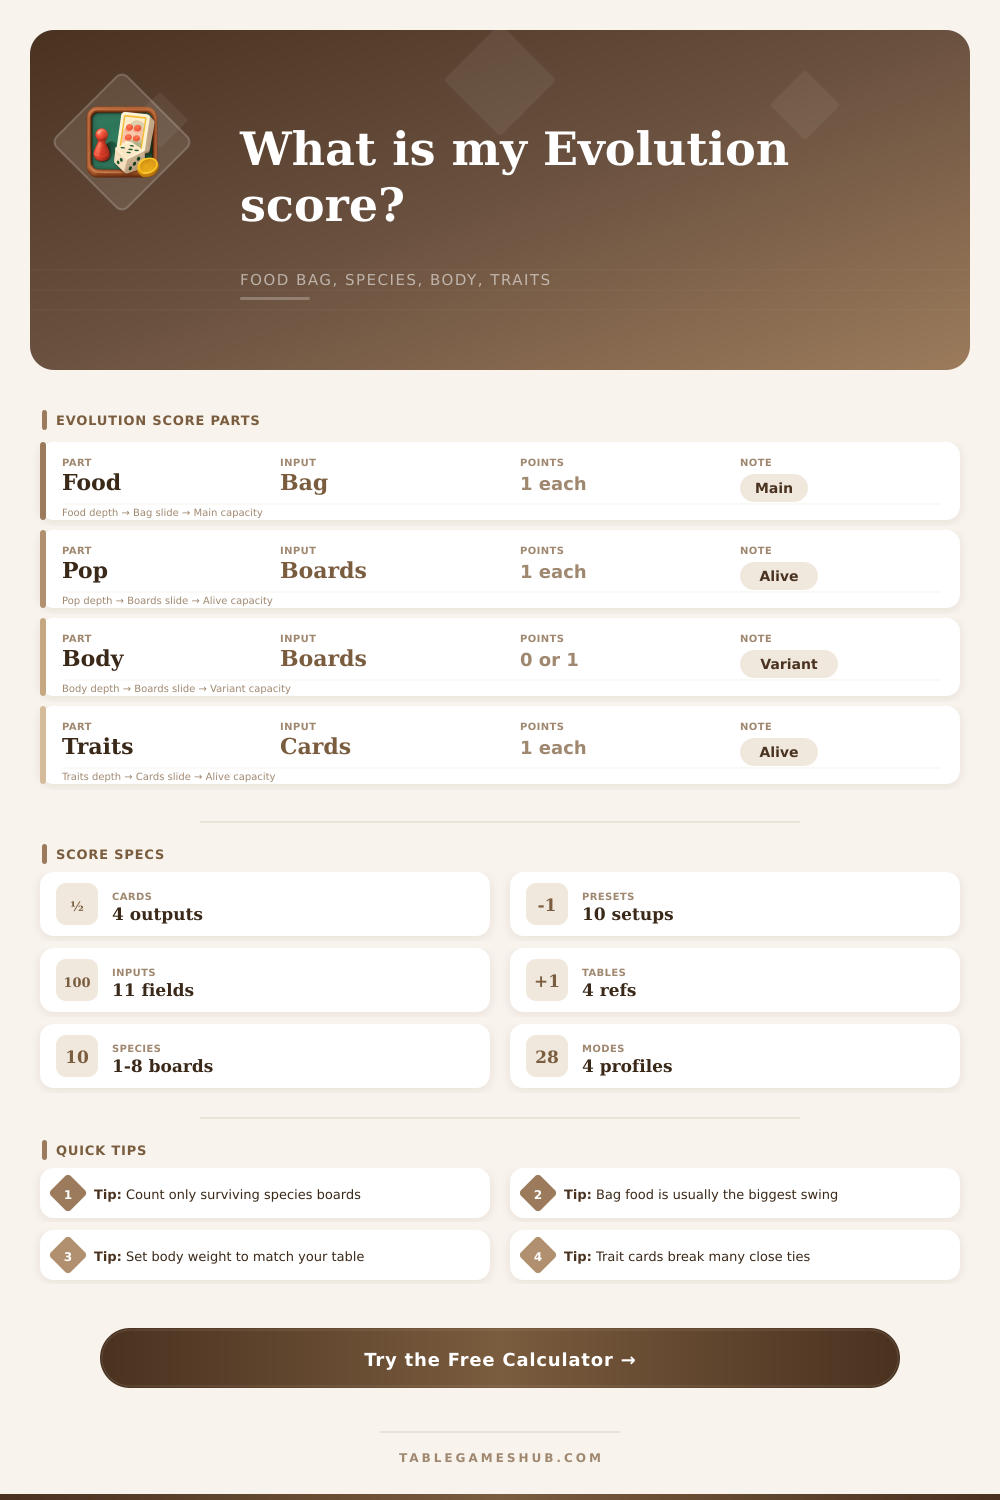
| Score part | What to count | Point value | Calculator field |
|---|---|---|---|
| Food bag | Food tokens already banked in your hidden bag | 1 point each | Food tokens in your bag |
| Stored food | Fat Tissue or end-game food that still needs to be banked | 1 point each | Stored Fat Tissue food |
| Population | Total population values on living species boards | 1 point each | Total living population value |
| Body size | Total body values on living species boards | 0 or 1 point each | Total living body size value |
| Traits | Trait cards still attached to living species | 1 point each | Trait cards on living species |
| End board shape | Food bag range | Population range | Trait card range |
|---|---|---|---|
| Lean survivor | 12 to 22 | 5 to 9 | 3 to 6 |
| Balanced ecosystem | 24 to 38 | 10 to 18 | 7 to 12 |
| Wide species spread | 28 to 44 | 16 to 28 | 12 to 20 |
| Carnivore finish | 34 to 58 | 8 to 18 | 6 to 14 |
| Species count | Expected board focus | Common scoring risk | Audit cue |
|---|---|---|---|
| 1 to 2 species | Tall population or body | Low trait spread | Check per-species density |
| 3 to 4 species | Balanced survival | Missed Fat Tissue food | Verify bag plus stored food |
| 5 to 6 species | Trait engine scoring | Extinct board overcount | Count living boards only |
| 7 or more species | Very wide ecosystem | Card count mistakes | Recount attached traits |
| Scoring profile | Food | Population | Body and traits |
|---|---|---|---|
| Full board audit | Bag plus stored food | Living species only | Body counts; traits count |
| Official style | Bag plus stored food | Living species only | Body ignored; traits count |
| Climate audit | Bag plus stored food | Living species only | Body counts; traits count |
| Tie-break check | Normal food score | Normal population score | Body counts; trait count flagged |
In the last round of Evolution, there is a dozen species boards: some looking majestic and others barely clinging to life by a single cube. It’s the math after feeding that provides the nail-biting. One misplaced token or forgotten species, and what was once a winning score are now one point short. Get out the calculator (above) to add up these elements and spend more time on game instead.
By far biggest reason people score wrong is because they don’t understand their food bag. Each token are worth one point. This includes each piece of fat tissue and every other token you’ve kept in your cup or stored with the Fat Tissue trait. Whether those points reside inside your own supply, or on your own species board doesn’t matter. You have to count whatever you’re holding when you score; it doesn’t matter how awesome-looking it might be on table. If you scored before moving all of your food into your food bag, and didn’t move some food off top of a carnivore’s head, you lose out on that point. It’s a little process step, but screwing up here will immediate erase any benefits you were gaining.
How to Score Points in Evolution
Points from living species is scored according to where their body track is placed and how many of that species is left. Since extinct species don’t score points, you might be tempted to look at a pile of cubes on an extinct species’ dead board and try to count them in your head. Those aren’t scoring points. The points comes only from living species.
There’s another wrinkle to all this: Each face-up card also add one point for traits attached to that species. This means you might choose to keep a weak species alive past the point of its death in order to reap trait points from it later.
It lets you switch between various scoring profiles (i.e., how house rules affects the math). Certain groups will treat body size as irrelevant when it comes time to tally up final points. Others want to use trait counts for tiebreakers. Before you begin counting down the traits, you should of know what scoring profile your group is using. If you’re running a Climate expansion, then the body size numbers comes into play in new and interesting ways that they didn’t in base game. It’s flexible enough to adjust to your table setup but not so inflexible that it forces you to do things one way across all scenarios.
But when you examine these scores based off playstyle, some valuable strategic insight come up. For example, some players specialize in strong species with lots of traits (and a small bag of food), whereas others build out a broad ecosystem, scattering risk across multiple species and racking up points by having lots of population cubes instead of any one being particularly powerful. You can’t go wrong building your high-score one way or another.
The reference tables on the page shows you average ranges for each end-game shape. They show what a balanced board look like compared to one built to collect food or focus on highly-traited species. This all depends on how you set up your personal combination of resources and species, but generally it’s about maximizing what you’ve got. Sometimes that means going for sheer numbers instead of big bodies right out of the gate, because you’ll get more Trait Cards later on, which balances things out in the end. At other times, hoarding food tokens becomes the safer bet when the board turn violent and population numbers plummet.
It’s still as basic an exercise in counting as it ever was, but the choices behind the numbers is where the strategy comes in. Get the count wrong and your plan will look like nothing but a pretty pile of plastic; but get the score right and you’ll know for sure that you actualy won.