Disc Golf Basket Distance Calculator
Estimate how far a tee-to-basket shot really plays after elevation, wind, fairway shape, landing width, and player skill are folded into the par plan.
| Player group | Controlled drive | Best tee range | Planning use |
|---|---|---|---|
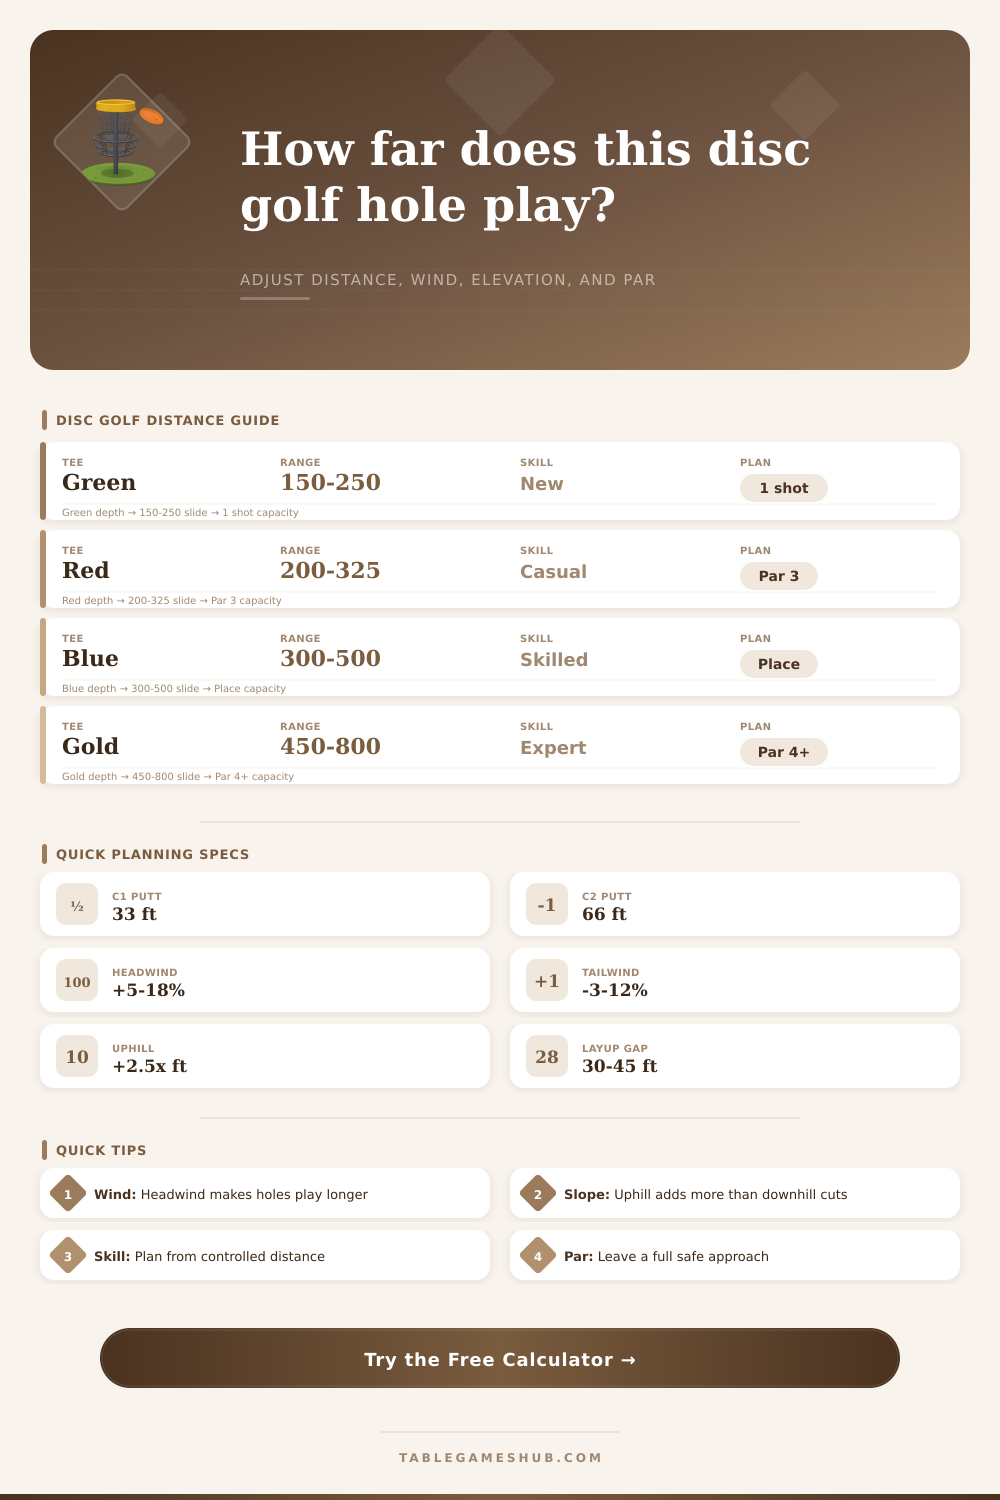
| New player | 150 to 220 ft | Green or short red | Choose reachable par 3s and safe landings |
| Casual player | 220 to 300 ft | Red or white | Favor clean fairways over forced distance |
| Intermediate player | 300 to 380 ft | White or blue | Attack open par 3s and place on par 4s |
| Advanced player | 380 to 460 ft | Blue or long white | Shape lines while keeping birdie putts realistic |
| Pro level | 460 to 560 ft | Gold or championship | Use landing zones to control scoring separation |
| Condition | Typical adjustment | Calculator treatment | Planning note |
|---|---|---|---|
| Uphill basket | Add 2 to 3 ft per ft up | Uses 2.5x elevation | Disc slows faster and fades earlier |
| Downhill basket | Subtract 1 to 2 ft per ft down | Uses 1.4x elevation | Disc carries longer but ground control matters |
| Headwind | Add 5% to 18% | Speed-based positive factor | Stable disc and lower nose angle help |
| Tailwind | Subtract 3% to 12% | Speed-based negative factor | Disc drops sooner and can skip less |
| Crosswind | Add 2% to 10% risk | Width and skill penalty | Plan more lateral miss room |
| Effective distance | Typical par | Shot target | Green strategy |
|---|---|---|---|
| 150 to 275 ft | Par 3 | Reach basket or Circle 1 | Attack only with clean miss behind basket |
| 275 to 425 ft | Par 3 or soft par 4 | Full drive to Circle 2 or approach zone | Respect low ceiling and wind |
| 425 to 650 ft | Par 4 | Place to 180 to 260 ft approach | Pick landing side before selecting disc |
| 650 to 900 ft | Par 5 or hard par 4 | Two controlled drives | Preserve angle for the final approach |
| 900 ft plus | Long par 5 | Three-position plan | Avoid hero carries unless margin is clear |
| Safe width | Pressure level | Distance effect | Recommended plan |
|---|---|---|---|
| 100 ft or wider | Low | Full controlled distance | Use normal shot shape |
| 60 to 100 ft | Medium | Small control penalty | Favor reliable release angle |
| 35 to 60 ft | High | Moderate control penalty | Land short rather than force late turn |
| Under 35 ft | Severe | Major control penalty | Plan placement, pitch, or layup first |
| Shot plan | Useful distance band | Risk trigger | When to choose it |
|---|---|---|---|
| Putter or approach disc | 60 to 220 ft | Low ceiling skip | Precise landing near basket or layup zone |
| Midrange control shot | 180 to 300 ft | Crosswind drift | Straight fairway or wooded gap |
| Fairway driver | 260 to 420 ft | Forced turnover | Controlled distance with shape |
| Distance driver | 360 ft plus | Narrow landing | Open line where full flight can work |
| Placement layup | Any distance | Water or island | When a miss adds more than one stroke |
When you stands on a disc golf tee, you will often see a number on a sign that tells you the distance from the tee to the basket. This distance is the posted distance. The posted distance is the distance that is measured under ideal conditions.
Ideal conditions is defined as calm air, flat ground, and a disc that takes a straight line from the disc golf tee to the basket. In reality, conditions are rarely idealy. The distance that you must throw your disc will not always be as same as the posted distance.
Why the Distance on the Sign Is Not Always Right
Factors such as the wind and the elevation change of the course will play a role in the distance that you can throw your disc. Elevation changes affects the distance that your disc travels down the course. If the basket is on an uphill slope from where you stand on the tee, your disc will have to fight against gravity for a longer period of time.
Fighting against gravity cause your disc to slow down more quick. Therefore, your disc will not go as far on an uphill slope than it would on a flat course. If the basket is on a downhill slope, gravity will assist your disc as it travels to the basket.
However, your disc may roll away from the basket. The calculator accounts for these different slope by adding or subtracting from the distance according to the elevation of the basket in comparison to the tee. Wind will also play a role in the distance that your disc will travel.
The direction of the wind will change the distance that your disc travels. If the wind is against you (headwind), your disc will travel upward and fade more quick. This will shorten the distance that your disc will travel.
If the wind is from behind you (tailwind), your disc will travel flatter than expected and may travel more distance then you project. If the wind is from the side, your disc may drift off target. The calculator accounts for these variables in the calculation of your disc distance.
The shape of the fairway will also impact the distance that you can throw. If the fairway is wide, you can throw your disc with full power. If the fairway is narrow, you have to use less power to avoid hitting a branch or someone else standing in the fairway.
If you do not use full power with your disc, your disc will not go as far as if you used full power. Therefore, a narrow fairway will impact the distance that you can travel. Another factor that will impact the distance is if there are low branches or the ceiling is low.
In these instances, you cannot throw your disc as high. The lower that your disc starts, the less distance that it can travel. The calculator will account for narrow fairway and low ceilings in the calculation of your distance.
The calculator uses the distance that you can consistently throw your disc (controlled distance) to calculate the distance that you will be able to throw your disc under the specific conditions of that disc golf course. Your controlled distance is the distance that you can throw your disc the most amount of times. Your peak distance is the distance that you can throw your disc the least amount of times.
Many disc golfers makes the mistake of using their peak distance to calculate their shot. However, using your peak distance as a measurement for your disc golf shots will result in errors with your disc golf throws. The calculator will compare the adjusted distance of your shot to your controlled distance so that you can determine whether or not the basket is within your reach.
Using the adjusted distance, you can plan your shots more effective. If the adjusted distance is very long, you can plan your shot to instead throw your disc to a placement shot. However, if the adjusted distance is short, you can plan your shot to attack the basket.
Planning your second and third shots is also important in disc golf. Your second and third shots can determine your score for each round of disc golf. By calculating your distance using the calculator, you can determine if you should of plan your shots to take an easy par or to take a more difficult shot to reach the basket.
The calculator provides a clear picture of the distance that you can throw your disc, and this clear picture allows you to make decisions about your disc golf shots based off facts rather than guesses.