Between Two Cities Calculator
Score the city on your left and the city on your right by tile category, then calculate the paired final score, city balance, factory rank, tiebreak ladder, and 4x4 grid audit.
Load a realistic Between Two Cities endgame pattern, then adjust the runs, sets, groups, factory rate, and house penalties for your actual board.
Enter each city independently. Shop runs are straight rows or columns, tavern icons form repeating sets, office bonuses count offices adjacent to at least one tavern, and park groups use edge adjacency.
Left City shared left
Right City shared right
Full Breakdown
| Category | Left City | Right City | Formula Used |
|---|
| Category | What to Count | Scoring Formula | Calculator Input |
|---|---|---|---|
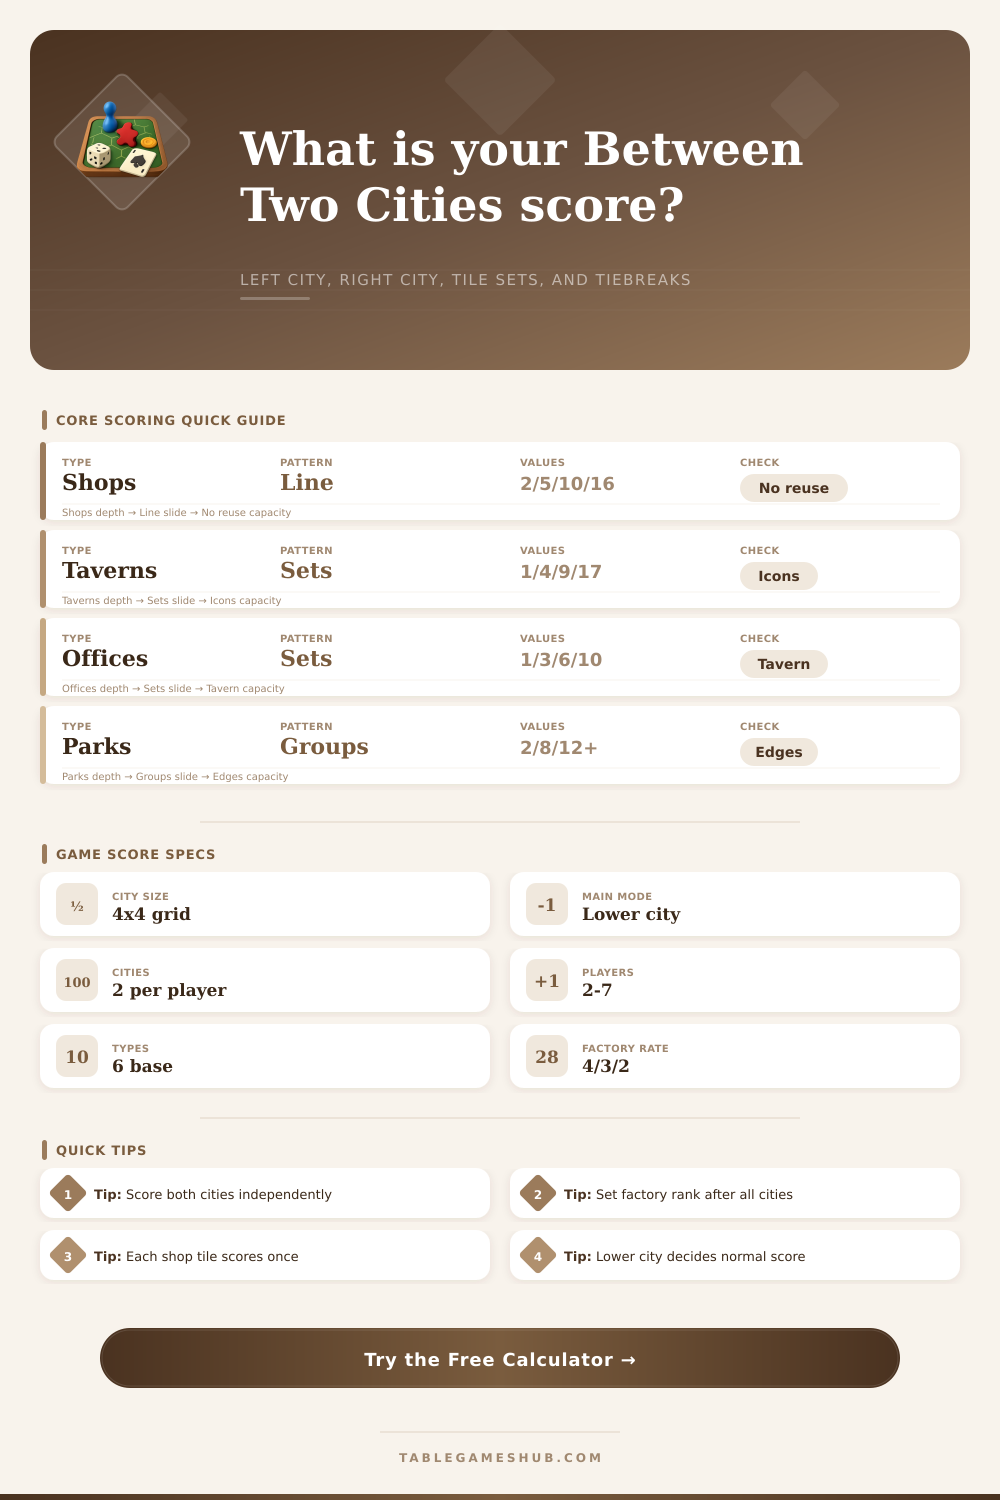
| Shops | Straight row or column runs | 1/2/3/4 shops score 2/5/10/16; each shop tile scores once. | Enter how many 1, 2, 3, and 4 length lines each city has. |
| Factories | Factory tiles plus table rank | Most factories score 4 each, second most score 3 each, all others score 2 each. | Choose the revealed rank rate for each city after all cities are compared. |
| Taverns | Four different tavern icons | Each set of 1/2/3/4 different icons scores 1/4/9/17; duplicates start another set. | Enter counts for food, drink, music, and bed taverns. |
| Offices | Office count and tavern adjacency | Office sets score 1/3/6/10/15/21 for 1 to 6; each office by a tavern adds 1. | Enter office tiles and how many are adjacent to at least one tavern. |
| Parks | Connected park groups by edge | A connected group scores 2 for one, 8 for two, 12 for three, then +1 per extra park. | Enter each park group size, not just the total park count. |
| Houses | Houses and city type diversity | Each safe house scores 1 per other building type present; a house by a factory scores 1. | Enter house total and houses adjacent to factories; diversity is calculated. |
| Situation | Primary Comparison | Next Comparison | Practical Use |
|---|---|---|---|
| Normal 3-7 player game | Your final score is the lower score of your two shared cities. | If tied, compare the higher-scoring city. | Use the lower city card to decide your table position. |
| Still tied after higher city | Compare combined tile quantities across both of your cities. | Check shops, factories, taverns, offices, parks, then houses. | The calculator reports combined counts for the first checks. |
| Two-player variant | Add the two city scores for that player. | Use the tile-count tiebreak order if still tied. | Select the 2-player formula when using the official duel variant. |
| Factory scoring pass | Compare factory counts for every city at the table. | Assign 4, 3, or 2 points per factory before final totals. | Update factory rank after all cities have revealed their factory counts. |
| Player Count | City Count | Your Left City | Your Right City |
|---|---|---|---|
| 3 players | 3 shared cities | Between you and the previous seat. | Between you and the next seat. |
| 4 players | 4 shared cities | Each player affects two neighboring scores. | Balance matters because your weaker neighbor city is your score. |
| 5-7 players | One city per gap | Factory rank compares every city around the table. | Tiebreak tile counts combine your two adjacent cities only. |
| 2 players | Four cities in variant play | You design two of your own cities. | Your variant score is the sum of those two city scores. |
| Component | Role in Calculator | Score Interaction | Common Audit Mistake |
|---|---|---|---|
| Square building tile | Counts as one building icon in one city space. | May contribute to shops, factories, taverns, offices, parks, or houses. | Counting a shop in two crossing lines. |
| Duplex tile | Counts as two building icons and two city spaces. | Each half scores as its own building type. | Entering the duplex as one tile instead of two scored buildings. |
| City token | Marks the shared city between two neighboring seats. | Its score matters to both adjacent players. | Forgetting that your left and right neighbors have different incentives. |
| Reference card | Defines the six category order and tiebreak sequence. | Factories and houses often need table-wide or adjacency checks. | Setting factory rate before all cities are counted. |
Factory rank tip: Do the factory majority pass only after every city has announced its factory count. Tied highest cities all use 4 points per factory; tied second-highest cities use 3.
Grid audit tip: A base city should total 16 scored building spaces. If one side shows more or fewer, recheck duplex halves, shop-line reuse, and every park group size.
Between Two Cities is a game where you must build two cities simultaneousy. Each side have a score, and only the lesser of those two totals matter towards your final score. As such, the point of the game isn’t to construct amazing buildings; it’s to maintain mediocre scores across both board as closely as possible. That way, neither city will be far enough behind.
With the above calculator, you input how many tile each city has built, and it do the work for you. No more checking coefficients by hand, just play the game.
Tips for Playing Between Two Cities
Starting out, many players go after what they think are “high value” tiles, such as shops or taverns. A row of four shop must be worth 16 points, right? It’s an easy mistake to make. You’ll use your resources based off this idea, only to find those same tile would of scored better as part of a larger park group or given you a majority in a factory.
Shops heavily reward length, sure, but they requires precision too: you can’t use a single shop tile twice. Get the placement wrong and you’re left with broken columns and scattered ones, hardly scoring anything at all. With overlapping city boundary on the board, it’s simple to misplace a tile and forget which one have been counted.
The third wrinkle comes in the form of factories, which add value based off what other people has done. Until all shared cities are full and revealed, you can’t be certain whether or not three factory will be sufficient to get you the number one spot. To use the tool, you need to enter how many factories there is in each city as well as manually picking the final multiplier from world leaderboards.
You must consider a strategy for when to stop laying down factorys. Too early? Then you risk getting locked into the majority position where you’ll see diminishing returns if someone else manage to catch up. Too late? Then you may find yourself at the bottom and getting just two point per factory.
The tiebreaker mechanism is also rigid. When your lower-scoring cities is tied with another player’s, the game doesn’t say it’s a draw. Instead, it continues on to compare your highest scoring city. Then it compares how many tile you have from each of your two urban area combined. This cascading system ensure that any and all tiles matter, even those which don’t directly contribute to your main score. The tool displays these combined scores, allowing you to see just what you’re up against in terms of someone else’s potential tiebreak scores. It will show you if your seemingly level board favors one side different than the other, putting you at risk of losing in a close finish.
Players with trouble forming long lines or filling out entire set of icons are given a bit of a safety net: their points depends on how many parks they connect and how close their office are to taverns. The parks allow for some awkward placements while still awarding decent points. Three park together will get you a dozen points, which isn’t bad, though it’s not going to blow your socks off.
Offices require adjacent placement to taverns… So they creates a slight reliance on another category that has its own connection. You’ll have to think about the neighborhood context surrounding each tile you pick because putting an office near a tavern won’t seem impressive at first glance, but it will nab you bonus points as the game goes on.
The game is all about balancing risk and managing it well. It’s not about building the prettiest city; it’s about preventing the worst-looking one. While the calculator will help double-check your total numbers and ensure everything has been counted correctly (shops on a line, parks grouped), it won’t teach you how to intuitively balance those two opposing front. That’s something that can only come with time and practice.
Once you learn to predict what your neighbors are going to do based off their drafts, you’ll begin seeing the board as an inter-connected system of opportunities and constraints instead of two different puzzle. It becomes a single puzzle that you solve by keeping both hands steady and hoping neither city gets too far behind.