Ark Nova Appeal Track Calculator
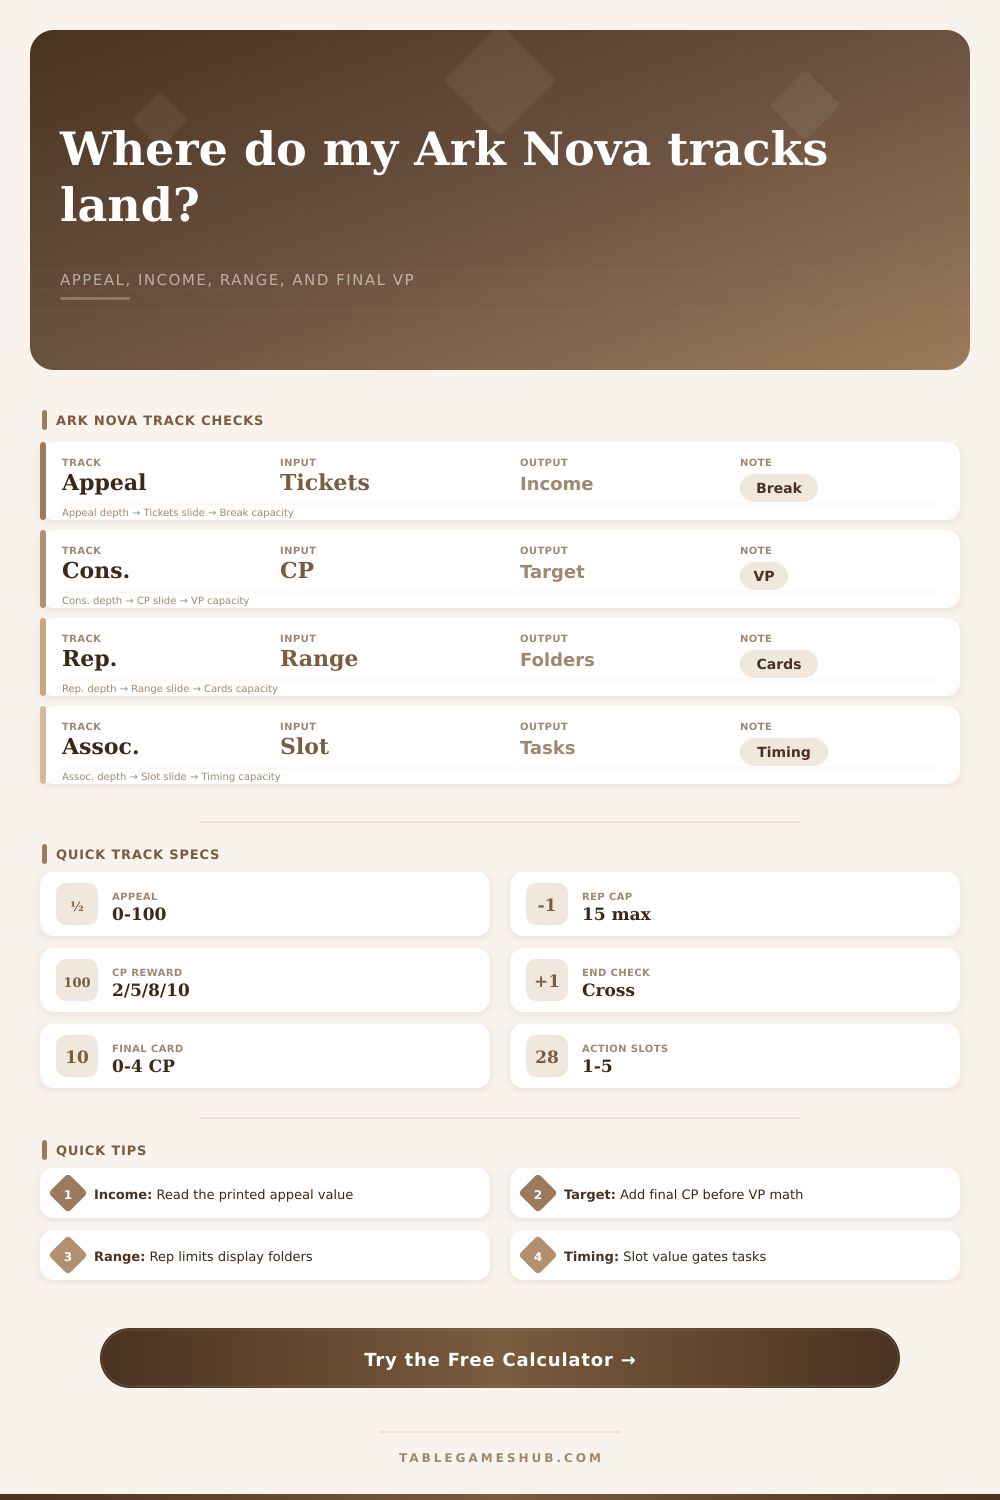
Project appeal income, conservation crossing, reputation range, association card timing, and final victory point distance.
| Appeal window | Printed income pattern | Calculator use | Track note |
|---|---|---|---|
| 0-7 appeal | Fast early rise | Anchor with current printed income | Rulebook example: 7 appeal gives 11 money |
| 8-17 appeal | Frequent income bumps | Small ticket gains often change income | Early break math is sensitive |
| 18-34 appeal | Wider intervals | Calculator estimates the next printed band | Check board space after movement |
| 35-59 appeal | Steady band increases | Break income projection multiplies by breaks left | Use kiosk and sponsor income separately |
| 60-100 appeal | Late scoring stretch | Final score projection matters more than income | Crossing area may be near |
| Conservation points | Target appeal number | Status at 70 appeal | Component reminder |
|---|---|---|---|
| 8 CP | 100 appeal | -30 VP distance | Second bonus space reached |
| 10 CP | 94 appeal | -24 VP distance | Final scoring card gate checked |
| 16 CP | 76 appeal | -6 VP distance | Rulebook scoring example target |
| 18 CP | 70 appeal | 0 VP distance | Rulebook scoring example target |
| 20 CP | 64 appeal | +6 VP distance | Example crossing area can trigger end |
| Reputation marker | Display folders in range | Card access logistics | Cap note |
|---|---|---|---|
| 0-1 reputation | Deck plus left display only | Limited display reach | No cap issue |
| 2-4 reputation | Folders 1-3 | Early market access | No cap issue |
| 5-8 reputation | Folders 1-5 | Most center cards are reachable | No cap issue |
| 9 reputation | Folders 1-6 | Full display reach on many actions | Cards card upgrade needed beyond 9 |
| 10-15 reputation | Folders 1-6 | Full display and late bonuses | At 15, extra reputation converts to appeal |
| Card slot | Normal strength | Common association task gate | Timing output in calculator |
|---|---|---|---|
| Slot 1 | 1 strength | No printed task at strength 2+ | Waits for card drift or X support |
| Slot 2 | 2 strength | Reputation task is available | Range can widen before card access |
| Slot 3 | 3 strength | Partner zoo or university task | Component gain is feasible |
| Slot 4 | 4 strength | Conservation project work | Can support project if requirements fit |
| Slot 5 | 5 strength | High-strength association action | Side II can combine different tasks |
Ark Nova is full of moments when things seem messy on the board and your pile of bills gets smaller. You might find yourself with three action cards, needing a display folder to complete a goal, but buying it would leave you broke after next break. That’s the friction point: where good players turn into great. And it has nothing to do with knowing the rules. It has everything to do with seeing what the future state of your tracks will be before making a move.
Once you know how much gain you expect to make and where you currently sit on that track, the rest is handled for you by above calculator. You don’t need to guess at which threshold matters or what coefficient will apply to your income. Income is generated by Appeal. But Appeal also has an opportunity cost. To put it simply, every animal you add shifts your marker. However, not all markers moves equally based off your position on the track.
How to Plan Your Money and Score
Early on, small ticket gains can turn everything upside down; late game shifts must be larger to deliver comparable results. Income numbers are printed values that shift often in the early parts of the track. Those numbers spread out into broader bands further along. Early on, small gains can significantly change your overall economic plan, whereas later game shifts has to be larger jumps to provide similar returns.
This is where most folks go astray. They view the track as a straight progress bar when really it’s composed of various economic zones with varying degrees of risk. The second half of that equation are the conservation points. They don’t mean anything by themselves; they only make sense in terms of your appeal. Having high conservation doesn’t matter. What matters is having a high conservation/appeal score.
The page with the reference table lays it all out: Where does your appeal need to be to stay in the black given X amount of conservation? If you have eight conservation points, then you need a hundred appeal points to break even. Ouch. To avoid that kind of pain most players will shoot for 10-12 conservation points. That’s when the target appeal drops. You’re able to stay above the line with much less effort.
The calculator predicts that distance for you, but you should consider how you’ll achieve it. Can you go after some expensive projects and bump up your conservation? Or will you play cheap animals and pump up your appeal? There is always a tradeoff between scoring potential and stability.
This only piles on the logistical complications: Reputation also decides what display folders you get. And that gates your ability to buy all those fancy action cards. If you’re low rep, you won’t be anywhere near the middle of the table. If you’re high rep, you’ll get all that unlocked… But maintaining that status requires work.
The calculator lets you see how far you can reach with the marker you’ve got. Are you stuck with reputation two? Then you’re scrapping alongside everybody else for those same cards. Go for reputation five/six instead, and suddenly you have access to better synergies and some breathing room. It’s a little thing, but it makes a difference. Sure, you might come up with the world’s greatest zoo design…but if you can’t buy the card that lets you play it, your design doesn’t matter.
And this is where association cards come in. These are your moves. They’re placed into different slots that represent how powerful they are. If you’ve got a strong card in slot 4, then you get to play it … assuming you already have enough in your hand to do so. If you’re cash poor, then even though you may have a powerful card you can’t afford to pull it yet.
The calculator figures out how much money you have left and how many breaks you can take. How much does each of those breaks pay off? And it tells you: should I try to go for big now? Or should I save my money and wait? That last part is key. Waiting seems like passively sitting back, when actualy it’s waiting to spend your economy for an even greater payoff in the future.
Final scoring can be unpredictable. Your conservation point total is based on what’s in your hand, which could change by the time you get final scoring. That drastically alters your standing, so it’s always something to consider in your mental model. Your conservation point total is based on what’s in your hand, which could change by the time you get final scoring. That drastically alters your standing, so it’s always something to consider in your mental model. Before looking at how far you’ll come from your current total, tally your estimated final points and add them to your existing total. This puts you closer to reality and removes some of the stress from guessing.
This is a game about planning ahead and managing resources. The score isn’t only an appeal track. It’s also your risk meter, your engine, and your bank account all wrapped into one. How do you manage your reputation? When should you play those action cards? How do you juggle conservation points vs. There is an urgent need for money. Use the tool to help you see the relationships, then use the numbers to lead your hand. Plan your plays around the income breakpoints. Keep your eye on the horizon. Building a good zoo takes time. It won’t happen overnight; it will be built by thoughtful, intentional decisions that compound over time.