Glen More II Clan Calculator
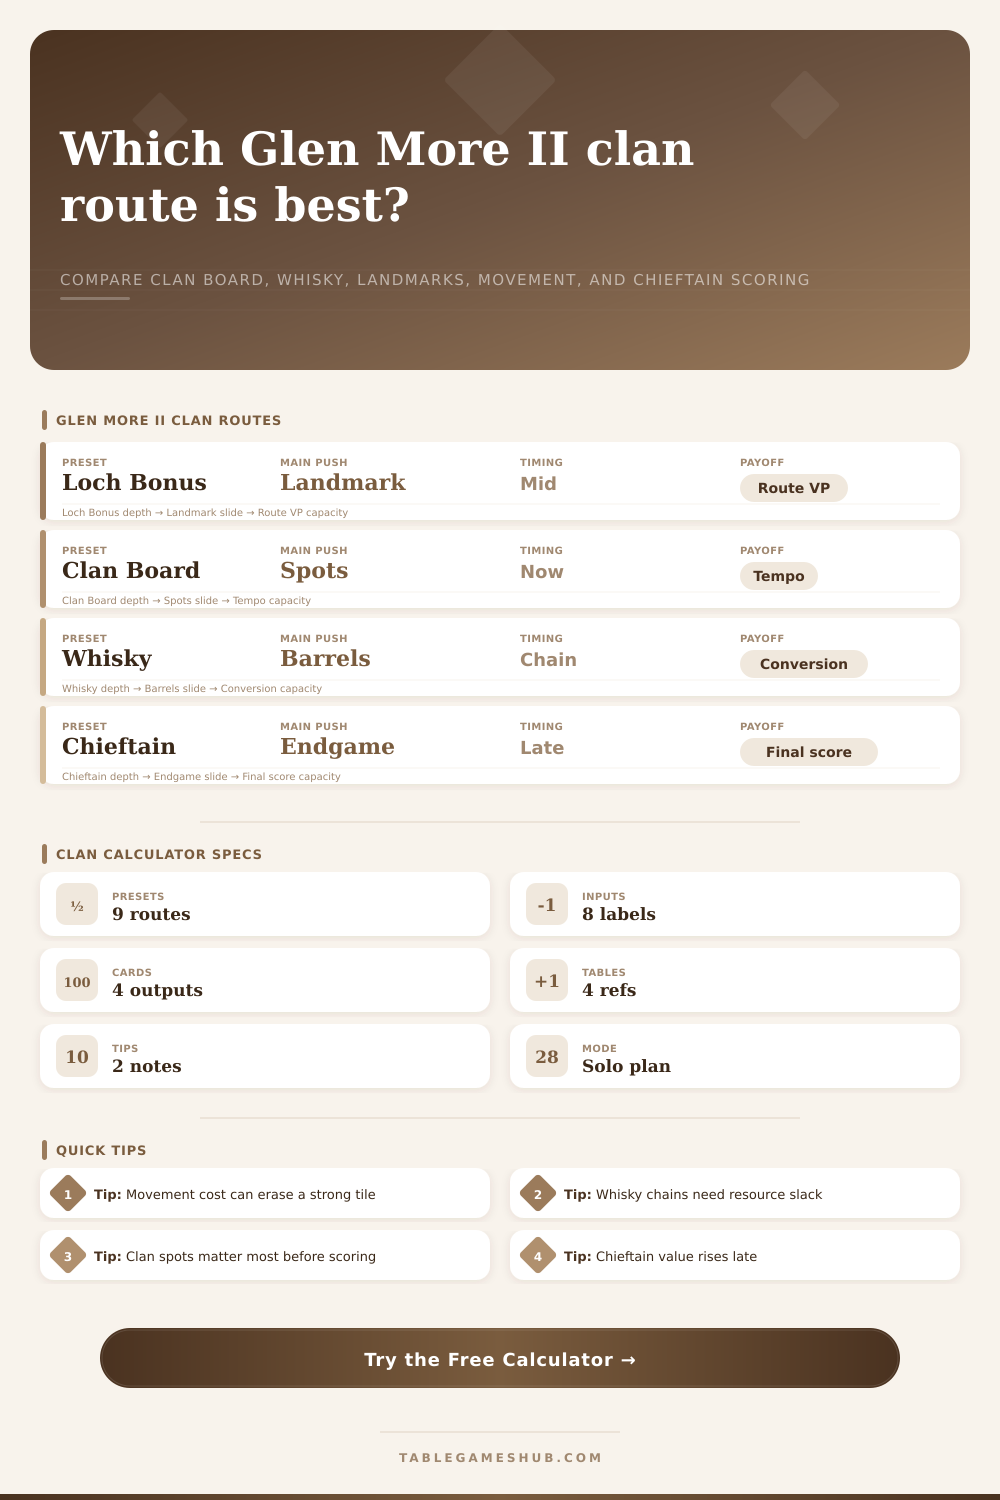
Compare Glen More II clan-board tempo, landmark pressure, whisky barrel chains, resource slack, tile activations, movement drag, chieftain scoring, and remaining rounds.
Use the presets as route sketches, then adjust the eight inputs to test whether a clan move is worth taking now or better saved for a tighter scoring turn.
1Route Presets
2Clan Inputs
Route Score
0
weighted clan value
Clan Tempo
0%
board readiness
Whisky Value
0
barrel chain
Endgame Pull
0
chieftain plus landmarks
3Reference Tables
| Spots | Pressure | Read |
|---|---|---|
| 0-1 | Low | Route needs direct tile scoring to justify the move. |
| 2-3 | Medium | Good if resources and activation are already aligned. |
| 4-5 | High | Clan-board tempo can carry the action. |
| 6+ | Very high | Check chieftain timing before other players score. |
| Barrels | Chain Value | Best Use |
|---|---|---|
| 0-1 | Support only | Use barrels to patch a conversion gap. |
| 2-3 | Live route | Good with one strong activation or landmark. |
| 4-6 | Engine turn | Convert, score, and preserve tempo. |
| 7+ | Endgame push | Favor scoring and chieftain leverage. |
| Cost | Effect | Adjustment |
|---|---|---|
| 0-1 | Efficient | Take the route if activation is useful. |
| 2-3 | Normal | Needs a clear clan or resource payoff. |
| 4-5 | Expensive | Landmark or chieftain value should be strong. |
| 6+ | Severe | Usually only correct for a decisive endgame swing. |
| Rounds Left | Bias | Route Preference |
|---|---|---|
| 6-8 | Engine | Activation cascade and resource slack matter most. |
| 4-5 | Balanced | Clan board and whisky chains both count. |
| 2-3 | Scoring | Landmarks and chieftain position gain weight. |
| 0-1 | Final | Only immediate points and endgame pull matter. |
4Spec Grid
5Tips
Rather than do the mental math yourself, the calculator weighs movement costs against clan board spots. In Glen More II, there are rivals to contend with and sometimes it’s a matter of seeing one turn ahead or three that means the difference between winning than losing.
Understanding which inefficiencies you can afford is more important than placing tiles efficienty. Each move on the clan board are not created equal, however. While some will net instant point gains for minimal coin investment, others demand lengthy marches through the map. Eating up both tempo and money. The tool takes into account the real-world benefit of each move as well as its cost (in terms of movement).
How the Calculator Helps You Win
Spending four units of movement to reach two spots of pressure probably means you’ll have lost ground if it doesn’t open up some huge scoring possibility down the road. This is something most players overlook; they think only about where they’re going, rather than how much the trip there cost.
Rather than being fixed locations, whisky barrels function like a convertible currency. Too many early on and they’ll fill up your resource slack, stopping your ability to purchase wood/stone later. See reference tables for how to time out your barrel chains. Three to four barrels in a chain work sustainably if combined with strong tile activation, as they feed into your village engine capacity. If not, you tend to get hung up at a higher number, with assets but unable to convert them into victory points before the game run out.
That’s where timing becomes important in this game. Some moves is worth more early in the game (e.g. These moves are worth more early in the game (for example, get landmarks or build engines), while other moves is worth more late in the game. Have a strong chieftain position, even if you don’t have any landmarks). The calculator changes its weighting over time based off the number of rounds left.
With six or eight rounds left, engine building counts much more. If there are only two or three rounds left, the model starts focusing more on end-of-game direct score placement. It also focuses on where each clan ends up on the clan boards. That ability to constantly adjust based on remaining rounds matches what actualy happens in games: what works great in round 4 could kill you in round 7 if it slows down your ultimate quest for chieftain points.
Having resource slack means more than just paying for essentials; it gives you flexibility to react to competitors. Running lean means any unexpected cost forces you into suboptimal moves because you lack the flexibility to respond. This lets you iterate through inputs and determine if your planned route still works if things go slightly wrong. You may discover that what seemed like an efficient path turns out to be a house of cards, where even a small mistake cause everything to collapse. Better to have an engine running slightly slow but having lots of slack, than one running fast and stalling at the first bump.
You should of planned better. The game is about finding that sweet spot between short term gain and long term position. There’s no one right answer: you can’t maximize everything at once. The tool provides a framework to help you decide which trade-offs to accept. Is it better to go all-in with an ambitious sprint toward a landmark, or play it safe by building up slowly?
Good players know the price of each move. Great players know the actualy cost. Whether you’re trying to win on the clan board with a slow burn, or in a single map sprint, knowing the cost of each decision makes all the difference. Sketch something out using the presets, adjust those numbers until they align with your intuition, and see where it takes you. There are a lot of promising routes across the map, but only a handful will take you to victory.