Architects of the West Kingdom Apprentice Calculator
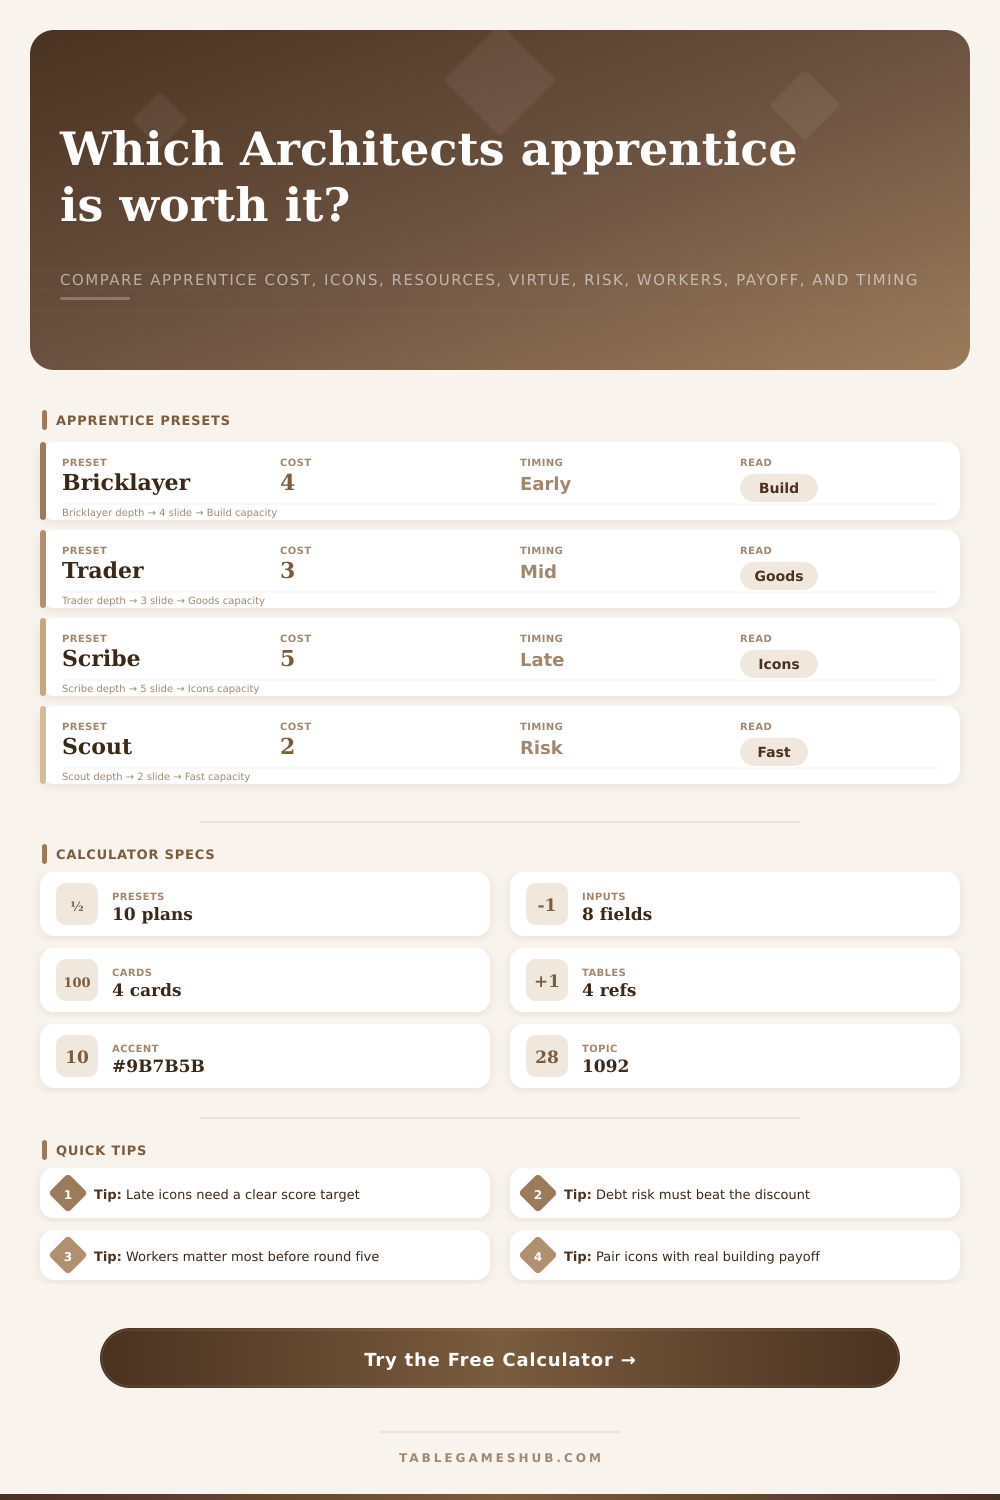
Compare an apprentice hire against its silver cost, icon value, resource burst, virtue swing, debt risk, worker pressure, building payoff, and rounds remaining.
Calculation Breakdown
| Apprentice role | Main value source | Best timing | Calculator input to raise |
|---|---|---|---|
| Builder or bricklayer | Completes a building sooner and saves an action step. | Early to middle turns | Building payoff and worker count |
| Resource trader | Turns market tempo into clay, stone, marble, gold, or silver. | Before a costly build | Resource gain and rounds remaining |
| Scribe or icon specialist | Adds a profession icon that a scoring card can actually count. | Middle to late turns | Icon value and building payoff |
| Virtue helper | Repairs a low track position or protects high-virtue bonuses. | Whenever debt cleanup is tight | Virtue change and risk burden |
| Capture protection | Reduces lost tempo when many workers are exposed on one space. | High worker clusters | Worker count affected |
| Net value | Read | Typical table state | Practical next check |
|---|---|---|---|
| 8 VP or more | Hire now | Cost is covered by a clear combo or repeated resource window. | Confirm the apprentice cannot be blocked before your next action. |
| 4 to 7.9 VP | Strong hold | The card is good, but still depends on one nearby build or icon card. | Check whether another player needs the same market row. |
| 0 to 3.9 VP | Marginal | The apprentice is useful but may be worse than gathering resources. | Raise only one optimistic input before committing. |
| Below 0 VP | Pass | The hire burns too much silver, virtue, or time for the payoff. | Spend the action on a direct building, virtue, or resource step. |
| Input | What to count | Conservative estimate | Aggressive estimate |
|---|---|---|---|
| Apprentice cost | Silver or gold paid plus the action used to visit the market. | Face cost only | Face cost plus one point for tempo |
| Icon value | Profession icon, tool icon, or scoring condition enabled by the card. | Only confirmed card points | Expected points from likely future cards |
| Resource gain | Immediate and repeated resources converted to VP equivalents. | Half value for uncertain repeats | Full value for already-planned builds |
| Debt or risk burden | Debt penalties, suspicion pressure, capture timing, or virtue losses. | Only visible penalties | Add two points if cleanup is scarce |
| Rounds remaining | Worker tempo value | Icon urgency | Best apprentice pattern |
|---|---|---|---|
| 6 or more | High; repeated actions can snowball. | Low urgency unless a card is visible. | Resource engine, capture cover, or builder discount. |
| 4 to 5 | Medium; two or three useful triggers are realistic. | Moderate urgency for known building combos. | Flexible resource bridge or virtue repair. |
| 2 to 3 | Low; count only the next planned use. | High urgency if the icon completes a scoring card. | Icon specialist or direct building payoff. |
| 0 to 1 | Minimal; repeated abilities rarely matter. | Only final scoring icons matter. | Pure scoring icon, virtue bump, or no hire. |
Tip: Count an apprentice icon only when you can name the building, card, or end-game bonus that will score it.
Tip: A cheap risky hire is still expensive if it creates debt you cannot pay before final scoring.
Architects of the West Kingdom: Market Row In Architects of the West Kingdom, a large number of game get lost during the market row, before they are truly played. You see an apprentice card that offers up a juicy ability. You feel the lure of that instant virtue adjustment or resources and click hire without considering price tag.
And this is where that impulse becomes problematic, it’s ignoring the underlying tax of opportunity. For every silver spent hiring someone, that’s one fewer action that could of been used positioning workers, building structures, or working on tasks. This calculator is meant to help transform that fuzzy sense of worth into a real choice. It eliminates flavor text, and says “what really matters here?” in terms of victory points earned by the end of the round. That’s the crux of it: measuring your inputs against a baseline of victory point equivalents.
How to Choose the Best Workers
So when you see an apprentice and count up its gold and silver, you’re not seeing just that. You’re seeing a tempo hit, which also cost something in victory points. Paying four silver is only half the cost in a game this close; the other half is the turn you spent clicking instead of laying down bricks. It makes you put a number on that drag because it’s no longer free. That two-cost scout might appear to be a steal but unless it can creates enough resource momentum or worker pressure to justify the sacrificed action, it’s a net negative.
But it’s the variable players will have the hardest time internalizing: when does this matter? Engine building is important early. Not points. The trader or bricklayer preset make more sense early on; they generate instant leverage, which is what unlocks your mid-game buildings, specifically wood and clay. Once you’re into the late game, with only two rounds remaining, the math have flipped completely around. By then, repeated resource abilities don’t pay off because you just won’t have time to pull it off twice.
This is why the page features a reference table that makes all of this clear: As the game winds down, the value of each worker drops while how much you need them rises. Holding onto a builder strategy in the last round is probably more about sticking with something because you’ve already put time into it than about pursuing any real points.
Lastly, virtue management often goes ignored until it’s too late. That’s why there’s a virtue change input on the calculator! It sounds great to drop down to zero virtue. However, you might remember that you’ve locked yourself out of higher-scoring bonuses or triggered debt penalties that eat into your margin in the end-game. An apprentice monk may look like a passive play, but fixing up a broken virtue track can net you more points than another step towards a building would have done. The trick is knowing when the repair job isn’t just a side effect of hiring someone you wanted for other reasons, but is actualy the main way you get any value from them at all.
To judge risk, however, you also need to be honest regarding your existing board position. Are you already deeply in debt? Do you stand out as suspicious? It’s going to take more guts to take on yet another risky hire when you’re in such an uncertain position. You can plug in what penalty you expect from being caught (or from having your identity exposed on the black market), and that helps tip the scales. Taking on a valuable apprentice can backfire if it ends up costing you far more points than it earns, not to mention the cost of cleaning things up later. Assess the instant reward vs. Consider the possible price to pay.
In conclusion: none of this adds up to maximizing all stats; we’re just looking for the specific leverage point that breaks our opponent’s lead. There are some hires where the only thing that matters is tempo, or a stolen space or blocked row. Others matter in end-game scoring icons. Your hire might fall into either category, or both. The calculator shows you which. It turns your intuition into math, so you no longer have to guess if that extra silver was worth it.
The best players understand that each interaction with the market is an investment, and they know what kind of return to expect from it. They don’t blindly click on anything that seems cool. They ask themselves: What does this card let me do? When can I get there using it? How many actions am I sacrificing to own it? As soon as you begin to view your hiring in this way, the board no longer appears chaotic, only a set of solvable math problems.
Hires aren’t characters. They’re transactions. Treat them as such.