Cascadia Landmarks Calculator
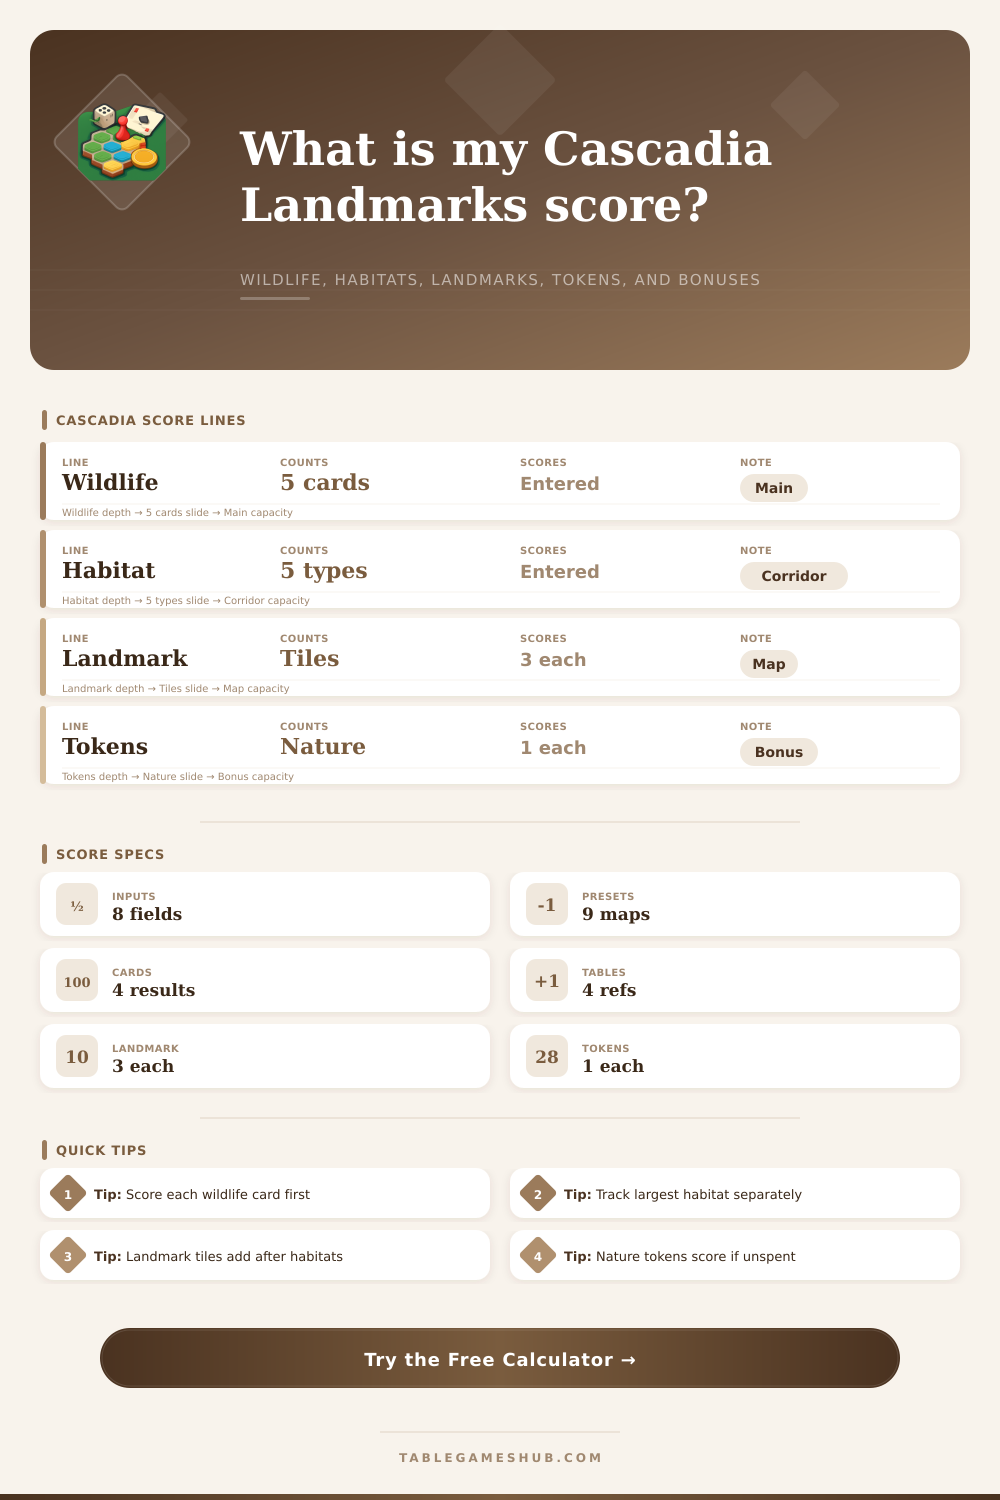
Total a Cascadia Landmarks final score with wildlife scoring cards, habitat corridors, landmark tiles, keystone tokens, nature tokens, largest habitat bonuses, bonus cards, and final score notes.
| Wildlife card | What to count | Score entry | Audit note |
|---|---|---|---|
| Bear card | Completed bear groups | Included in wildlife total | Confirm isolated or paired bear requirements before totaling. |
| Elk card | Elk formations | Included in wildlife total | Check formation size before adding to the wildlife row. |
| Salmon card | Salmon runs | Included in wildlife total | Keep interrupted runs out of the main salmon chain. |
| Hawk and fox cards | Line-of-sight and neighbor sets | Included in wildlife total | Score each active card once, then add the combined result. |
| Map line | Calculator field | Point treatment | Why it matters |
|---|---|---|---|
| Habitat corridors | Habitat corridor score | Entered total | Combines forest, mountain, prairie, wetland, and river regions. |
| Landmark tiles | Landmark tiles claimed | Profile value each | Keeps landmark scoring visible after habitat totals are known. |
| Largest habitat bonus | Largest habitat bonus | Entered total | Use the table result after comparing the largest habitat areas. |
| Bonus cards | Bonus card points | Entered total | Captures Landmarks module cards or scenario objectives. |
| Token row | Count source | Calculator value | Common check |
|---|---|---|---|
| Keystone tokens | Wildlife keystone awards | Audit count | Useful for checking why nature tokens were gained. |
| Nature tokens | Unspent token supply | 1 point each | Spent nature tokens should not remain in this row. |
| Landmark tile tokens | Claimed landmark spaces | Profile value each | Confirm each tile belongs to a completed qualifying habitat. |
| Scenario bonus | Bonus cards field | Entered total | Keep bonus cards separate from wildlife-card scoring. |
| Preset family | Strongest signal | Expected score shape | Audit cue |
|---|---|---|---|
| Rainforest corridor | Habitat score leads | Terrain first | Check largest habitat bonus before finalizing. |
| Salmon run | Wildlife score leads | Card first | Verify run breaks and wildlife card variants. |
| Keystone ring | Token count is high | Bonus swing | Separate keystone audit count from nature points. |
| Landmark sprint | Tile count is high | Landmark push | Confirm the profile value for landmark tiles. |
And that’s where Cascadia gets realy interesting. It’s a game about quietly working toward efficiency. Rather than announcing a sudden power grab, Cascadia scores success by counting wildlife and connecting habitats. That subtle nature make the scoring at the end of the game a fascinating problem. It feels less like a board game and more like you’re auditing a complicated ecosystem.
There are five type of wildlife, all with their own needs. There are landmarks littered throughout your map that only count if they was connected properly. There are resources sitting in your tray that you decided not to spend. Run it through a calculator and it will tell you what the numbers mean, but plugging numbers into the calculator is only half the story. To know these numbers means knowing which ones reward quiet efficiency over loud competition.
How to Score in Cascadia
Wildlife cards are obvious place for most players to begin focusing. They provide feedback as play proceeds, with bear cards preferring connected groups and salmon cards unbroken runs across river systems. But the terrain engine is where the biggest habitat bonuses and habitat corridors reside; it’s the part that often swings the score. And this is where the calculator does something interesting.
These lines are deliberately separated. You must look separately at your landmark claims and corridor points. In many cases, a player will end up with a large amount of land covered in forests, yet not well connected, leading to big wildlife scores but low terrain point counts. Meanwhile, someone who has built a tight web of little habitat can get huge bonus points and never dominate the board visually. The reference table on page shows how all these pieces fit into final count, so you can see if you’ve had a lopsided or balanced strategy.
Landmarks are another difficult element in the Cascadia scoring system. Landmarks act as silent point multipliers at the final stage. One landmark will score zero points if it’s alone in a remote corner of your map. It gains value only when it’s surrounded by contiguous habitat tiles of a particular kind. So yes, you can’t simply add up the number of landmarks you capture. You must consider which ones are realy “active.”
That’s where the tool comes in again. You enter the total number of tiles you’ve captured, and it applies a multiplier based off the game mode (standard, family, or expert). Expert mode imposes a harsher penalty for being off-corridor, so misplaced landmarks matter more. That’s another reason to keep landmark points separate from habitat points. It emphasize whether you won by raw land area or than by strategic deployment of high-point targets.
And finally, there are the tokens. Nature tokens and keystone tokens is frequently overlooked, considered to be less important than main board construction. Nature tokens especially are misleading. Players often hurry to spend their nature tokens in order to speed up habitat creation, seeing it only as money. However, at game’s end, every unspent nature token is a point. That may mean what seemed like progress ends up being a loss. Spending ten tokens to get four points in habitat is worse than the tokens being worth more points if they were just left alone. The calculator keeps track of this separately (and then lets you know how much your splurge has cost you.) Its question is simply: did you really need to be hoarding?
Another piece of that puzzle comes with pre-made maps that come installed on the tool. Each map shape leads you to different areas of tactical focus whether it be mimicking an Olympic Rainforest corridor, or a Puget Sound salmon run. The maps naturaly lean toward either expanding habitat (some more than others), limiting movement, and requiring you to search for landmarks. Examining these benchmark shapes will help you know if your score profile fits with the board’s inherent bias. Because in Cascadia it’s not just what you do, but also how you’re able to do it.
Finally, scoring in Cascadia is all about finding a balance. You must balance the geometric constraints of laying out tiles against the needs of five species of animal. What was your strategy to reconcile those things? That’s where the math comes in. Your final score will be delivered by the calculator, but it’s the breakdown of your score that provides true value. How far were you carried by your wildlife engine? How many times were you saved by a lucky landmark? Breaking down your score lets you see the story of how you played this game. It lets you take your pile of tiles and turn them into a story. It shows how you connected pieces, how efficient you were, and sometimes, the regret of leaving one nature token on the table. The score doesn’t just tell you who wins, it tells you how they built their world.