Coimbra Die Color Calculator
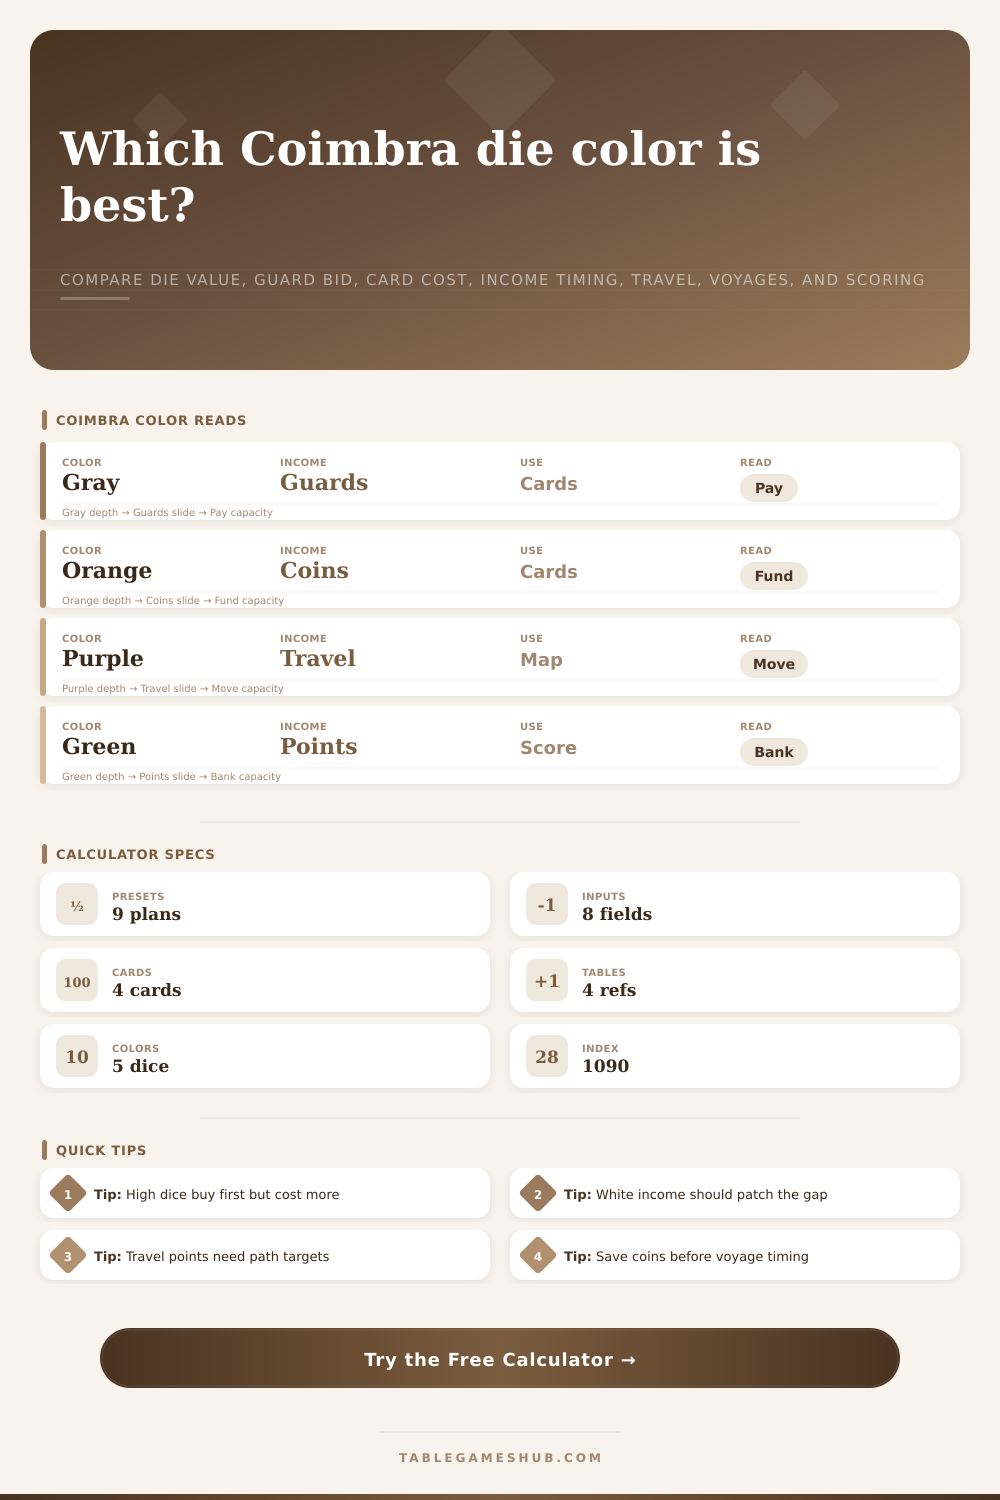
Compare one Coimbra die draft by color and value: acquisition cost, guard pressure, coin reserve, influence movement, income timing, pilgrim travel value, voyage payoff, and endgame scoring.
1Coimbra Die Color Presets
2Die Color Inputs
| Line item | Entered value | Calculator logic | Point effect |
|---|
3Spec Grid
4Reference Tables
| Die color | Income track | Typical reason to draft | Calculator signal |
|---|---|---|---|
| Gray | Guards | Pay shield costs, keep card access open, or protect voyage plans. | Best when guard bid is high and reserve is thin. |
| Orange | Coins | Fund coin-cost cards, voyage investment, and later flexibility. | Best when coin reserve would otherwise fall below the die value. |
| Purple | Pilgrim movement | Reach monastery tiles, route bonuses, diploma help, or long map payoff. | Best when travel value is already visible on the map. |
| Green | Victory points | Convert influence directly when resources and travel are already stable. | Best late, or when endgame scoring is already secured. |
| White | Chosen income | Patch the weakest track or choose the income with the clearest conversion. | Best when one income gap is much more urgent than the rest. |
| Die value | City card order | Castle order | Cost read |
|---|---|---|---|
| 1 or 2 | Later pick in city rows | Earlier favor-tile pick | Low payment, good for cheap setup or castle tempo. |
| 3 or 4 | Balanced pick strength | Middle favor position | Usually the cleanest card-cost to income trade. |
| 5 or 6 | Earlier city card pick | Later favor position | Strong if the card or scoring swing beats the high payment. |
| White die | Uses normal value order | Uses normal value order | Value sets cost now; color flexibility pays in income phase. |
| Timing | Weight | Best target | Warning sign |
|---|---|---|---|
| Early round | 1.15 | Resources, track climb, and reusable income. | Direct VP too small to matter yet. |
| Midgame engine | 1.05 | Card color synergy, pilgrim route setup, and voyage access. | Paying for a card that does not feed future turns. |
| Late conversion | 0.95 | Voyage completion, majority tiles, diplomas, and green scoring. | Raw guards or coins without a scoring outlet. |
| Final scoring round | 0.85 | Immediate VP, final influence rank, or already-funded voyage. | Travel or resource income that cannot convert before scoring. |
5Two Practical Tips
High values need a reason. A 5 or 6 often buys first choice, but the die value is also the card cost. Keep it only when the card, track climb, or voyage setup clearly beats that payment.
Color income is delayed. The die color matters in the later income phase, so gray and orange are strongest when they prevent a resource stall, while purple and green need visible scoring paths.
In Coimbra, you are facing decisions with a heavy die bag. Do I use this on movement? Coins? Guards? Do I take points? Often times, it’s not just one decision, but six faces looking back at you. It’s less about deciding what to do with it, and more of a stress test for your brain.
After inputting your board state into the calculator, it crunches the numbers, relieving you of any complex mental math that might result in regret. What most people end up doing is reacting based on what they have. The problem is that you are missing out on long-term plan.
How to Plan Your Moves in Coimbra
Every time you draft dice, think of it like an investment; the price is paid now, while reward might be later. But the die pip does double duty. It establishes the draft order, where a higher value means a closer pick, and it sets the price paid for that card or favor position. Higher values comes with higher costs and drain your resources faster.
Getting the 6 means you’re spending six coins before you can even consider the card. That’s a pretty stiff entrance fee. Is it worth it? Does the card represent an engine in the long run that makes short term pain worthwhile?
Look at what the purchase will do to your coin stash. How many will be left over if you buy that pricey die? If taking that die leaves you with less than three coins, you’re vulnerable to being locked out. Then you won’t have enough to do anything else. It’ll lock you out. This is a danger sign that the calculator alerts you to based off how much coin you have vs. What a basic slot on the board would be.
Where things get interesting is color; which isn’t an action but rather determines income. That is where the real strategy lies. Having a gray die does not mean you spend guard tokens immediately; it means you collect them at the end of the round as your income. If you have an engine built around shields (to protect things and/or allow you to play other cards) then gray matters. Otherwise, if you’ve got plenty of guards already, snatching up one more gray die amounts to hoarding a die that will sit idle.
Figure out what track is holding back your game. The reference table in the tool helps you match colors with their usual strategic role. Purple moves the pilgrim around specific routes. Green converts resources into pure points when you’re humming along in your resource engines. Each of those inputs becomes much more valuable depending on when you get them.
Money earned early gets spent in rounds two and three, where it creates multipliers. Money earned late can only be used as it goes straight into victory points; or it can finish a pricey voyage. The calculator weights these time decisions accordingly, early money is more flexible than late points. Need some money early to ascend an influence track? That’s reflected in the score you’ll see. A coin from round two will buy you a card that earns coins in later rounds. A coin from round four usually just covers the cost of entering the final scoring phase.
Everything gets complicated by the white die. After looking at board options, you get to pick your income track. That flexibility has its value, but it also has trade-offs. The act of playing white is an admission that you don’t know which engine you want to prioritize just yet. You can try plugging the white die into the calculator and testing it against one color, like orange, to see if the flexibility is actualy beating the targeted income. Oftentimes the answer is no.
Oftentimes you’re better off sticking with whatever shortage of coins you’re currently dealing with instead of leaving yourself with the option to fix it later on down the line. Taking a high-value die feels good right now. Most players gets caught up in this instant gratification. They lose sight of the fact that the game will reward you for consistently hitting income track. That’s where the calculator comes in: it makes you consider all aspects of the situation (travel value/endgame scoring potential) when making decisions. It converts your gut feeling into a defensible plan.
A purple die appears weak because it doesn’t directly provide any resources. However, if your pilgrim can reach three monastery bonuses within the next income phase, then that purple die becomes a point-printing machine. By allowing you to enter expected endgame scores/travel value, the tool picks up on these types of hidden connections.
Coimbra is a game of making choices between short term gains and long term placement. You can’t do both well. You need to decide what hurts the least. And that’s where people go wrong with this game. They want to be balanced across the board, but then they’re mediocre on all fronts. But the calculator lets you know what your weakest link is. Do you not move enough to get to scoring spots? Are you low on coin to buy cards? The tool flags these pain points and helps you figure out the solution.
If you don’t want to roll the dice yet, you can run some tests through the presets to see how things might shake out. You have to learn that it is simply solid pre-planning. Yep, it’ll still make that die bag feel heavy as all hell. But now you’ll know exactly what weighs you down the most in a given game.