7 Wonders Duel Military Calculator
Estimate conflict pawn movement, military token coin loss, endgame military victory points, and the distance from immediate supremacy after a red card or military wonder.
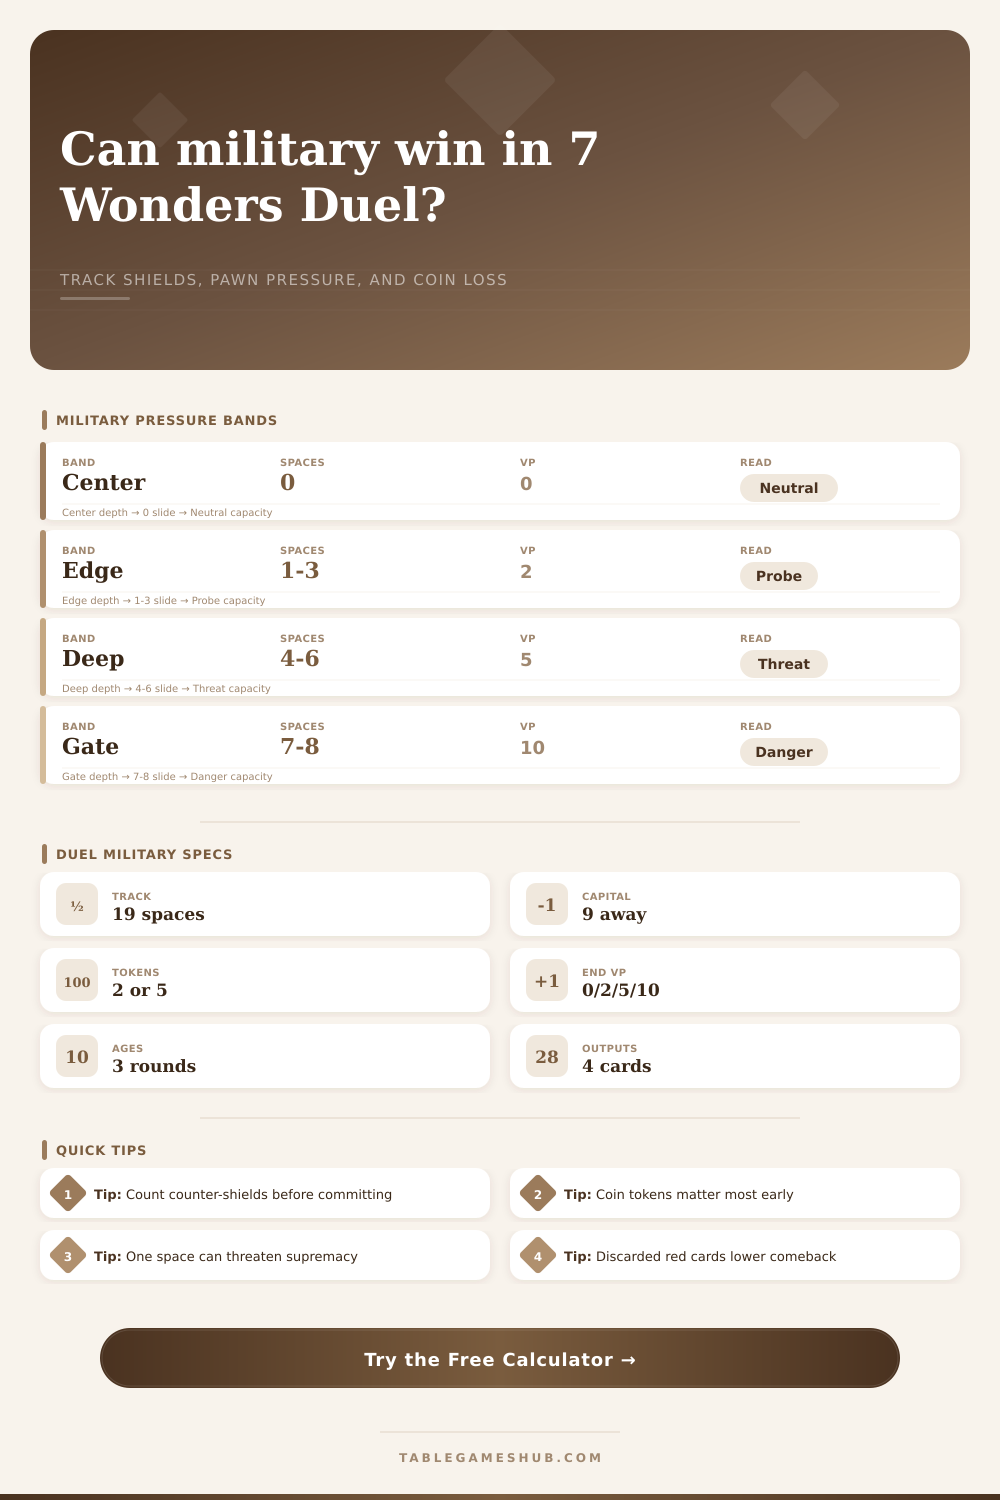
| Position from center | Military state | Calculator VP band | Immediate meaning | Common read |
|---|---|---|---|---|
| -8 to -1 | Opponent pressure | 0 for you | You are defending your capital side | Counter-shields or pivot to points |
| 0 | Neutral | 0 | No endgame military points yet | First shield sets tempo |
| 1 to 3 | Light advantage | 2 | Pressure begins but supremacy is distant | Good if token is also crossed |
| 4 to 6 | Deep advantage | 5 | Opponent must respect the red line | Threaten follow-up shields |
| 7 to 8 | Capital gate | 10 | One or two spaces can end the game | Military denial becomes urgent |
| 9+ | Supremacy | Instant win | The game ends immediately | No VP count needed |
| Military source | Typical shields | Best calculator input | Pressure value | Watch point |
|---|---|---|---|---|
| Age I red card | 1 to 2 | Early barracks push | Token access and initiative | Can be neutralized by one response |
| Age II red card | 2 to 3 | Age II breakthrough | Moves through VP bands quickly | Resource cost can expose tempo |
| Military wonder | 1 to 3 | Statue or Colossus preset | Pairs shields with wonder effects | Consumes a card for the stage |
| Age III red card | 3 to 5 | Age III gate threat | Can force immediate defense | Discarded reds lower both ceilings |
| Opponent counterplay | 1 to 5 | Opponent counter-shields | Pulls pawn back toward center | Visible cards matter more than totals |
| Token result | Input value | Opponent treasury | Calculator treatment | Best timing |
|---|---|---|---|---|
| No token crossed | 0 | Any | No immediate coin swing | Use for pure VP pressure |
| One 2-coin token | 2 | 2+ | Subtracts up to 2 coins | Strong before resource buys |
| One 5-coin token | 5 | 5+ | Subtracts up to 5 coins | Best when opponent is cash rich |
| Two tokens crossed | 7 or 10 | Enough coins | Capped by available treasury | Breakthrough turns and wonder bursts |
| Opponent has fewer coins | Any | Below token value | Loss cannot exceed held coins | May still deny construction |
| Preset | Age | Shield plan | Primary output | Best use |
|---|---|---|---|---|
| Early Barracks Push | I | 2 shields from center | Token and 2 VP pressure | Test whether early red tempo matters |
| Age II Breakthrough | II | 3 shields into deep zone | 5 VP band and coin hit | Check if a red card creates a real fork |
| Capital Pressure | III | Large move near capital | Supremacy distance | Find whether opponent must block red cards |
| Shield Comeback | II | Recover from negative position | Neutralize opponent VP | Evaluate defensive shields as points denied |
| Discarded Red Cards | III | Low remaining comeback | Hold confidence | Score current military lead realistically |
It’s Age II. The red card in front of you sports three shields. Your opponent’s military track are teetering just off-center, threatening to move into your capital territory unless you end this now. But the weight of that decision rest heavily on your hands. Should you play it?
In 7 Wonders Duel, military almost never comes down to who can produce most raw force. It’s largely a game of resource denial and precise timing. It’s also about forcing your opponent to make a decision they didn’t want to make. Shields aren’t victory points despite what most people think; shields are time. Every time you move the conflict pawn forward, your opponent loses a turn they could of used to buy resources or build an engine.
How Military Works in 7 Wonders Duel
By plugging in number of shields on your card and your position on the track, the calculator above does all the math for you so you don’t have to do it in your head while the game clock ticks down. It turns those abstract spaces into real pressure bands. If you land in deep advantage zone with your move, your opponent will have to react and spend their next turn just to stay alive! They can’t take another action like expand their economy or establish trade routes.
The cost of reaction is typically greater than what you lose on the military track. Knowing that differentiate casual players from those who truly understand how to control the board state.
Things get more complicated with coin tokens though, as each time your pawn passes one on his way around the board, the other player must give up between zero and five coins from their treasury. Why does this matter? Because cash flow becomes vital in the late game. Depleting their coin reserves right before they’re forced to purchase an essential card in Age III denies them that choice and prevents them from making it. The engine’s stability depends on cash flow.
The tool takes this into consideration: it limits the maximum loss to whatever coins they actualy have, reminding you that there ain’t no blood outta empty pockets. It is a small detail, sure, but a key one that reminds you not to overestimate how much you’re hurting someone whose pockets are already empty. Yeah, you might take a few spaces on the track; but if they didn’t had any coins to surrender, the strategy isn’t going to mean as much.
The second half of that equation is counterplay. You don’t live in a vacuum. There is a good chance your opponent also has some kind of shield in his or her hand (or at least on the table) that negates whatever you are trying to accomplish with your advance. The calculator wants you to estimate what those counters are. Then, it simulates a back-and-forth until both sides have responded, asking if you think it would be worth spending resources on such an offensive push. Did it get you just one more space? Then it probably wasn’t worth it.
This helps you avoid the all-too-common mistake of rushing too hard militarily early on, only to watch your big push fizzle out when your opponent drops a single defense card. You want a net gain in space or a major coin drain before you’ll even consider investing further, this will help you determine when it’s worth it.
Unused military options accumulate on the discard pile over time, too, lowering your ceiling. You can use this card to keep track of those discarded red cards, cutting down on both sides’ expected comebacks as fewer high-shield cards stays available. This creates a change in kind that’s just as valuable as the change in score, allowing the leader to breathe a bit easier while making it more difficult for the second-place finisher to pull ahead.
Duel is ultimately a war of inches won by timing and resource denial. The winner does not necessarily need to be on top of capital every turn. Instead, they merely need to ensure that going against them is too costly for the other player to risk ignoring. This is why you need the reference tables and must know what each band mean for your final score.
From there, pull up the calculator and see if your next move puts you in the tempo you want. Hold back if the numbers say shallow advance with high coin risk. The numbers tell you the truth, and all you must do is know how to read the board.