San Juan Production Calculator
Estimate goods, draw, discounts, and build readiness from your production line before you lock in a San Juan role.
Use your current tableau and hand count to model a single production cycle or a short endgame push. The output treats cards as San Juan currency and keeps Chapel banking separate from spendable hand cards.
▣ Production Presets
⚙ Current San Juan Position
🃏 Component and Role Spec Grid
⚖ Production Building Reference
| Production line | Typical goods | Trade profile | Best calculator use |
|---|---|---|---|
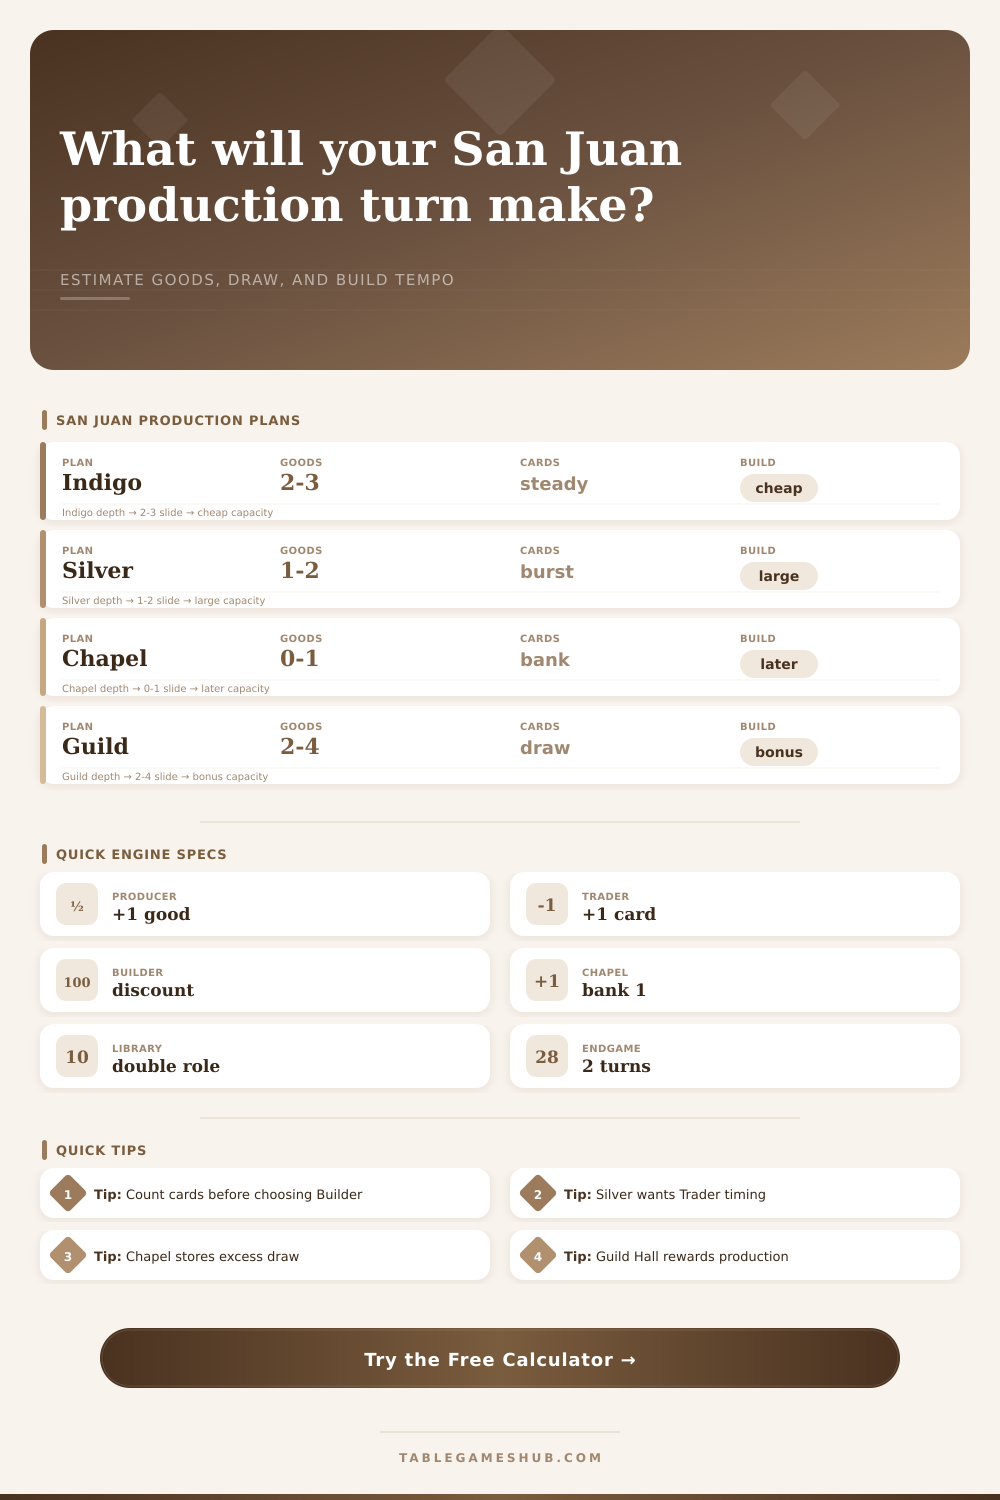
| Indigo plant chain | 2 to 4 low goods | Steady small draw | Measure cheap build consistency |
| Sugar mill pair | 1 to 3 middle goods | Balanced card return | Check Builder readiness next role |
| Tobacco storage | 1 to 2 good goods | High draw when traded | Estimate one burst turn |
| Coffee roaster | 1 to 2 valuable goods | High variance draw | Model trade timing before big builds |
| Silver smelter | 1 high value good | Large single sale | Test monument or six-card build reach |
| Guild Hall row | 2 to 4 production goods | Draw plus endgame scoring | Project production building payoff |
⇄ Role Modifier Table
| Role | Calculator effect | When it matters | Tempo note |
|---|---|---|---|
| Producer | Adds one good | Empty production spaces | Sets up next Trader |
| Trader | Adds trade bonus | Goods already stocked | Converts table to hand |
| Builder | Adds one discount | Hand is near build requirement | Turns cards into tableau |
| Councillor | Adds filtered draw | Need a specific building | Improves card quality |
| Prospector | Adds one card | No clean production turn | Small guaranteed gain |
◈ Engine Modifier Table
| Engine | Draw lift | Build impact | Calculator flag |
|---|---|---|---|
| Well or Market Hall | Goods reward | More payment cards | Production draw |
| Library | Role privilege boost | Sharper chosen role | Double role value |
| Chapel | Banks one card | Less spend now | Stores endgame value |
| Prefecture | Filtered Councillor | Better build selection | Quality draw |
| Aqueduct | Extra production | More future trades | Capacity lift |
| Guild Hall | No direct draw | Rewards production builds | Endgame scoring push |
📋 Build Readiness Bands
| Spendable cards plus discounts | Likely build class | Production meaning | Endgame warning |
|---|---|---|---|
| 0 to 2 | Small support only | Production must stabilize | Do not strand a key card |
| 3 to 4 | Useful engine building | Most midgame builds open | Check hand quality |
| 5 to 6 | Large violet building | Trade burst has converted | Builder timing matters |
| 7 or more | Premium build plus buffer | Engine is over threshold | Watch the 12 building trigger |
✦ Calculator Tips
It’s not just about whether you have the money for the next building. The real question comes when you’re sitting at the San Juan table with a hand full of cards and a production line that looks promising but still feels uncertain. Is the next purchase going to be an accelerator or a speed bump in my engine? Am I gonna get paid back for the Monument or am I gonna end up stranded there without enough money? That’s where math shifts from guesswork to geometry.
From here on out, planning is all about strategy and the tool on this page do the arithmetic so you can focus on it. Before you buy, it translates what you have right now into a prediction; how many goods you’ll need, how much draw potential do you have, how ready are you for the next build?
How to Plan Your Moves with Math
Goods aren’t realy what it’s all about. They’re the middlemen between the production buildings and the cards used for scoring points. To get cards, you’ve got to sell goods. Cards in turn allow you to purchase additional building, or eventually the monument itself. This process of converting goods to cards to points is shown by the converter loop modeled by the calculator.
Click the Producer role to put goods onto your board. Click the Trader role to convert goods into hand cards based on their value. Click Builder to discount your next purchase.
Why does the order matter? Because if you spend too many turns trading, you’ll be left holding an empty space; but if you build up too much, you’ll burn through trades without using them. Consistency beats bursts: Most players undervalue the power of consistent production over occasional big results. Each turn, an Indigo chain will spit out a few of those low-value goods. Meh, they look lame alongside a Silver Smelter which might unload one of those sweet high-value goods. But low-value goods are easier to trade reliably when you have multiple production buildings active.
This is where the calculator comes into play; you can enter what each good is worth on average at your trading houses. The math averages out the variance if you’re running a mixed row. Having a regular stream of cards is often more secure than taking a gamble and hoping you get lucky with the next rare high-good sale.
The story doesn’t end there either as we have draw engines. A Market Hall or Well adds another good to what you make. That’s more that you can trade next turn. A Chapel pulls a card out of your hand but puts it in reserve where it will score later on. These types of changes affect the tension between now and later. And the tool can add dropdowns for each type of engine which will then change how it predicts the tempo to match. Having a role in play will amplify those results. This means that a single turn can be a huge swing in your resource positions if you have a Library in play.
The last one… And the key factor in whether your plan is going to hold water, is build readiness. How many discount cards and spendable cards do you need to equal the cost of the building you’re targeting? That’s the typical band as outlined in the reference tables at the bottom of the page. Zero to two cards? Probably support work only. Three to four? These are midgame engine pieces. Five or six? These are big violet buildings. Seven? It is endgame sprint time. Knowing what band you’re in lets you know when it’s better to save your hand for a bigger payoff and when to spend it now.
The trick is to look at each turn as a piece of the larger puzzle, not something on its own. It’s like San Juan is a multi-turn puzzle. Whatever you do this turn affects what choices are open to you next round. For instance, if you buy a discounting building now, will you have enough cards left to use it? The calculator allows you to see how two to four turns go out. That’s usually long enough to know whether your production line will be able to produce fast enough to get a dozen buildings up, or enough points to win the Monument.
At its core, though, this game is about planning ahead. Build when you can, trade when it makes sense, pick roles that support your production output. Let the math be the sanity check on your intuition. It will tell you if that Silver Smelter is really going to help you win, or if it’s just filling up space on your board. Test your assumptions before resolving the turn. Make each card count.
Make sure everything you produce goes straight from your production line toward victory. Don’t let it get lost somewhere in the middle of the table. That clarity lets you control the pace of the game. It is what distinguishes a casual player from one who knows how to play.