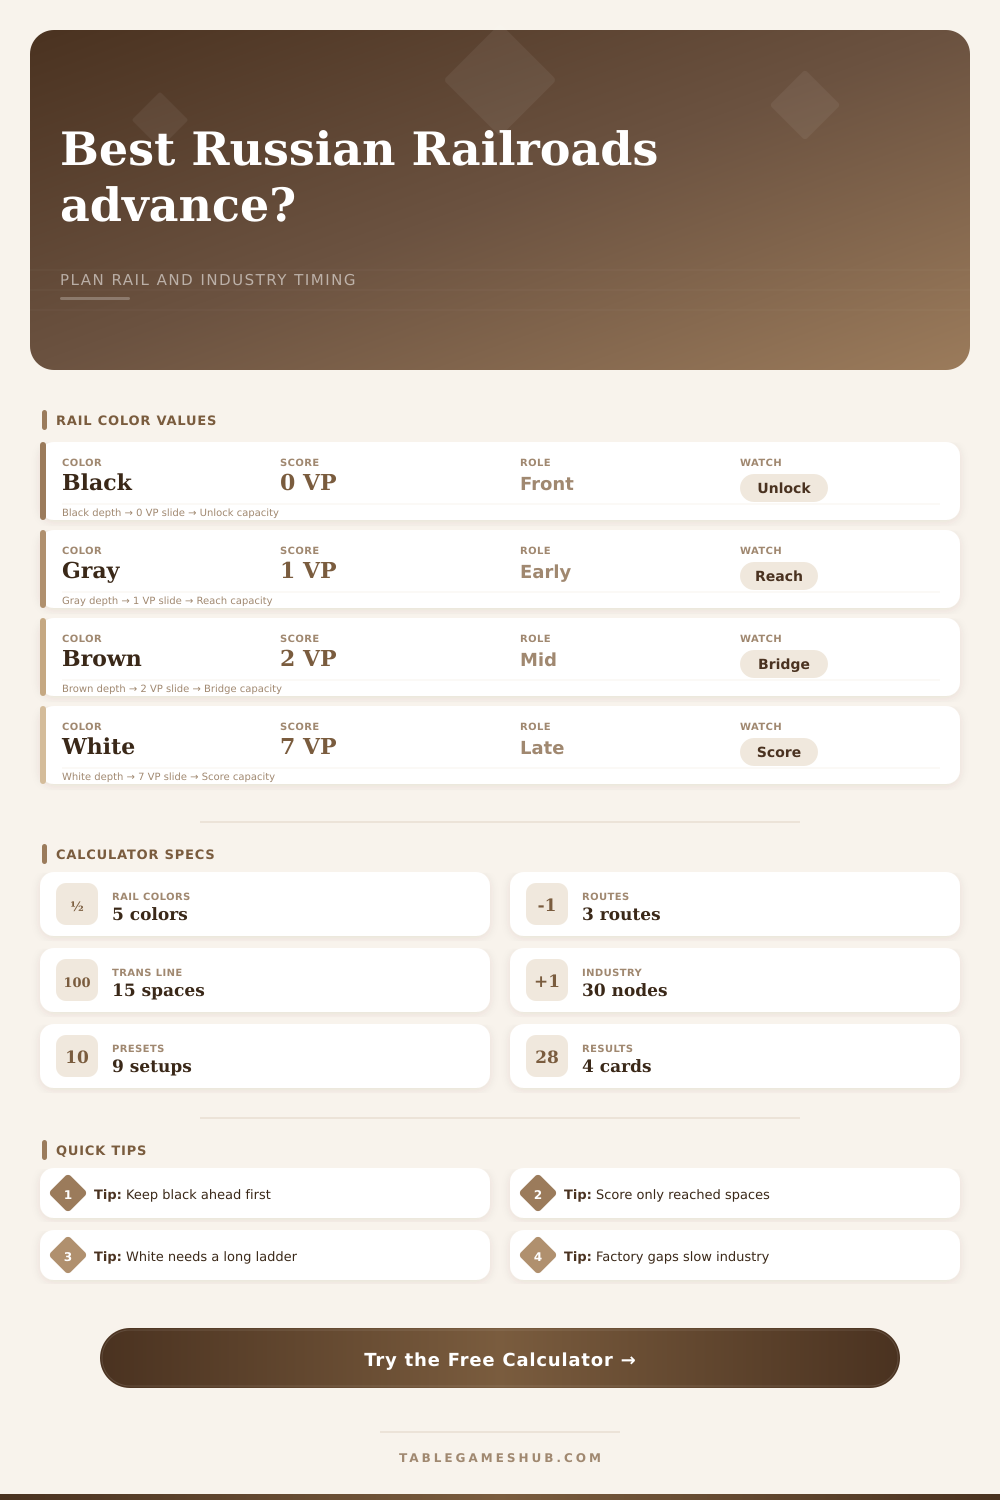
Russian Railroads Track Advance Calculator
Check legal rail spacing, locomotive reach, industry progress, and the score change from your next Russian Railroads advancement package.
| Rail color | Calculator value | Advancement order | Planning use |
|---|---|---|---|
| Black | 0 per reached space | Moves first and farthest | Creates legal room for every other rail |
| Gray | 1 per reached space | Must trail black | Early scoring floor and brown setup |
| Brown | 2 per reached space | Must trail gray | Midgame value and natural rail bridge |
| Natural | 4 per reached space | Must trail brown | High-value setup before white rail scoring |
| White | 7 per reached space | Must trail natural | Late-game scoring pressure on long routes |
| Route profile | Modeled length | Common rail focus | Calculator note |
|---|---|---|---|
| Trans-Siberian | 15 spaces | Long ladder, all color pressure | Best for checking white and natural timing |
| Kiev line | 9 spaces | Completion bonuses and compact scoring | Use reach 9 when the route is fully covered |
| St. Petersburg line | 9 spaces | Shorter rail development | Useful for testing whether black movement is enough |
| Endgame audit | Chosen reach | Score only reached spaces | Raise locomotive reach before counting distant rails |
| Package | Rail advances | Industry advances | Best board moment |
|---|---|---|---|
| 1 rail advancement | 1 | 0 | Repair a tight gap or push a high-value rail |
| 2 rail advancements | 2 | 0 | Move black first, then score with the best legal color |
| 3 or 4 rail advancements | 3 to 4 | 0 | Create a full ladder for brown, natural, or white |
| Rail plus industry | 1 to 2 | 1 to 2 | Balance immediate route gain with factory timing |
| Industry sprint | 0 | 3 | Reach a stronger industry scoring band |
| Industry band | Modeled spaces | Scoring slope | Advance read |
|---|---|---|---|
| Opening workshops | 0 to 4 | 1 per step | Small gains, often paired with rail setup |
| Early factory row | 5 to 8 | 2 per step | Factory placement starts to matter |
| Middle production | 9 to 18 | 3 to 4 per step | Strong alternative to low-value rail steps |
| Late industry run | 19 to 30 | 5 to 6 per step | Often beats rail if locomotive reach is capped |
And this isn’t simply a train track; it’s the Trans-Siberian railway. You’re laying down a network across a continent, limited by the laws of both bureaucracy and physics. Only your locomotive goes so far. Only your colors for rails go forward in such-and-such an order. And each point you earn relies completely upon the placement of that little engine marker. So easily you will find yourself making what seems like a productive move, yet get no victory points at all, having forgotten about reach. Planning tools becomes necessary.
Once you know your locomotives’ range, and the current position of every rail color on your track, just plug those numbers into the calculator (shown above). Now you don’t need to run through five permutations in your head at table. Simply tell the calculator where your rails of a particular color start on your line. Is it a short line like Kiev-St. Petersburg? Petersburg? Or is it the long one, Trans-Siberian? Regardless, the calculator do the math.
How to Use the Calculator to Win Russian Railroads
Because the game has strict rules about who goes first. They are enforced by black rail. Black rail moves first. It gets zero points. But it opens up the field legally for gray rail to advance. Gray rail move second. Then brown. Natural third. White moves fourth. If you attempt to shove the white rail forward with no natural or brown rail in front of it… the move’s illegal. This calculator respects that pecking order. It forces you to make realistic assumptions about what’ll happen next. It answers exactly which rail color moves next. It also shows how many points you get, assuming you stay within your locomotive’s range.
The trick that most beginners fail to grasp: how to score a rail versus simply laying it down on a space. If you put down white rail on space fifteen, great. But if your train is still sitting on space nine, well, that won’t help you. Not yet. Those points are in reserve until your train catch up. That’s what the calculator models. When you go to pick a spot, it will show you both the instant gain of advancing and the eventual full point value when your engine gets there.
Why does this matter? It helps you decide whether to upgrade your engine or push another high-value rail forward. In some cases, laying a rail isn’t even the right move. It’s time to move the engine, which allows you to collect the points that you’ve already earned.
Then there’s the industry track. Resources for laying down rail come from factories. And factories score on their own curve. You can plug in an industry step along with a rail advancement into the tool. Maybe in the early game it feels like more bang for the buck on rail. But as the industry track rises, it starts delivering more points per step than a rail point does. The calculator allows you to spot where the industry slope gets too steep to pursue a particular rail option. Perhaps your engine is maxed out and the rail gap is too narrow? Focusing on industry may prove the better move. Trade off a high-value infrequent spike against a low-value consistent gain.
The color rails are assigned a point value. On the page, there’s a table breaking down what those values are. White is seven points per space. White rail is king of the endgame. But it doesn’t unlock until you’ve got a complete ladder of previous rails in front of it. Two-point brown rail is the bottleneck. Rushing brown rail too early are a frequent mistake. You may discover later that you can’t actualy move it forward because gray rail has nowhere to go.
The calculator will warn you about such bottlenecks. It’ll see where you’re blocked from moving ahead by one rail, and suggest how to fix it. Maybe it says “spend this next move on black rail,” even though it won’t score anything off that move directly. That frees up a space so that you can place gray. That is strategic patience.
Players tend to concentrate their efforts at the end of the line. That’s when they dream about that white rail payout. But they forget: the middle is where most games get won. Brown and gray rail builds up consistent points as other players fumble around trying to make illegal moves. Keep your ladder tight. Move the front runner out first; let the rest follow. The calculator makes this process visual for you. It translates the abstract rules into something real: numbers. Before making any move, you can see how much a factory upgrade will affect things or how much one more worker placement will help. It takes the guesswork out. You’ll always know exactly what you’re getting.
Russian Railroads comes down to timing. How will you balance the steady build of rails against the explosive jumps forward of engines, and when can you score industries? The calculator is essential for this game. It won’t play the game for you. But it provides the clarity to let you play it better. It flags the opportunities and points out the traps. Run it through for confirmation or use it as a tool to think about what you want to do in the next few turns. The Trans-Siberian line is long, but the road to victory becomes clearer once you do the math. Run the numbers. Let them show you the way.