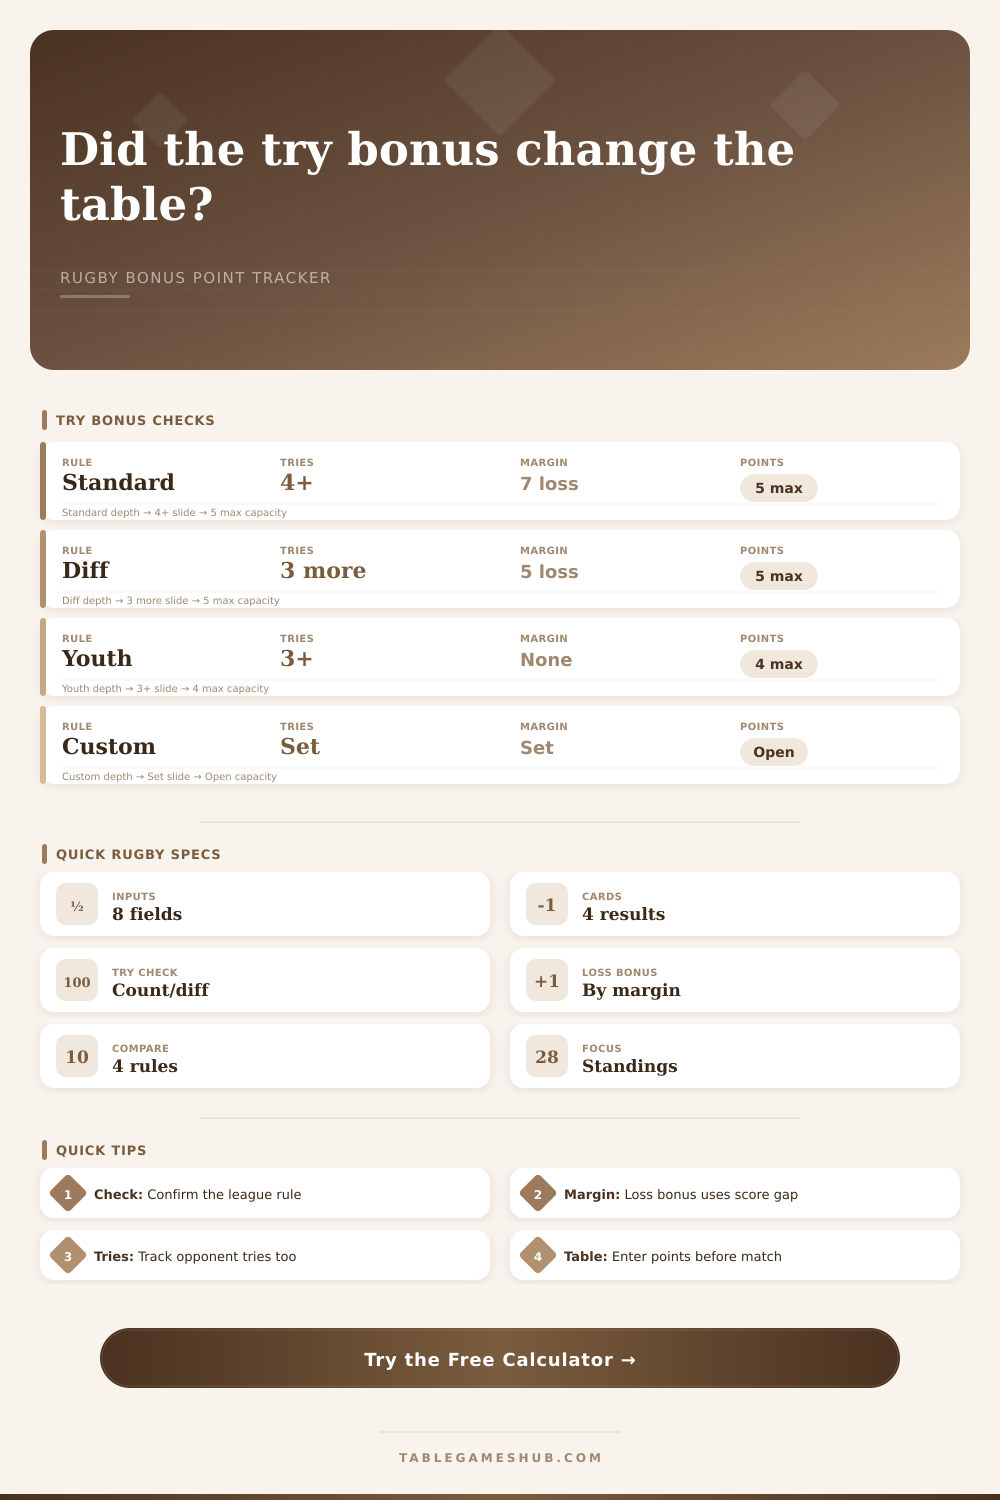
Try Bonus Calculator
Track rugby-style bonus points from tries scored, result points, losing margin, opponent bonus risk, league rule setting, and the effect on the standings table.
| Rule style | Result points | Try bonus trigger | Losing bonus trigger |
|---|---|---|---|
| Standard rugby union style | Win 4, draw 2, loss 0 | Score at least 4 tries. | Lose by 7 points or fewer. |
| Differential bonus style | Win 4, draw 2, loss 0 | Score 3 more tries than opponent. | Lose by 5 points or fewer. |
| Tight-loss competition style | Win 4, draw 2, loss 0 | Score at least 4 tries. | Lose by 5 points or fewer. |
| Youth modified style | Win 3, draw 2, loss 0 | Score at least 3 tries. | No losing-bonus point. |
| Custom threshold style | Win 4, draw 2, loss 0 | Use the entered try threshold. | Lose by 7 points or fewer. |
| Match outcome | Try bonus? | Loss bonus? | Typical table entry |
|---|---|---|---|
| Win by any margin | No | No | Result points only, commonly 4 table points. |
| Win with try bonus | Yes | No | Full result plus attacking bonus, commonly 5 table points. |
| Draw with try bonus | Yes | No | Draw points plus attacking bonus, commonly 3 table points. |
| Narrow loss, no try bonus | No | Yes | One table point when the margin qualifies. |
| Narrow loss with try bonus | Yes | Yes | Two bonus points can still matter in a table race. |
| Score margin | Your table effect | Opponent table effect | Tracking note |
|---|---|---|---|
| You win by 8 or more | No losing bonus applies to your side. | Opponent usually misses losing bonus. | Check opponent try bonus separately. |
| You win by 7 or fewer | Win points plus any try bonus. | Opponent may add a losing bonus. | This can reduce net table gain. |
| Draw match | Draw points plus any try bonus. | Opponent gets the same result base. | Try bonus may be the separator. |
| You lose by 7 or fewer | Possible losing bonus plus try bonus. | Opponent gets win base and bonuses. | A close defeat can still move standings. |
| You lose by 8 or more | Try bonus may be the only table point. | Opponent denies your close-loss point. | Threshold tries remain important. |
| Preset | Rule focus | Standings question | Watch item |
|---|---|---|---|
| Standard four-try bonus win | Classic attacking bonus | Does the win become a five-point haul? | Tries scored reach the threshold. |
| Narrow loss with try bonus | Double bonus in defeat | Can a loss still add two table points? | Margin and try count both qualify. |
| Differential chase | Tries above opponent | Does the opponent try total block the bonus? | Try difference, not raw tries. |
| Last-round table target | Target gap tracking | Is the next table line reached? | Compare total points to the gap. |
| Strict five-point cap | Capped match total | Does a cap alter a double-bonus score? | Some formats cap total match points. |
When rugby teams has lost a close game (by four points), they tend to be left feeling deflated. They went out there, worked hard, made their game plan happen and had the ball longer than there opponents. But the scoreboard didn’t show that dominance, and it wasn’t shown in the standings. That’s where the try bonus comes in. It tries to acknowledge an attacking intention regardless of the outcome.
Here’s the maths. You can plug your own numbers into the calculator here or below. Just keep this in mind: how do these points add up? What happens after the full-time whistle?
What Is a Rugby Bonus Point?
In most professional and amateur competitions, a standard scoring system exists: Four points for a win, two for a draw, zero for a loss. Bonus points adds the nuance. Teams get one bonus point if they make at least four tries in a game. It doesn’t matter who wins; the team with four or more tries still gets this bonus point.
In theory, this incentivizes teams to continue making attacks, even when they fall behind by a few points. Otherwise, they could simply take penalty kicks and settle for tie. While that’s a safer strategy, it also tends to make games less exciting for fans. It alters the entire game plan based off the scoring structure. Rather than risking a long pass for a try, you’ll opt to kick for touch. And, heck, that extra point from the table are worth more then the glory of a dramatic score.
There’s also the element of confusion to newcomers: the losing bonus. Even if you lose by only a few points, you still get one anyway. That’s right, no blowout is as crippling to your standing in the league as a close loss. Teams stays competitive longer. And the page has a nice reference table explaining how that works.
What it amounts to in real life is this: A team near the cutoff for the playoffs but out of it can rally back into contention with a series of close losses. They’re collecting points. It’s like saying they won half the battle. It encourages competition. Look at the board and maybe you’ll have lost a game, but in the grand scheme of things, you’ve won half.
This can become hard when tracking manually. Each league run its own rule book. In some youth competitions, they even simplify it down to three tries for a bonus. To promote just attacking play, some take away the minus bonus altogether. For other leagues, it’s a differential thing. You need to win by at least three tries and then the bonus come into effect.
These are things that this calculator accounts for. Simply choose the correct option that matches your handbook from your league. Get the wrong rule and that four-try bag you had could be worthless in a differential system if your opponent did well too.
“People make the mistake of just looking at their team. They don’t look at how many bonus points the other guy might collect. So yeah, maybe you got the losing bonus because you lost by six points. And then maybe the winning bonus because he made four tries. Well now you’re still six points behind him. But now more points are given out across the entire league. Points inflate. That could tighten up the standings. Tiebreakers becomes more common. But when you’re trying to figure out who’s going to end up on top, that matters.”
Inputs are simple: The raw information from the match sheet. Final score, tries for, tries against. The tool calculates the margin. Then it compares that margin to the threshold of the losing bonus. Then it compares your try count to the threshold of the attacking bonus. Add your existing standing points. What’s your projected total?
That’s where scenario planning comes into play. “Do I need three more points to avoid the relegation zone?” You’ll find out if a tight defeat suffices or not. Do I have to win to stay safe?
A rugby league table isn’t simply an indicator of which teams won the most games. Ultimately, it reflects how each team played within the context of the rules. That try bonus system reward both the substance and the style of rugby played. This happens even when your conversion kicks don’t go in at the right time. That will soften the blow of losing. It also keeps the competition close until the last round. It is a way of rewarding a team for playing entertaining, expansive rugby.
But the context lets you know if it’s a good one or not. Enter the figures, see where you’re at, then you’ll still have to live with the outcome.