Kite Bridle Calculator
Layout tow point position, upper and lower bridle legs, knot spacing, angle of attack, and line allowance from practical kite frame measurements.
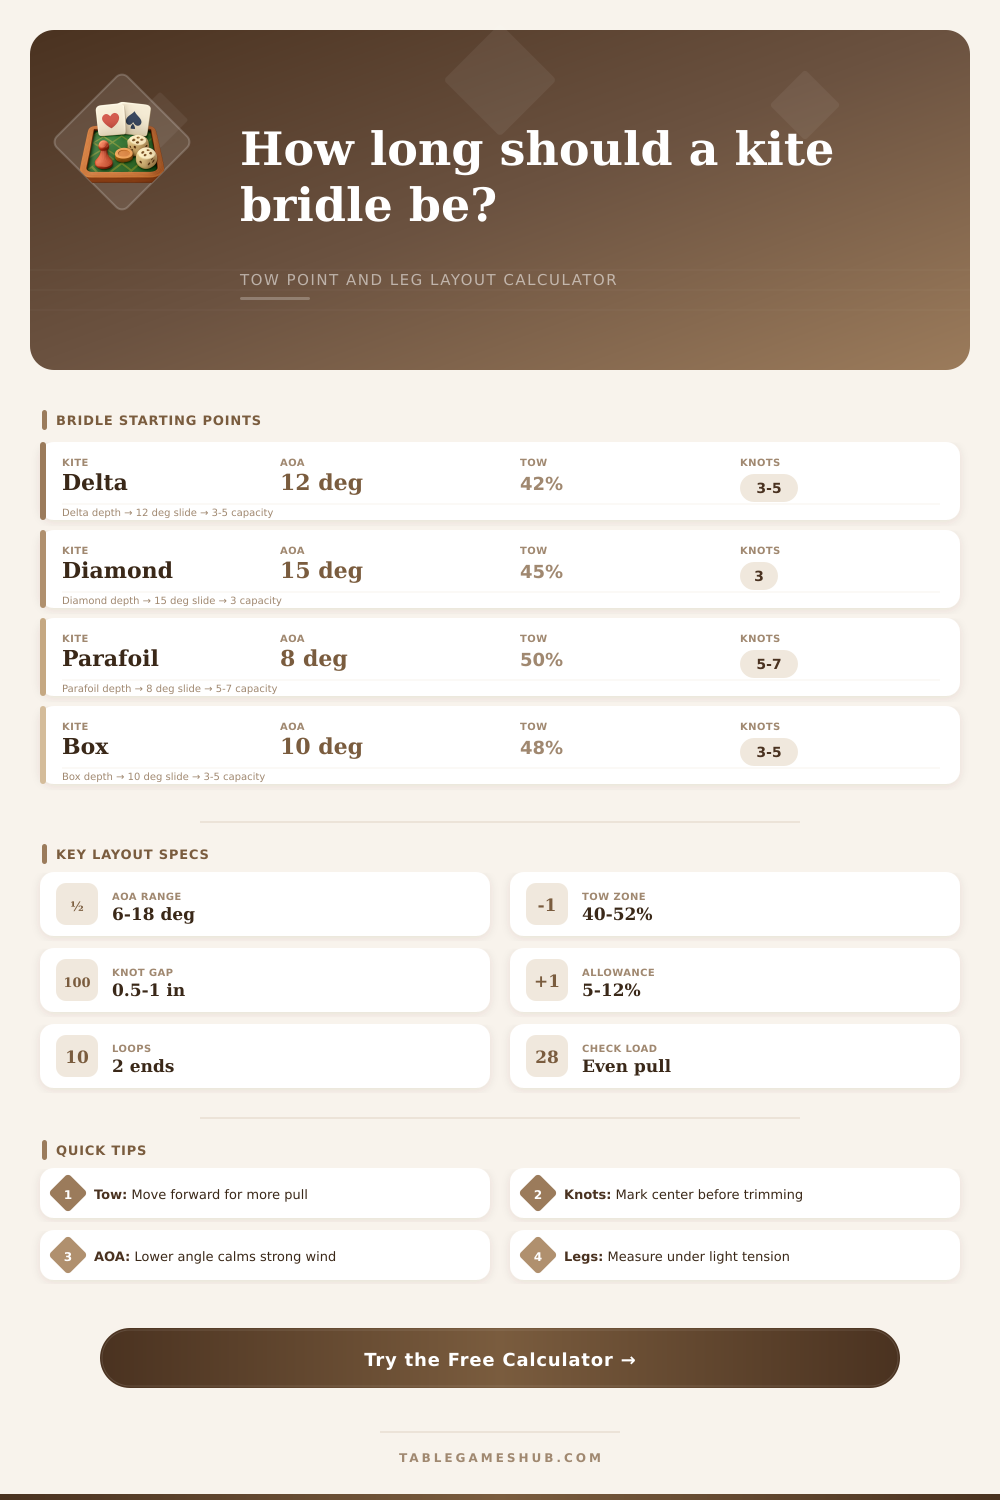
| Kite type | Starting AOA | Tow point zone | Typical bridle layout |
|---|---|---|---|
| Delta single-line | 10° to 14° | 38% to 46% below upper anchor | Two-leg bridle, small upper offset |
| Diamond or Eddy | 13° to 18° | 42% to 50% below upper anchor | Two-leg bridle on spine points |
| Rokkaku or fighter | 12° to 16° | 44% to 52% below upper anchor | Three-point bridle with tuning pigtail |
| Box or cellular | 8° to 12° | 45% to 52% below upper anchor | Multi-point bridle balanced to cell depth |
| Tuning change | What moves | Flight effect | When to use |
|---|---|---|---|
| Tow knot toward nose | Shorter upper leg, longer lower leg | Lower angle, less pull, faster recovery | Stronger wind or over-stalling kite |
| Tow knot toward tail | Longer upper leg, shorter lower leg | Higher angle, more lift, slower forward speed | Light wind or kite diving forward |
| Increase standoff | Tow point farther from sail plane | Softer response and wider adjustment arc | Large frames and forgiving line tension |
| Reduce standoff | Tow point closer to frame | Crisper response and shorter total bridle | Small kites or compact transport layout |
| Knot spacing | Best use | Approx tune step | Layout note |
|---|---|---|---|
| 1/4 in or 6 mm | Small indoor and light-wind kites | Fine | Use with thin line and low knot bulk |
| 1/2 in or 12 mm | Diamond, sled, and small delta kites | Moderate | Good default for most compact bridles |
| 3/4 in or 18 mm | Medium single-line deltas and boxes | Visible | Easy to mark and adjust outdoors |
| 1 in or 25 mm | Large lifters and heavy bridle cord | Coarse | Use when knots are large or gloved |
| Allowance item | Typical add-on | Applies to | Reason |
|---|---|---|---|
| End loops | 1 to 2 in each end | Upper and lower cut lengths | Gives material for lark heads and anchors |
| Adjustment ladder | Knot spacing times knot count | Tow pigtail or active leg | Leaves enough range before trimming |
| Line seating | 2% to 5% | Braided and sleeved bridle lines | Accounts for knots tightening under pull |
| Workshop margin | 5% to 12% | Prototype and repair bridles | Allows final balancing after flight test |
When people makes kites and there kites do not fly correct, it is usualy due to an incorrectly configured bridle. The bridle is the component of the kite that determine to what extent the kite will fly. For a bridle to have the correct geometry, the kite will be able to fly correctly.
If even a small amount incorrectly sets up the geometry of the bridle, the kite wont be able to fly. The bridle system allow kite makers to manipulate the center of effort of the kite. The tow point is where the lines of the kite will be attached to the bridle.
How to set a kite bridle
The tow point will determine how much the kite will lean into the wind. If the tow point is placed too far towards the head of the kite, the kite cant lift itself off of the ground. If the tow point is placed too far towards the tail of the kite, the kite will stall as it will lean too much into the wind.
Therefore, the tow point must be placed in such a way that will balances the powers of the kite. One way to find the perfect tow point for a kite is to use trial and error. However, this is an inefficient way to find the perfect tow point as kites must be untyed and retied multiple times.
An alternative to using trial and error is to use a calculator to find the perfect measurements for the bridle system based off the measurements of the frame of the kite. By calculating the center of balance of the kite, a kite maker can ensure that the bridle will be correctly configured before any cord are cut for the kite. Furthermore, by using a calculator, the kite maker will save time as there is no need to guess how to correctly configure the bridle.
The standoff is the distance between the tow point and the sail of the kite. If the standoff is too small, the tow point will be too close to the frame of the kite. As a result, the kite will be too twitchy and will react to the wind too much.
By increasing the standoff, the kite will be more forgiving of change in the wind. The angle of attack is the slope of the kite relative to the wind. A lower angle of attack will allow the kite to be depowered which is useful in situations where the wind is very strong.
However, a higher angle of attack will allow the kite to catch more of the wind which is useful when the wind is very light. Furthermore, not all types of kite has the same recommended angles of attack. For example, parafoils require a lower angle of attack then diamonds.
When cutting the bridle lines, an allowance must be made for the knots. For instance, lark’s head knots and overhand knots will take up part of the length of the bridle line. If the length of the bridle lines is cut to the mathematical length calculated for the kite without making allowance for knots, the knots will move the tow point too far towards the head of the kite.
Therefore, extra line must be provided for tying the knots and trimming the lines to the proper length. A knot ladder is a series of small knots that are evenly spaced along the bridle leg. Using a knot ladder makes it possible to tune a kite without using a measuring tape.
If the kite is diving, the knot ladder can adjust the tow point towards the tail of the kite. If the kite is stalling, the knot ladder can adjust the tow point towards the nose of the kite. To accurately set the bridle of a kite, the bridle must be measured under tension.
If the bridle is measured while the lines are not under tension, the measurements will be incorrect. The tension that the wind will apply to the kite lines is the tension that should be applied to the bridle when measuring it. If the bridle legs are not balanced when measuring the bridle, the kite will lean to one side and the kite will enter a spiral that will eventually become permanent.
When the bridle lines are correctly set and the kite has accurate bridle geometry, the kite will behave like an airfoil and will remain steady flying in the wind.