Isle of Skye Tile Value Calculator
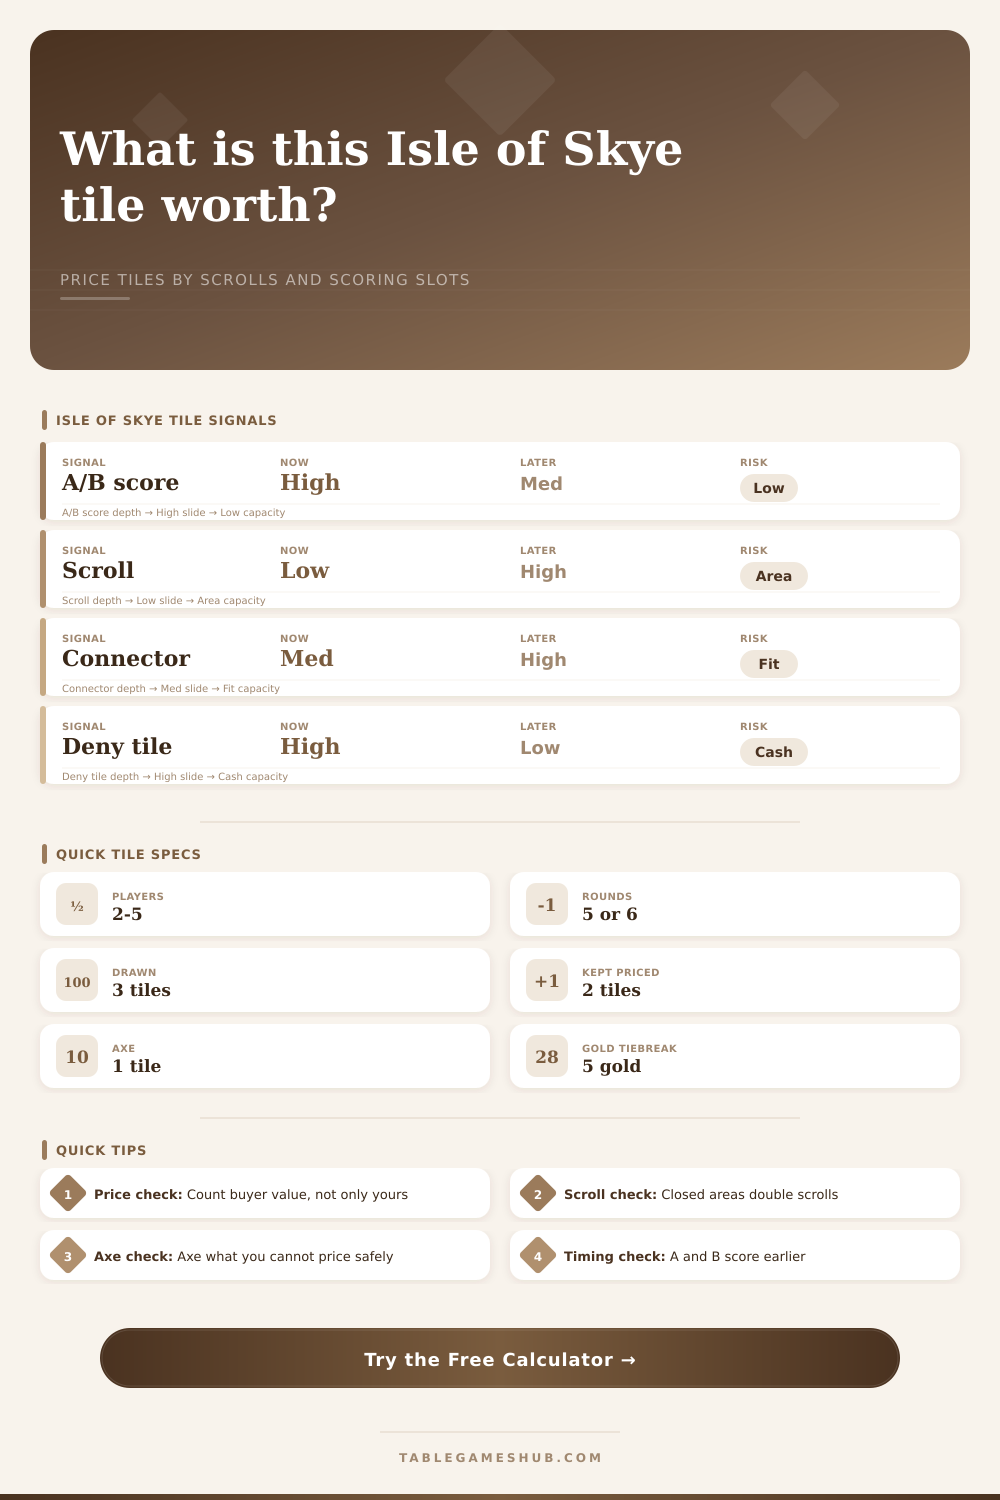
Set a hidden price for one drawn tile by combining immediate objective scoring, later A-D slot timing, scroll final scoring, completion risk, and likely buyer pressure.
| Slot | 2-4 player scoring rounds | 5 player scoring rounds | Pricing implication |
|---|---|---|---|
| A | Rounds 1, 3, and 5 | Rounds 1, 3, and 5 | Most urgent early; visible from the first buying round. |
| B | Rounds 2, 4, and 6 | Rounds 2, 4, and 5 | Often priced high in rounds 1-2 if the tile scales. |
| C | Rounds 3, 5, and 6 | Rounds 3, 4, and 5 | Middle-game value improves once the clan shape is clear. |
| D | Rounds 4, 5, and 6 | Rounds 2, 4, and 5 | Late score tiles are easier to underprice too early. |
| Scroll type | Base final value | Completed area value | Pricing note |
|---|---|---|---|
| Broch, cattle, farm, or lighthouse | 1 VP each | 2 VP each | Small alone, strong when the tile also closes terrain. |
| Sheep, ships, or whisky barrels | 1 VP per pair | 2 VP per pair | Count whether the new tile completes a pair, not just one icon. |
| Mixed scroll support | Usually 0-2 VP | Usually 0-4 VP | Useful when the tile completes an area for existing scrolls. |
| No scroll | 0 VP | 0 VP | Price from objective timing, terrain fit, and denial value. |
| Calculated range | Keep signal | Buyer signal | Axe logistics |
|---|---|---|---|
| 1-3 gold | Minor filler or speculative fit | Easy buyer if it fixes a rival edge | Axe only if both other tiles are stronger. |
| 4-6 gold | Solid tile with real scoring path | Likely sale in rounds 2-4 | Safe hidden price when cash is normal. |
| 7-10 gold | High-impact objective or scroll tile | Only rich rivals can buy cleanly | Consider axe if it is better for an opponent. |
| 11+ gold | Clan-defining tile or denial piece | Sale means major gold compensation | If you cannot fund the second tile, axe pressure rises. |
| Step | What matters | Tile value effect | Calculator input to watch |
|---|---|---|---|
| Set prices | Two tiles receive gold; one is axed | Hidden price must be affordable if unsold. | Gold available for hidden prices |
| Reveal screens | Axed tile leaves before buying | Denial tiles may be worth removing entirely. | Opponent demand for this tile |
| Buy one tile | Each player may buy from another clan | High demand increases protective pricing. | Tile role in your clan |
| Keep leftovers | You pay back your gold on unsold tiles | Overpricing can starve your next round. | Recommended action signal |
In Isle of Skye, spatial planning are replaced with market economics when shields go up. You have three tiles of landscape, but only two can live through the round. Discard one by axing it down. Price the other two for sale to your opponents. Your opponents will either buy them or let you keep them at your stated cost.
This creates trouble for most people. They price tiles according to their own point value. They fail to realize that a tile’s actual worth depend on its desirability among others. The calculator does that math for you. It considers opponent desire, current objective scoring, and future scroll possibility. The more you understand how those numbers work the more useful the tool becomes.
How to Price Your Tiles
Look for slots, In the first round, you can see where Slot A is. That’s worth points right away. Any tiles you can use to grab Slot A are instantly valuable. Those points will arrive soon and they’re a safe bet. Until roughly midway through the game, you won’t know about Slot D. A tile that fills Slot D in the early part of the game may appear to be worthless. What’s it good for? Why should I pay top dollar for this now? Don’t overprice an end-of-the-game tile in the early going. No one will buy it. You’ll starve yourself of gold. You priced it like it was already reaching its peak value. Look at page and its reference tables to see how slot timing influence price decisions.
Scrolls are also important. That one-point sheep might seem like it’s only good for one point. It is, if all you’ve got is sheep. But what if that tile completes your pasture area? In that case, the scroll score gets doubled. The final value shoots up. And that doesn’t occur until the end of the game. Long before that, you’re out of the buying phase. You have to guess at the future. While still standing in Round 2, you need to imagine how your clan will be shaped in Round 5. Get greedy about scroll potential and you’ll waste gold. Ignore its potential and you could ax a key tile. The balance is trickier than it looks.
Everything depends on opponent demand. The tile you need because it matches your neighbor’s cluster is no good for you in your hand. Maybe it won’t earn any points for you. Or maybe it’ll earn five points for him. You sell it cheap hoping to hold onto it, he buys it. He wins big. You high-price it hoping he’ll skip. But then you can’t buy it back and you may not be able to afford it anyway if he passes. It is a psychological trap. Is it worth gold to buy it back from an opponent when doing so means denying them points? Should you just let them have it? Does it has to get axed to prevent a leader?
These decisions are based off cash flow. You’ve got a limited amount of gold to spend on hidden prices. Want to sell two tiles that you’re keeping? Each one costs ten gold. That’s twenty gold total. But you have only twelve? Okay then you pay the difference from your reserve. And now you’re broke for the remainder of the round. Being broke means you can’t purchase any additional tiles later, you will fall further behind.
The tool visualizes this. It factors in how much gold you have. It tells you whether or not your price is sustainable.
It’s all about mitigating risk in Isle of Skye. What will the next tile score? Will someone play my price? Can’t ever know. You deny other people opportunities while betting on probabilities. A great player doesn’t merely create a beautiful looking island, they create an island that makes others pay for the pieces you want. Let your instincts guide you but use this as a tool to verify. Keep in mind, the lowest priced tile causes people to pause. It’s that pause that gets you the win.