Horseshoe Stake Angle Calculator
Check stake lean angle, exposed height, pit surface depth, stake line distance, and practical correction before you re-drive or shim the stake.
| Measurement | Reference Target | Calculator Tolerance | Field Check |
|---|---|---|---|
| Stake-to-stake line | 40 ft between stakes | Flags any measurable drift | Pull a tape along the court centerline |
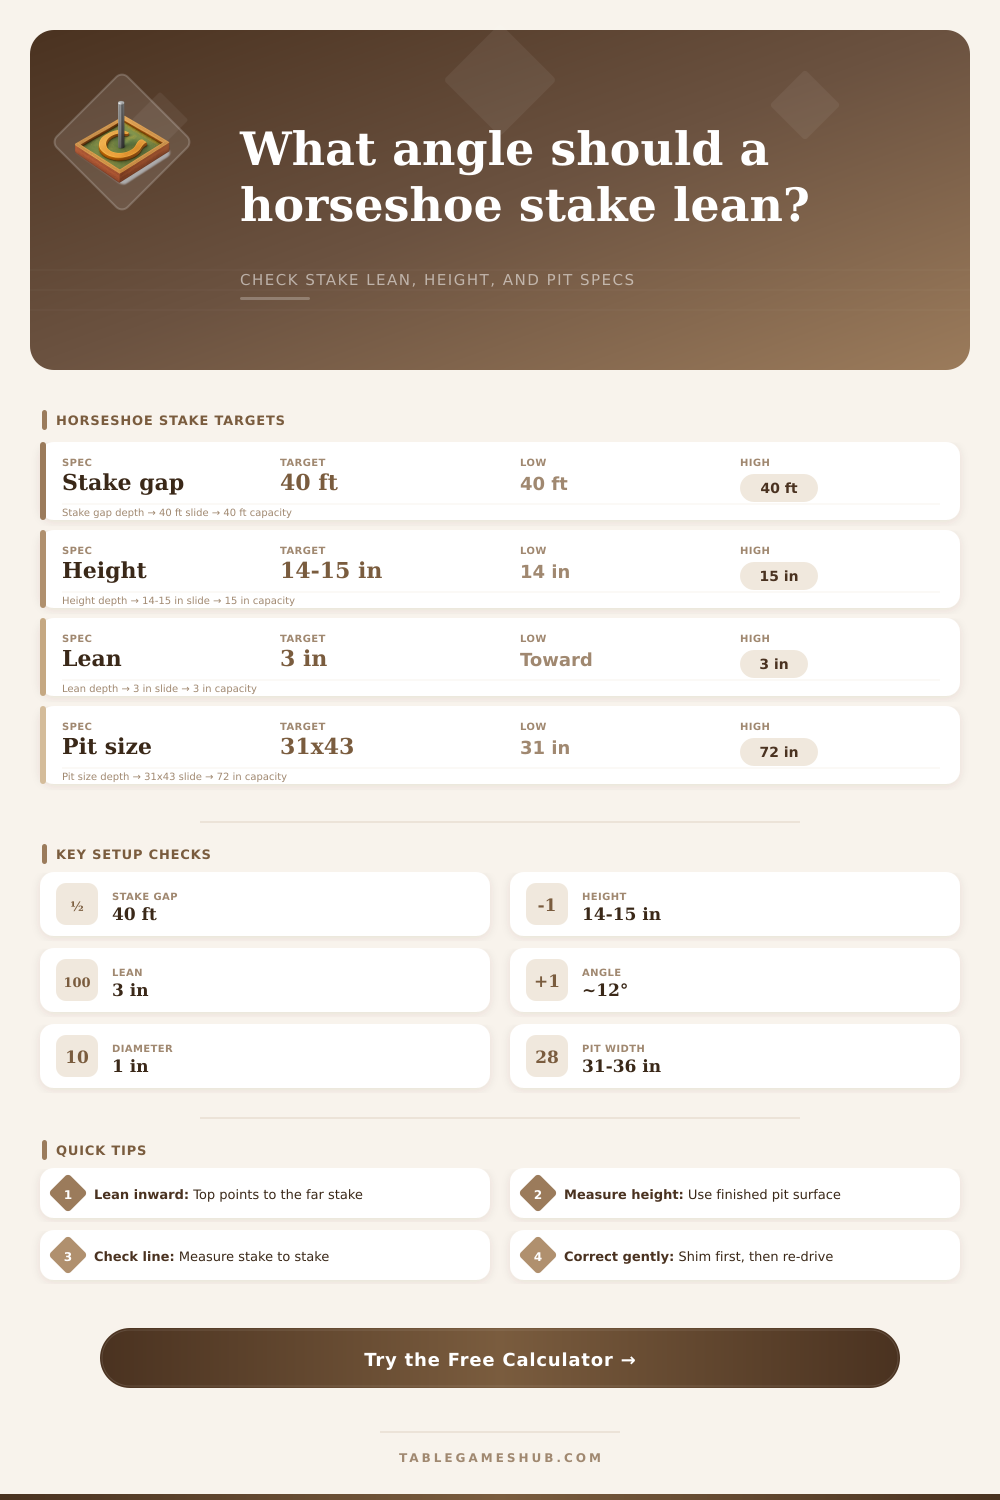
| Exposed height | 14 to 15 in above pit level | Accepts 14.00 to 15.00 in | Measure from finished clay or sand surface |
| Stake lean | Approx. 3 in toward opposite stake | Target band 2.75 to 3.25 in | Drop a plumb line from the top |
| Lean direction | Forward toward the other stake | Flags backward or side lean | Sight down the stake-to-stake line |
| Stake diameter | 1 in metal stake | Flags below 0.90 or above 1.10 in | Check with calipers or a marked wrench |
| Pit Item | Typical Range | Why It Matters | Adjustment Note |
|---|---|---|---|
| Pit width | 31 to 36 in | Keeps side clearance around the stake | Center the stake in the pit width |
| Pit length | 43 to 72 in | Controls front and back landing area | Longer pits handle more bounce-out area |
| Finished surface | Clay or sand level | Stake height is measured from this surface | Adding 1 in fill lowers exposed stake by 1 in |
| Embedded depth | About 21 to 22 in | Supports a 36 in stake at 14 to 15 in exposed | Recheck after each drive adjustment |
| Deep fill pit | 4 to 8 in material | Changes reference surface after settling | Compact and re-measure the stake top |
| Court Feature | Reference Distance | Measured From | Use in Calculator |
|---|---|---|---|
| Stake spacing | 40 ft | Stake to stake | Main line tolerance check |
| Adult foul line | 37 ft | Opposite stake | Confirms layout around a correct stake line |
| Short foul line | 27 ft | Opposite stake | Useful for junior, senior, or short-distance layouts |
| Pitcher box | 6 ft by 6 ft | At each court end | Helps align platforms beside each pit |
| Backstop zone | Behind pit | Past the stake area | Does not change stake angle math |
| Observed Issue | Likely Reading | First Correction | Recheck |
|---|---|---|---|
| Stake is too upright | Lean under 2.75 in | Shim the back side or re-drive top toward the far stake | Confirm top offset and angle |
| Stake leans too far | Lean over 3.25 in | Pull top back slightly or reset the stake hole | Check that height stayed 14 to 15 in |
| Stake is too tall | Height over 15 in | Drive deeper or add compacted pit material | Measure from finished pit surface |
| Stake is too low | Height under 14 in | Raise the stake, remove fill, or replace a short stake | Repack around the stake |
| Backward lean | Direction away from far stake | Re-drive with the top aimed down the stake line | Sight from stake to stake |
Setting up a horseshoe court require players to pay attention to the measurements needed to establish the court. The measurements of the stake angles, the stake lean, and the stake height will determine in what ways the game of horseshoe can be played. If the stake angle is incorrect, the horseshoe will not land on the stake corectly.
Additionally, if the stake lean is incorrect, the horseshoe will not remain on the stake. To ensure the fairness of the game for all horseshoe court players, it is crucial to make sure that the stake angle and stake lean are correctly set up. The direction of the stake lean must be critical for the setup of the horseshoe court.
How to Set Up a Horseshoe Court
The person who is setting up the court should ensure that the top of the stake is pointed towards the stake that is located at the far end of the horseshoe court. This specific lean of the stake will ensure that the horseshoe hook onto the stake. Additionally, this lean will also ensure that there is less chance of the horseshoe landing on the back of the stake.
If the stake is lean towards the back or the sides of the court, the horseshoe will not be able to land on the stake correct. The person who is setting up the horseshoe court can use a calculator to calculate the correct angle for the stake to ensure that the horseshoe will not glance off of the stake. The height of the stake is just as important as the angle of the stake.
The height of the stake must be measured from the leveled surface of the pit material in which the stake is placed. The height of the stake should be between fourteen and fifteen inch above the leveled pit material. If the stake is set too high, there will be too much room for the horseshoe to slide down the stake without landing on it.
If the horseshoe land on the pit material, the height of the stake is set too low. Since the height of the stake can change if the material in the pit change, the horseshoe court should measure the height of the stake each time the material in the pit changes. In addition to the height of the stake, the distance between each stake should be measured correctly.
Forty feet should be the distance between each stake, measured from the center of one stake to the center of the other stake on the horseshoe court. If the stakes is not forty feet apart, the horseshoe court will not meet the regulation standards for horseshoes. The dimensions of the pit will also have an impact on the game of horseshoe.
If the pit is wider, there will be more room for horseshoes to land on the sides of the stake. Additionally, if the pit is longer, there will be more room for the horseshoes to roll on the forward side of the stakes. Though the dimensions of the pit will not change the angle of the stake, the dimensions will change the way that people feel the court when they is playing.
The material in the pit can also impact the horseshoe court. If clay is used in the pit, the stake will remain level for a longer period of time. Sand, on the other hand, will change the level of the pit if people walk on the pit or if it rain.
In either case, whether the horseshoe court use clay or sand in the pit, the height of the stake needs to be measured from the finished surface of the pit material. The angle of the stake, the height of the stake, and the direction of the stake lean should be measured to ensure the fairness of the horseshoe court. If both the stake angle and the stake height are set up correctly, the other variables in the horseshoe court will be the skill of the individual who are playing on the court.
Ensuring that the stake angle, stake height, and stake spacing are all correctly set up will help to prevent any small problems that may arise while playing on the horseshoe court from becoming more larger problems.