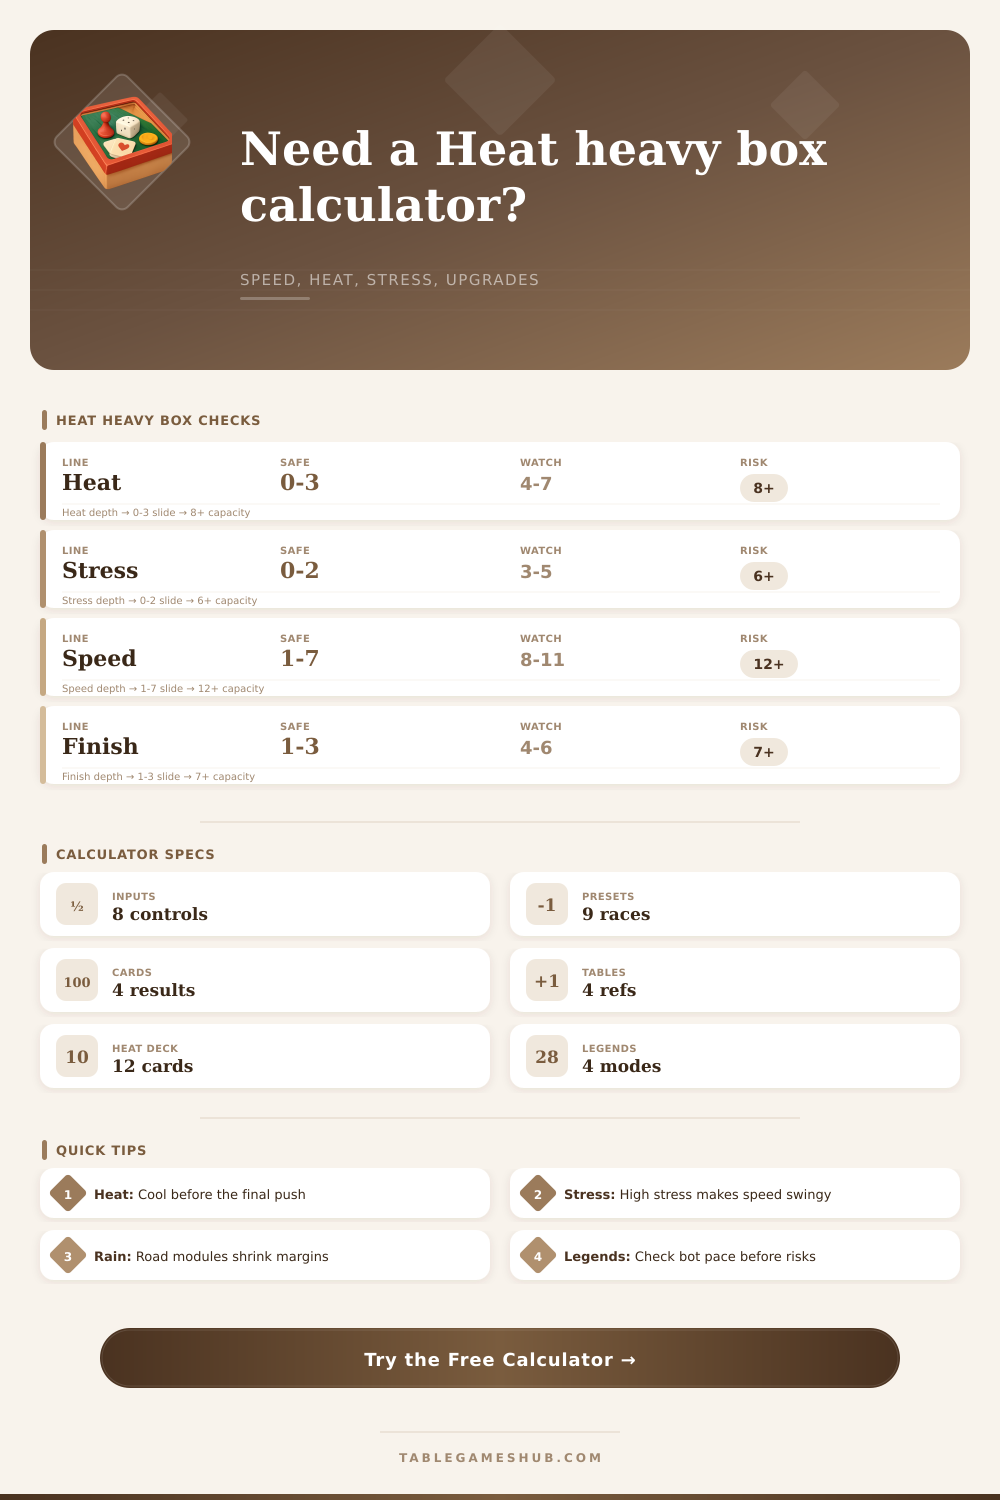
Heat Heavy Box Calculator
Plan a packed Heat race setup by checking car speed, heat cards, stress, upgrade load, weather and road module pressure, Legends pace, championship points, finish position, and cooldown risk.
1Named Heavy Box Presets
2Speed, Heat, Stress, Module, and Finish Inputs
3Heavy Box Spec Grid
4Heat Heavy Box Reference Tables
| Module | Safe speed band | Cooldown effect | What to verify |
|---|---|---|---|
| Clear road, standard corner limits | Normal track limit plus slipstream room | No extra cooldown penalty | Check next corner speed before boosting |
| Heavy rain, reduced grip zones | Two speed below normal in wet sectors | Risk rises if heat is high | Confirm the rain zone before revealing stress |
| Fog bank, hidden pace pressure | One speed below normal near blind corners | Moderate penalty for high stress | Track Legends cars before conservative shifts |
| Temporary chicane road card | Sharp local speed cap near the chicane | Cooldown is useful but costs position | Count spaces to the next mandatory slowdown |
| Upgrade package | Speed effect | Cooling effect | Stress handling |
|---|---|---|---|
| Turbo charger speed package | Raises safe push by one when risk is low | Consumes heat room quickly | Can magnify stress reveal danger |
| Cooling system recovery package | Lower burst pace | Improves cooldown score strongly | Best when heat cards are above six |
| Wet tire control package | Neutral speed in clear weather | Reduces rain and storm penalties | Good with fog or wet road modules |
| Experimental heavy-upgrade stack | Highest pace swing | Most volatile cooling profile | Stress and heat both count heavier |
| Finish position | Points scored | Title posture | Calculator note |
|---|---|---|---|
| 1st place | 10 points | Title attack | Risk may be worth it if heat is under control |
| 2nd to 3rd | 8 to 6 points | Podium hold | Balanced cooldown usually protects the campaign |
| 4th to 6th | 5 to 3 points | Mid-pack save | Heat damage can erase more than the points gained |
| 7th or worse | 2 to 0 points | Recovery race | Consider cooling unless Legends are about to pass |
| Risk band | Risk score | Legends pressure | Race management call |
|---|---|---|---|
| Green engine | 0 to 29 percent | Any Legends mode is manageable | Push if the next corner has room |
| Amber engine | 30 to 54 percent | Steady Legends can punish one slow turn | Cool only if finish position is secure |
| Red engine | 55 to 74 percent | Aggressive Legends can force a spin check | Cooling turn is usually safer than boosting |
| Critical engine | 75 percent or more | Traffic knot makes every reveal dangerous | Prioritize heat recovery before the final sector |
5Heavy Box Race Tips
Cool before the decisive corner: a championship lead is often protected by one quiet cooldown turn instead of a risky final boost through rain or fog.
Read Legends as moving pressure: a safe speed on an empty road can become dangerous when bot traffic steals the lane you planned to use.
Until you have several heat cards sitting in your discard pile, race doesn’t feel overwhelming. When you hit point where a heavy box stop is more out of desperation than strategy, it’s all about avoiding a stall. Nothing else matters. Positioning and speed no longer matter; it is just about survival as Legends cars follows behind you waiting for an opportunity.
The calculator turns that anxiety into odds you can live with. It makes sense of the madness. Most of us drivers don’t think about heat until we’re in a crisis with it, or we’ll be hammering down on the straightaway but not thinking what is coming up ahead. Or I’m wondering, what cards do I have left? What’s the weather like?”
How to Use the Racing Calculator
The tool weighs them all together to give you a cooldown risk score. It takes into account your upgrades, track pressure, stress, and speed. It’s not just about how fast you can go; it’s about whether going fast will cost you championship later in the season. Half the battle is understanding the inputs, and we know speed is one of them, but what about stress cards? A race is lost as many times on those, and stress are a wild card. If your margin for error is low, then a bad reveal can spin you out at a safe corner.
The calculator takes into account your present card distribution and warns that carrying too much stress reduces your effective speed range a lot. Just because your top speed is high enough, doesn’t mean you are naturaly safe to push through a fog bank, but do it with a hand full of stress cards and now you’ve got terribel odds.
Then there’s weather and road modules that further complicate things; not only does rain slow everyone down but it also changes grip threshold. And when that happens your normal safety margins becomes irrelevant. The reference tables indicates where heavy rain or fog banks shift the safe speed band. Because the pace pressure in fog banks can hide until you’re committed to a turn, you won’t be able to see the Legends car coming up behind you until it’s too late to really cool down.
People don’t think about how much upgrade packages matter, a turbo charge gets you burst speed, but it also eats up your heat room fast. Running out of cooling efficiency? That last bit of speed might not be worth the risk of overheating before the final lap. The calculator will tell you whether you’re speeding past what the track can handle, or plodding along with way too little stability, based off existing track conditions and package selection.
Sometimes right play might be to swap in a wet tire control package even if weather looks nice, because championship points are too precious to risk a single spin. But those AI opponents never make a mistake, and legends pressure is all-too-often forgotten about until it’s far too late. They’ll take advantage when you cool off if they’re within range, and they won’t hesitate to overtake you completely if you opt to sit out one turn. Depending on what Legends mode you select, the tool will estimate just how costly it will be to play cautiously.
In aggressive modes, it’s pretty much always going to mean losing out, except maybe when your engine is at its hottest limit. You’re constantly weighing the short-term danger of stalling versus the long-term cost of falling behind in position. The last piece of context are championship points. If you’re in contention for the title, it’s smart to go all-in; otherwise, there’s no need to do anything crazy because you’ve got nothing left to play for.
The calculator takes your estimated finishing spot and converts that into points, helping you determine what would of been worth the gamble, risking everything for 10 points in first? Sure. Risking everything for three points in sixth? Almost never. It’s really just knowing what you’re measuring and that it isn’t a matter of winning each lap but controlling variability over the entire race.
You can run the numbers before you hit the track and remove the emotion from the decision, making an informed choice as to when to push vs cool down by using data and not adrenaline. Having clarity in those decisions makes all the difference between a good driver and a great one. Keep your head clearer and your engine cool.