Heat Cooldown Calculator
Plan a racing-board heat cycle across hand, engine, discard, gear, cooldown icons, stress cards, boost risk, corners, upgrades, and laps remaining.
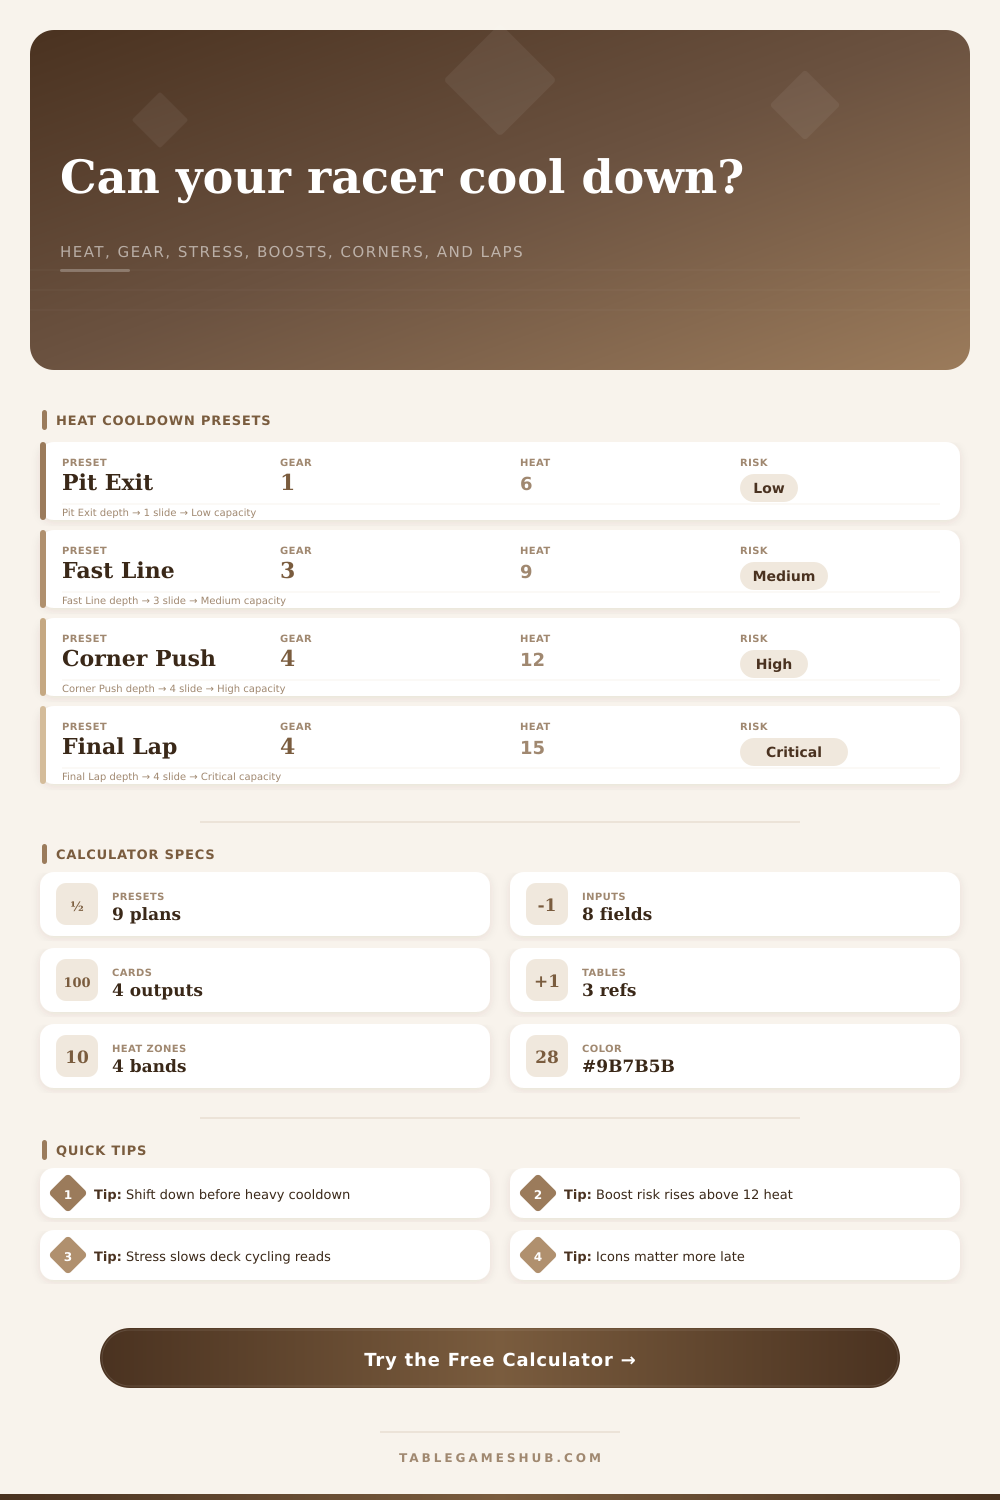
1Heat Cooldown Presets
2Heat, Gear, Corner, and Deck Inputs
| Zone | Heat Load | Cooldown Goal | Boost Note |
|---|
3Heat Deck Spec Grid
4Reference Tables
| Gear | Base Cooldown | Typical Speed Band | Planning Read |
|---|---|---|---|
| Gear 1 | 3 heat | 1-4 spaces | Best recovery and safest corner entry. |
| Gear 2 | 2 heat | 3-6 spaces | Balanced cooling with modest boost room. |
| Gear 3 | 1 heat | 5-8 spaces | Fast approach; save engine heat for corrections. |
| Gear 4 | 0 heat | 7-12 spaces | High pace; relies on icons and upgrade cooling. |
| Band | Total Heat Outside Engine | Suggested Action | Risk Read |
|---|---|---|---|
| Safe | 0-5 | Boost only when corner speed supports it. | Low |
| Watch | 6-9 | Recover at least two heat before a long push. | Medium |
| Hot | 10-13 | Prioritize cooldown icons and safer shifts. | High |
| Critical | 14+ | Avoid extra boost unless the finish is immediate. | Very high |
| Scenario | Starting Gear | Good Cooldown Target | Corner Advice |
|---|---|---|---|
| Pit exit reset | 1 | 4-6 heat | Use recovery before returning to top speed. |
| Fast straight | 3 | 1-3 heat | Accept lighter cooling if the next corner is open. |
| Tight corner | 2 | 3-5 heat | Cool first, then spend after the corner line. |
| Final sprint | 4 | 0-2 heat | Spend aggressively when laps remaining is near zero. |
5Cooldown Tips
Shift for recovery: A planned downshift often beats holding top gear when hand heat and discard heat already exceed the engine reserve.
Respect corner speed: Boost pressure is easier to justify when the next corner speed limit is high or laps remaining is below one full lap.
“You have a bunch of momentum going into the next straight, but your engine’s humming hot. The next turn’s a tight one and the pack’s right on your bumper. Do you try to power up for that extra kick, or do you dial it down and give your deck time to chill out?” That split-second decision is where races are won or lost, long before anyone crosses the finish line.
Because heat management isn’t just survival; it’s about knowing the exact moment in which you can afford to spend the currency. Once you know where the heat distributes on your boat and what gear you have plugged into this calculator. The rest is done for you with a couple click of a button. No more guesswork.
How to Manage Heat
“How many do I really need to get me through my next turn? Now we understand. How does that work? Let’s look at the flow of your deck. Imagine heat as currency. Cash in your hand. Bank vault in your engine. Revenue lost in your discard pile. Heat you can’t hold, you can’t use. Heat in your discard, you can’t recover. Too much heat in your hand? Same thing. You don’t want to be holding what you can’t spend. That’s why tracking heat outside your engine is so important.
How much is just hanging there idle? How much can you tap to pay for speed? There’s a reason why gear makes such a big difference. You trade top speed for cool down windows and stability. Gear one cools you off best because it naturaly slows you down. This gives you a chance to drop the heat and cycle some cards before making a commitment. However, by remaining in gear one perpetually, you’re never going to hit top speed. Shift only as far as your engine can handle to keep that higher pressure without blowing up. Jumping from gear one into gear four when the engine is extremely hot are like driving off a cliff and hoping for traction.
That’s where the reference table on the page comes in. Each gear have an impact on your cooldown window. And then there’s the added chaos of stress. With stress cards in play, your reads lose some reliability. You could pull what you believe to be a speed card, only to find that it was another heat penalty. It puts you in a state of uncertainty and causes you to be more cautious with regards to your boost risk. That drag is factored into your total recovery estimate. Your effective cooldown capacity are lowered as you don’t know if the next draw will be good enough. On paper, it’s just a little drag. In practice, though, it shifts your attacks or drafting aggressiveness.
It feels good to boost, until it’s costing you laps. Until then, most players neglect to consider how much heat they’ve got left in the tank for a move. They also fail to consider whether or not they’re spinning out anyway if they try. The tool factors stress into your recovery estimate, and uses your engine state and how much boost you plan on spending to calculate risk. When the risk percentage go up, it’s because you’re overheating and don’t have enough juice to spend on that. It may still be worth boosting… But you know it’s going to cost you.
Everything changes based off laps remaining. If I’m early in the race, saving heat for upcoming corners make sense. Later in the race, and after running out of laps, there’s no point in saving any heat. It’s usually an all-in situation on the last lap, throw caution to the wind and go full out until either the checkers wave or the engine explodes.
Is one correct? No. It is simply a series of options that work for your particular place on track. In the end, both speed-up and cool-down are acts of activity. You must pay attention to what’s on your deck. You must predict what will come around the corner next. You must also gauge how much risk you’re willing to take. Your instinct lets you know if you should of heed the numbers, which merely provide a baseline.
Keep your engine reserve in good shape. Downshift before things get out of hand. Know that each heat card in the discard pile means you will have one fewer tool for the next turn. Learn the cooldown and you learn to manage the pace.