Gloomhaven Jaws Calculator
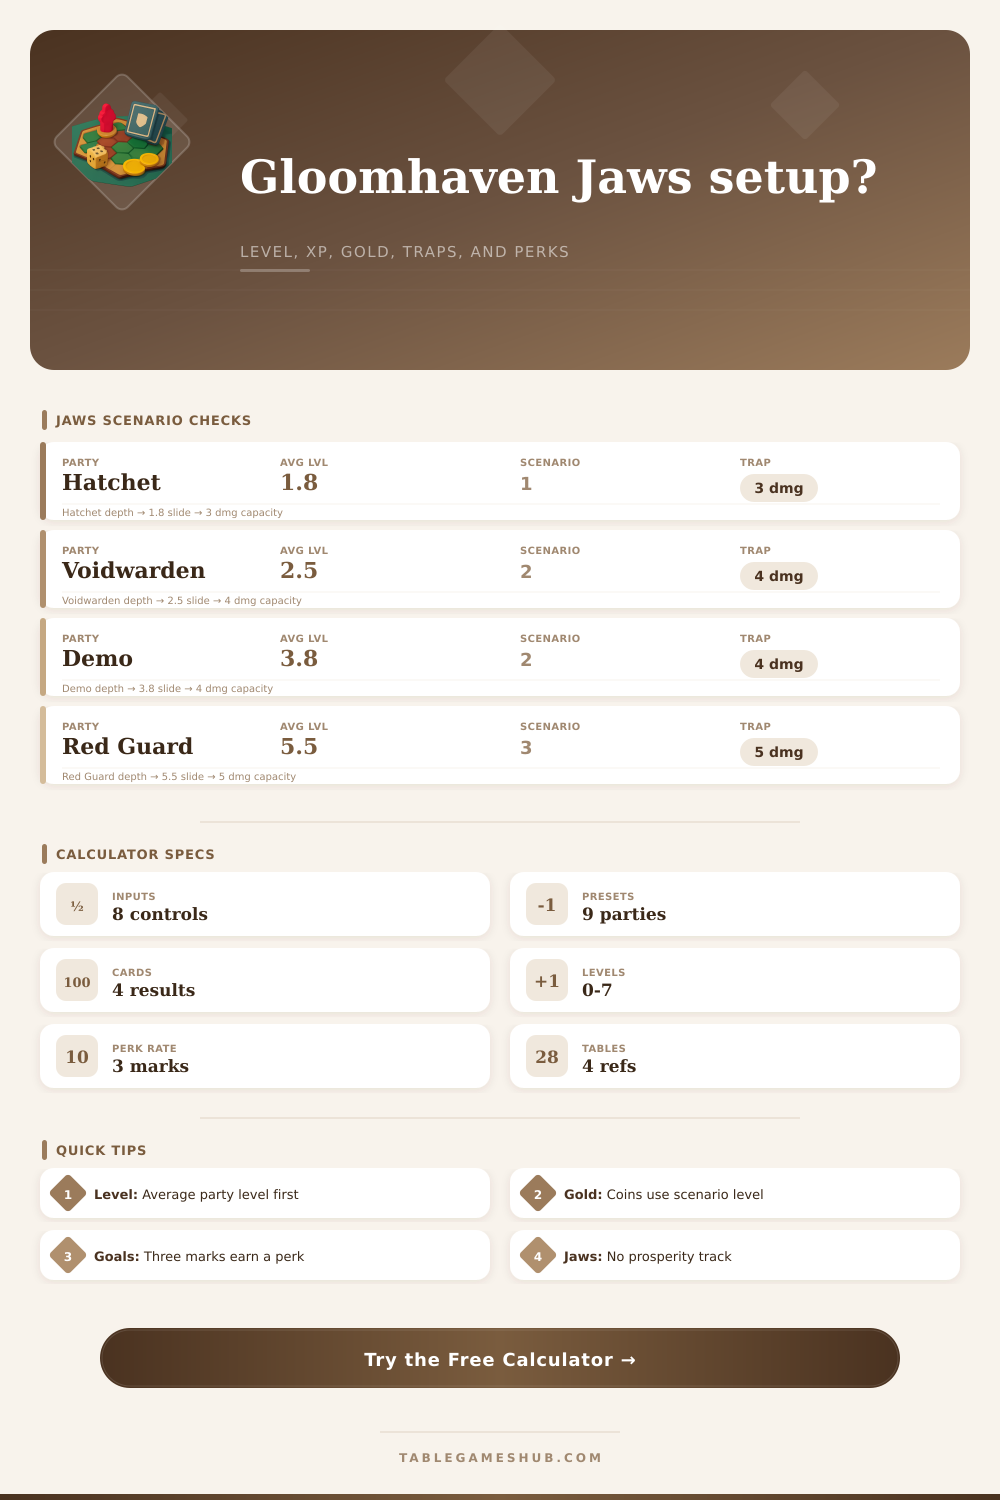
Set up a Jaws of the Lion scenario by party level, difficulty, monster level, trap damage, gold conversion, bonus XP, battle goal checkmarks, perk progress, and campaign shop notes.
Adds a small readiness note and expected party pressure without changing the official level formula.
Jaws scenarios usually scale monster standees by two, three, or four characters.
Add the current level of every active character before opening the scenario book setup.
Scenario level is clamped from 0 to 7 after the difficulty modifier is applied.
Multiplies coins by the scenario level gold conversion value.
Add card XP and listed scenario reward XP before the completion bonus is applied.
Counts one checkmark per completed battle goal card for the active session.
Three checkmarks make one perk; leftover marks carry into the next scenario.
Average character level is divided by two, then rounded up.
Difficulty adjustments are clamped to the campaign level table.
Every three battle goal checkmarks converts into one perk.
Jaws uses scenario and shop unlocks instead of prosperity levels.
| Scenario level | Monster level | Trap damage | Gold per coin | Completion XP |
|---|---|---|---|---|
| 0 | 0 | 2 damage | 2 gold | 4 XP |
| 1 | 1 | 3 damage | 2 gold | 6 XP |
| 2 | 2 | 4 damage | 3 gold | 8 XP |
| 3 | 3 | 5 damage | 3 gold | 10 XP |
| 4 | 4 | 6 damage | 4 gold | 12 XP |
| 5 | 5 | 7 damage | 4 gold | 14 XP |
| 6 | 6 | 8 damage | 5 gold | 16 XP |
| 7 | 7 | 9 damage | 6 gold | 18 XP |
| Jaws party profile | Setup pressure | Suggested check | Calculator note |
|---|---|---|---|
| Hatchet and Red Guard front line | Low control, high focus damage | Watch elite shield values | Good two-character baseline for early scenarios. |
| Voidwarden and Demolitionist control | Positioning-heavy damage spikes | Track trap and obstacle rooms | Useful when traps are part of the plan. |
| Hatchet, Red Guard, Demo, Voidwarden | Full box party coverage | Confirm four-player monster rows | Best for reading crowded setup maps. |
| Boss scenario burst party | High target priority pressure | Confirm boss special rules first | Pairs level and reward math with boss pacing. |
| Late campaign item-rich party | Higher stamina and damage floor | Check item shop unlocks | Use when gear makes normal feel too soft. |
| Checkmarks after scenario | New perks earned | Carryover marks | Campaign sheet action |
|---|---|---|---|
| 0 to 2 | 0 perks | 0 to 2 marks | Keep marks on the current character sheet. |
| 3 to 5 | 1 perk | 0 to 2 marks | Choose one perk, then carry any extra checks. |
| 6 to 8 | 2 perks | 0 to 2 marks | Useful for catch-up characters with saved marks. |
| 9 to 11 | 3 perks | 0 to 2 marks | Audit carefully before changing modifier decks. |
| 12 or more | 4+ perks | 0 to 2 marks | Common only when recording a backlog of sessions. |
| Campaign item note | What to record | Why it matters | Calculator treatment |
|---|---|---|---|
| No prosperity level | Do not add Gloomhaven prosperity | Jaws uses its own campaign flow | Shows a note, not a prosperity score. |
| Scenario unlocks | Mark new locations and rewards | Unlocks can change available choices | Included in the setup reminder line. |
| Item shop additions | Record newly opened item ranges | Gear can justify harder scenarios | Reflected through party profile notes. |
| City event outcomes | Record rewards and penalties | May add gold, XP, or conditions | Add event XP or coins into inputs manually. |
Calculate the level before opening monster stats.
Average the active character levels, round the normal scenario level, then apply the difficulty step so monster level, traps, gold, and bonus XP all come from one row.
Treat Jaws prosperity as a campaign note.
Jaws of the Lion does not use the full Gloomhaven prosperity track, so record scenario unlocks, item shop additions, and event rewards separately from level math.
Picking up Jaws of the Lion puts you in a room that has a certain vibe. It feels like playing Gloomhaven’s rules but different than your old habits will get in the way. The results of getting it wrong are large, so there is a mental adjustment needed when setting up a scenario. Permanent campaign progress management mean that a poor set-up can mess up the pace before you draw your first card.
The scenarios is scaled to difficulty differently from the original game. The prosperity level isn’t something you rely on. Jaws instead use an average-based formula. Add up the levels of every active mercenary in the party and divide by two. For standard play, round this number up. This will be used to calculate gold multipliers and trap damage. It will also determine monster stats and bonus experience points.
Simple Ways to Set Up Your Game
It is a clean system without any safety nets. That’s all the math the calculator does for you. You won’t have to dig around on reference pages when standing them up. You can choose your party profile whether it’s a four character squad or an ambush two person pair. And it estimates the readiness and pressure of your build without changing official level rules.
Having average level three is one thing when you’re rocking a solo Hatchet and another when you’re playing with a Voidwarden in a balanced team. The number isn’t as important as understanding what they mean. Scenario level directly influences trap damage. The harder the scenario step, the greater threat environment becomes, a genuine threat instead of a mere nuisance. Gold conversion shifts, changing how fast you can buy new gear. It’s nice that the tool lays out these values in an easy-to-understand way without making you remember individual tables.
Another place where players get lost is the battle goal checkmarks. For each goal that’s done, this adds to the number of perk choices that can be unlocked. Three checkmarks equals one full perk choice. This might seem like no big deal, but getting behind means having underpowered character in future scenarios. The calculator will display all the checkmarks you have so far and then it will tell you how many additional perks you’ll unlock. You can use this information to plan what abilities to focus on next.
There is no more prosperity track. Additions to shops and scenario unlocks are based off campaign flow, and do not contribute to difficulty formula. Record those separately from your level math. Use this table as a reference to help you stay organized when taking notes. That way, you don’t mix up permanent upgrades with temporary rewards.
Groups can push things too far, too fast; they make mistakes. They want to get as much experience as possible. But without items, these fights become boring and drain morale and stamina. There’s a casual mode because of that. Players who are new, or those who have taken time off, can come back and gradually work their way back into tactical combat without feeling pressured to perform perfectly.
Jaws You read the room when setting it up. Decide on levels and gear for each of your characters. Do I want this to be an easy win? Or do I have my work cut out for me? Your gut makes the call, but the numbers provide a starting point. Nail down the setup and arithmetic mistakes won’t spoil the fun.
Your goal… Whether it is to finish quickly or to engage deeply with tactics; will make the difference. Long term, each checkmark contributes to your characters’ development. Don’t ignore these perk thresholds. You will look back and could of kicked yourself midway through a play session.
Fortunately these tools perform boring math. It leaves your head free to think about ability combos and positions. Those are the core of the game.