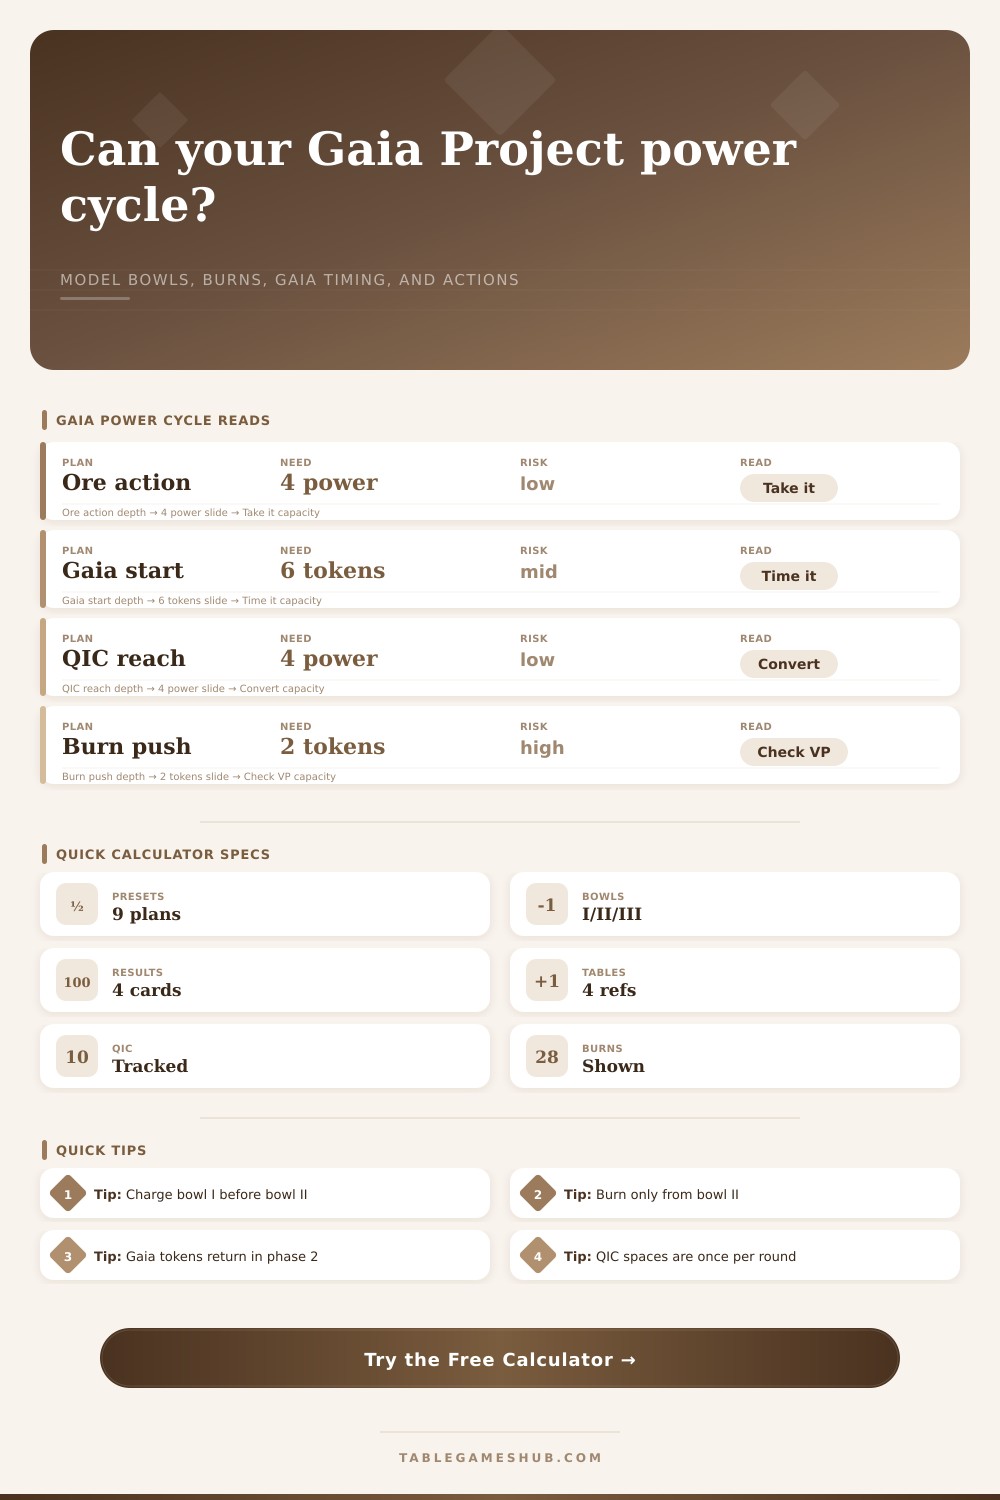
Gaia Project Power Cycle Calculator
Model real bowl movement from area I to II to III, optional burning from bowl II, Gaia-area commitments, QIC timing, and power action readiness before you spend.
Use this for Gaia Project when deciding whether a charge, burn, Gaia project, free conversion, QIC action, or power action will leave your bowls in the right state for the round.
Power cycle result
| Rule item | Real movement | Calculator use | Timing note |
|---|---|---|---|
| Charge power | Move one token from I to II; only when I is empty, move II to III. | Charge input advances tokens in official priority order. | Extra charge is lost when both I and II are empty. |
| Spend power | Move paid tokens from III back to I. | Target power cost is removed from III after readiness is checked. | Power actions are blocked once occupied each round. |
| Burn power | Discard one token from II to move another token from II to III. | Burn mode calculates legal pairs and counts discarded tokens. | Itars put burned tokens in Gaia area instead of supply. |
| Gaia area return | Most factions move Gaia-area tokens to I during the Gaia phase. | Timing input decides whether Gaia-area tokens have returned. | Terrans return those tokens to II instead. |
| Gaia level | Can start? | Tokens moved to Gaia area | Immediate benefit |
|---|---|---|---|
| Level 0 | No | Not allowed | No Gaiaformer access |
| Level 1 | Yes | 6 power tokens from areas I, II, or III | Gain one Gaiaformer |
| Level 2 | Yes | 6 power tokens from areas I, II, or III | Gain 3 power tokens |
| Level 3 | Yes | 4 power tokens from areas I, II, or III | Gain one Gaiaformer |
| Level 4 or 5 | Yes | 3 power tokens from areas I, II, or III | Gain one Gaiaformer |
| Target | Typical cost | Resource result | Calculator check |
|---|---|---|---|
| Basic free conversion | 1, 3, 4, or 5 power | Credits, ore, QIC, or knowledge depending on conversion. | Spendable bowl III and QIC-after-conversion are updated. |
| Power action space | Printed power cost | Ore, knowledge, credits, terraforming, or tech advancement. | Requires enough bowl III before spending and assumes space is available. |
| QIC action space | Printed QIC cost | Usually range, federation support, tech, or scoring tempo. | Uses QIC on hand plus optional 4-power-to-QIC conversion target. |
| Satellite link | Power tokens or Ivits QIC | Connect structures for federation power value. | Shows whether preserving tokens or QIC matters more. |
| Faction case | Power exception | Calculator adjustment | Watch point |
|---|---|---|---|
| Standard factions | Gaia-area tokens return to bowl I. | No extra return boost; burns leave the game supply. | Starting Gaia too early can starve later charge. |
| Terrans | Gaia-area tokens return to bowl II. | Returned tokens are closer to bowl III after Gaia phase. | PI can convert the return into resources. |
| Itars | Burned bowl II tokens go to Gaia area. | Burn count adds to Gaia area instead of discarded supply. | Four Gaia-area tokens can become a tech tile with PI. |
| Nevlas | May move a bowl III token to Gaia area for knowledge. | Knowledge tap option is reflected as a timing warning. | That move is not normal power spending. |
| Ivits | Satellites are paid with QIC instead of power tokens. | Satellite target compares QIC pressure to bowl preservation. | QIC saved for federation can be worth more than range. |
In Gaia Project, there is a moment when you want to take power action, but all your tokens are still in bowl one. Too late, the window of opportunity have closed. It’s a rite of passage for everyone at the table. Impatient players will be punished by efficiency. Savvy player who can look two turns ahead to see how their token flow will work out will be rewarded.
There is a rhythm to managing when you should spend tokens and when you shouldn’t accumulate them. But it isn’t arithmetic alone. Instead, you’re leading an orchestra. Its instrument are plastic discs, and its beat shifts each time someone take a turn order position. After entering your current state of bowls, the calculator does math for you. No need to simulate all those priority rules about how tokens flow through your brain.
Managing Power Tokens in Gaia Project
Power? Power must empty bowl one before tokens in bowl two can move to bowl three. That’s an arbitrary bottleneck and it doesn’t make much sense when you’re not dealing with it directly. But after you hit it a few times, it becomes second nature. Even though there are ten tokens stuck in bowl two, they don’t get to jump until there isn’t a single disc left in bowl one. That is the gatekeeping mechanism. Understanding this will help you determine what power feels like, instead of being paralyzed by having too many token.
In terms of strategy, addition of burning power can add layers of complexity many novice players struggle with. When you burn a token in bowl two, you are removing one token from bowl two, moving the next token forward in bowl two (essentially skipping over the bottleneck). On paper, that seems like having an endless supply of power generators; however, cost of doing so is severe and permanent: you’re taking a resource out of your cycle forever.
That means you have to balance the reward of getting a uber action now with not having that power source later on. Each faction handle this tradeoff in its own way, which is why certain groups like the Terrans or Itars has their own presets for special cases. Those factions will change path of tokens once burned/Gaia committed, altering risk associated with your plan.
Finally, there are a few things to remember about timing with Gaia. Any tokens spent on Gaia are locked away until Gaia phase gives them back to your bowls. Spend too many too early in the round, and you may not be able to afford key actions while waiting for tokens to trickle back from Gaia land. They’re just sitting there. Waiting for the next phase, hoping they’ll get their chance… They won’t, unless you let them.
This comes up often in the table of references found on page, explaining how your immediate gains and token costs shift based off each level of research. For example, level one will cost you six tokens. This is a large amount early on, but it unlocks those Gaiaformers who will tip the scales in endgame scoring. Is it worth spending now? Or would you rather wait to spend until you have more tokens in your bowls?
How much pressure is your opponent applying to board? Another factor for many players is only considering what’s happening on their own board without thinking about larger timer for the round. The availability of power limits how many you can use. Even if you have all the power in the world, somebody might get there first. In this case, understanding the turn order are vital. It isn’t just about whether you can pay for an action. It’s about whether you’ll be able to take one before your competitors.
That connection between when you generate resources and when you need to spend them force a continual rethinking of priorities. Sometimes it is best to hold onto your power and let bowl two build up so you can launch with many ready tokens next turn. Gaia Project power cycling is something you learn to feel. Your mind becomes tuned to flows. You see not just what is in each token, but where they are pushing and pulling, and where you can bend them to serve short-term benefits or long-term security.
It’s easy arithmetic, but it runs deep. Each commit, charge, and discard alters what will be possible over the coming three turns. It makes you play less as a spendthrift seeking short-lived pleasure, and more as a strategist aware of the limits of his own system. Play it so that the rhythms click and you don’t battle against the bowls anymore. Instead, surf on their backs. Every phase transition becomes a benefit, not a stumbling block. You should of known how hard it is to manage those tokens!