Critical Success Dice Calculator
Compare tabletop critical success odds with die size, dice count, top-face crit ranges, target modes, advantage or disadvantage, rerolls, exploding dice, and confirmation rolls.
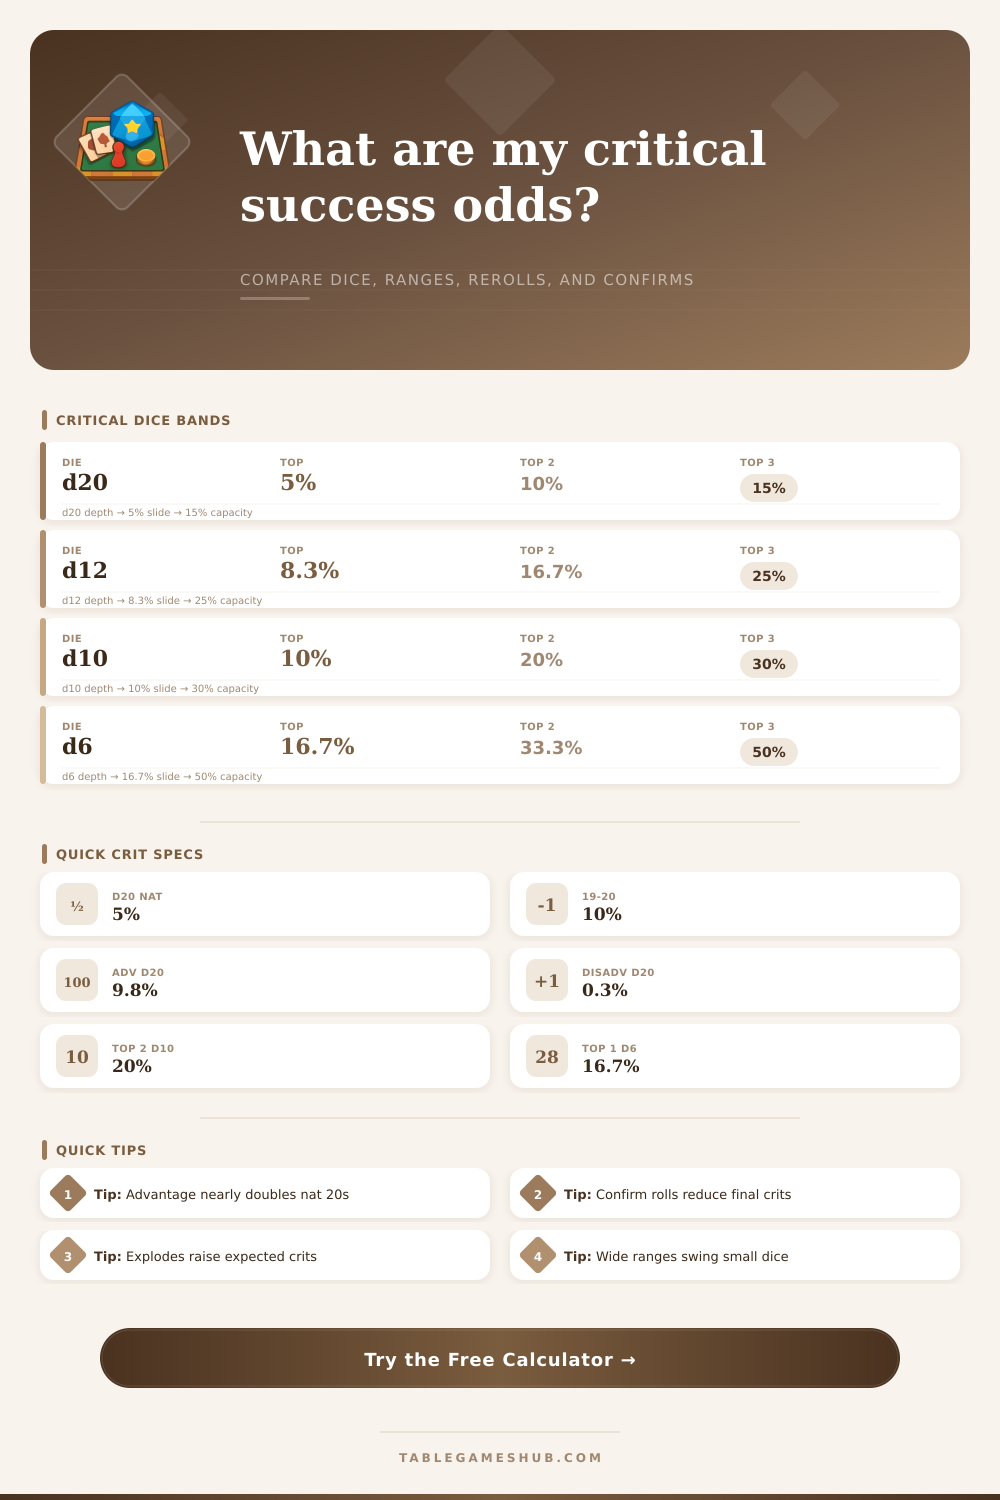
| Die | Top face | Top 2 faces | Top 3 faces |
|---|---|---|---|
| d20 attack die | 5.0% | 10.0% | 15.0% |
| d12 heavy die | 8.3% | 16.7% | 25.0% |
| d10 story die | 10.0% | 20.0% | 30.0% |
| d6 pool die | 16.7% | 33.3% | 50.0% |
| Die | Normal | Advantage | Disadvantage |
|---|---|---|---|
| d20 top face | 5.0% | 9.8% | 0.3% |
| d12 top face | 8.3% | 16.0% | 0.7% |
| d10 top face | 10.0% | 19.0% | 1.0% |
| d6 top face | 16.7% | 30.6% | 2.8% |
| Rule | Trigger | Best use | Calculator treatment |
|---|---|---|---|
| Reroll ones | Kept result is 1 | Low-face protection | Adds one fresh check after a kept one |
| Failed check | Misses target mode | Target-gated attacks | Attempts target and crit again once |
| Noncritical | No crit appears | Crit fishing | Attempts the crit band again once |
| No reroll | None | Baseline odds | Uses the kept die result only |
| Feature | Effect | Probability role | Output affected |
|---|---|---|---|
| Confirm roll | Filters raw crits | Raw crit x confirm chance | Confirmed crit chance |
| One explode | Adds one roll | Expected crits x (1 + p) | Expected events |
| Chain explode | Repeats on crit | Expected crits / (1 - p) | Expected events |
| Two-wave cap | Stops after two waves | Expected crits x (1 + p + p²) | Expected events |
Grabbing for die silences the table. You’re waiting to see if your character keeps their weapon intact or if the die decides the fate of the campaign. Will your character keep their sword? Will the twenty-sided die end the campaign? These are critical hits. They’re the stuff of legend. Players remember them. They write them down. They tell them on forums and at dinner tables.
But there’s math behind each and every lucky hit. There’s a cold mathematical reality behind every lucky hit that most players ignore until they need it. There’s a difference between rolling 1d20 and rolling 2d20 and taking the best. That change mean something. It changes the odds. And those odds makes all the difference between winning and losing. And knowing them make you a better player.
The Math Behind Dice Rolls
Now, I know that you’re not a mathematician. That’s fine. Rolling multiple dice isn’t as straightforward as you might think. On a normal d20, you have a five-percent chance of getting a natural twenty. That seems like a rare event, so it feels special. Include advantage. Throw in a d12. Include confirmation rolls. Add exploding dice. How many variables is there now? Once you get past two, mental math just doesn’t cut it anymore.
Having a handy-dandy calculator to punch numbers into is helpful here. Enter your parameters, click calculate, and find out exactly what the chances are. Whether it’s a simple attack roll or some complicated dice pool with rerolls, the dice roller handles it. It makes your guesswork real information.
A lot of players think “I’ll just double my odds.” That’s wrong. Rolling and keeping better die isn’t linear math. Doubling your odds from 5% to almost 10% seems like a big deal when rolling a d20. This benefit decreases with lower dice or larger critical range. Disadvantage works even more brutally against you, crushing your odds into near-zero territory. It flattens the odds in the near-zero category. Before you apply any modifiers, know what your starting odds are. Apply a spell that gives you advantage against a boss who has disadvantage? Maybe it won’t make a difference because you’re already at the bottom of the probability curve.
There’s also the issue of confirmation rolls. A lot of systems do have them. To get your critical hit confirmed, you need to make another roll. For example, with a fifty-fifty confirmation, it feels like you’re cutting your odds in half. In reality, it comes pretty close but the precise odds depend on total needed for confirmation and size of the die being rolled. That matters if you build a character that has high damage which triggers off crits. How many times must you try until you succeed? Exploding dice work in reverse. With a single good roll, they can lead to a cascade of additional damage. The calculator accounts for those cascades as well. You do not need to memorize an endless string of series.
The numbers aren’t everything, however. You swing a sword once per round. Five percent chance isn’t bad. You have to try picking the lock twenty times, and each try must succeed. That’s annoying. It’s going to build up failures. That’s where this tool comes in handy. It balances those expectations. It tells you the probability of having at least one success and how many critical events will occur on average over time. This is key for when you plan campaign. If you have enough in the pool to compensate with volume despite lower chances individually, then it’s okay. Risk management is about probabilities, not their elimination.
You can’t calculate your way into winning. But if you’re disadvantaged, and you understand how much that puts your effective hit rate down to one percent, then you’ll know when to back off. You would of known when to call in reinforcements. Or when to try something else altogether. Fate doesn’t give two shits about what you want; it’s the law of large numbers. Once you understand how the throw works, it is no longer left to chance. It means making informed decisions that matter to the game. Next time someone rolls the dice at the table, everyone falls silent. You’ll know it is because the stakes are too high.