Concordia Network Bonus Calculator
Estimate a Concordia scoring network from cities built, province spread, goods breadth, colonists, personality cards, production houses, province bonuses, and a final scoring multiplier.
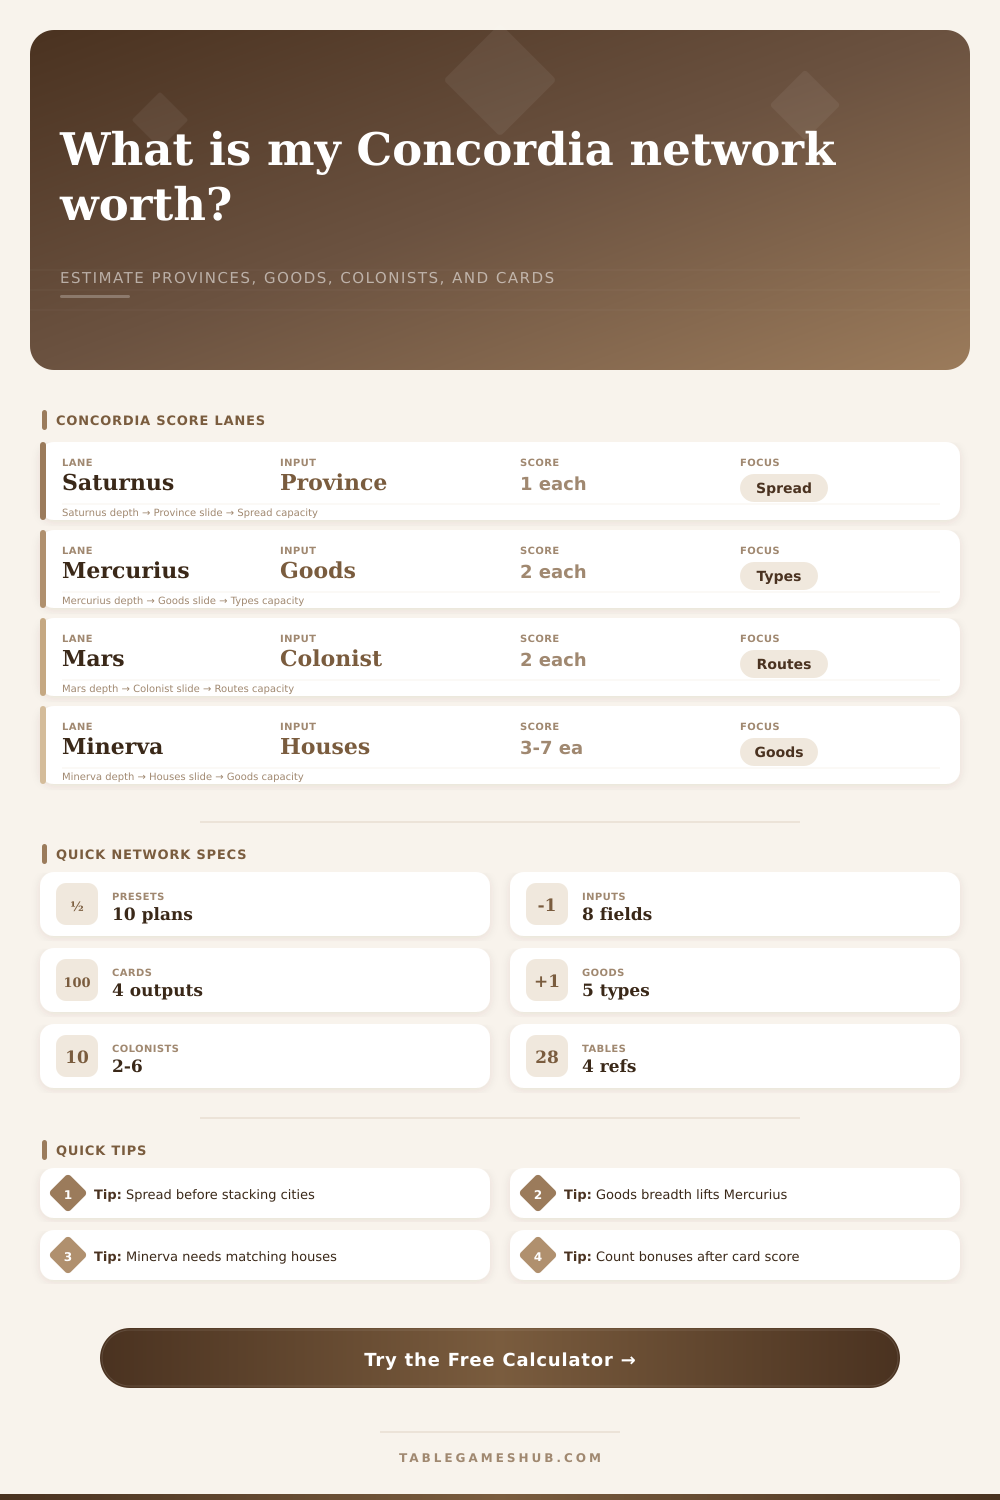
Use the calculator as a scoring read before final turns. It uses Concordia-style VP layers: Saturnus province spread, Mercurius goods breadth, Mars colonists, Jupiter city footprint, Minerva production houses, and added province bonuses.
Network Bonus Projection
| Score lane | What the calculator reads | Base model | Input that moves it |
|---|---|---|---|
| Saturnus | Provinces with at least one house | 1 point per covered province | Provinces covered |
| Mercurius | Different goods represented by your cities | 2 points per goods type | Goods types represented |
| Mars | Colonists active on the map | 2 points per colonist | Colonists on the map |
| Minerva | Houses producing the matching good | 3 to 7 points per matching city | Production houses |
| Jupiter | Wide city network, excluding weak brick-only assumptions | Estimated 0.8 point per built city | Cities built |
| Preset | Network shape | Likely driver | Watch point |
|---|---|---|---|
| Saturnus Province Spread | Many provinces, moderate city count | Saturnus | Do not overbuild inside one province too early. |
| Minerva Brick Engine | Repeated matching production houses | Minerva | Low-value goods need more houses to beat spread. |
| Colonist Route Push | Extra colonists and route reach | Mars | Colonists score and also open build access. |
| Mars City Majority | Wide footprint with many active colonists | Mars plus Jupiter | Strong when route control feeds more city builds. |
| Mercurius Goods Set | All five goods represented | Mercurius | Goods breadth is capped, so add another lane after five. |
| Network read | Cities built | Province spread | Scoring signal |
|---|---|---|---|
| Thin route | 0 to 5 | 1 to 3 provinces | Needs either colonists or a focused Minerva lane. |
| Stable midgame | 6 to 9 | 4 to 6 provinces | Good Saturnus and Jupiter base with room to specialize. |
| Wide endgame | 10 to 13 | 7 to 9 provinces | Strong with repeated scoring cards and goods breadth. |
| Full footprint | 14 to 15 | 9+ provinces | Card density usually matters more than one more city. |
| Input | Clamp range | Rounding | Calculation role |
|---|---|---|---|
| Cities built | 0 to 15 | Whole houses | Build footprint, Jupiter estimate, and efficiency denominator. |
| Provinces covered | 0 to 14 | Whole provinces | Saturnus spread plus province diversity signal. |
| Goods types | 0 to 5 | Whole goods | Mercurius breadth and warning when all types are already capped. |
| Final multiplier | 0.85 to 1.50 | Decimal factor | Adjusts for card stack quality and hand fit. |
Concordia isn’t often a game where fortune is king. There’s math you begin turning at turn three, math that determines result. Sometimes it feels like you’re playing an area control game, yet what you realy do is manage a set of ways to score. Usually, the reason you win/lose are which personality cards you have combined with your city network. Build blindly, hoping those points adds up like interest, and you’ll find yourself with a beautiful map that doesn’t match your assets and thus scores poorly. So before last stage of the game locks things down, this calculator runs math on your behalf.
It converts the eyesore of board into five value lanes. Why? As humans, we suck at intuitively understanding how scoring and limited resources multiply together. It’s also great because it differentiates between repetition and spread. Spread is key to playing well at highest levels of Concordia. You might not have multiple house in any province. However, you will be rewarded for touching many different provinces. This is why Saturnus rewards you for spread.
Why the Calculator Helps You Win
Minerva reverses this by requiring you to repeatedly produce the exact same thing in sufficient number of houses to reach a highly valuus lane. You can’t optimize both options within the same city, trying to do so will leave you middling in middle.
First, look at your province spread. This feeds straight from cities built and provinces covered inputs. Having a broad footprint allows for some flexibility, but can water down your production density. Nine cities over six provinces is probably a decent starting point to score well on Saturnus and Jupiter. Those nine cities, however, concentrated in three provinces, will probably represent a huge driving force you’re not getting credit for based off the spread-based metrics. That tension is why province efficiency metric is so useful in the calculator. It shows you how many new provinces every additional house do actually unlock. Diminishing returns kick in quickly. After you’ve blanketed most of what you can reach on the board, adding yet another city seldom provides as much than solidifying a stronger card lane.
A second layer that players tend to overlook until it’s too late is goods breadth. Players need some representation from each of the five goods types in their networks to get points from Mercurius. This one’s a binary: do you have all five goods? Yes or no. How many goods types do you already control? Plug it into tool and see whether pursuing fifth good is worth giving up something else you could build (e.g. This is an example of an additional brick house for Minerva. Sometimes, the answer will be “no.”
If you’re swimming in Minerva cards, it makes sense to drop a point or two on Mercurius and lock down a solid production lane. That’s what the multiplier setting does for you in the calculator (model the fit). By default, it assumes a neutral balance in your card mix. If you have three or four cards that all score off cloth or wine, adjust the multiplier to match how much power is in play.
Another wrinkle is colonists who add another layer of risk/reward: they’re wildcards that either score Mars directly, or open up distant provinces for Saturnus spread. This is where the tool’s reference table shines. It lays all this stuff out clearly so you know when to build cities instead of routes. For example, if your city footprint is sparse but your colonist count is high, you are probably racing the clock. You need to convert that mobility into permanent structures before your turns run out.
And then there’s the benchmark part of tool; a midgame reality check. Ideally, when you get to the midgame, you’ll be at about six to nine cities, forming a stable midgame network. This is also around the point where you ought of to know what lane you’re leading in. Now if you see a low score projection across all boards, don’t freak out. It’s not time to panic. But now is the moment to shift your multiplier down, or acknowledge that you’re playing for second place in another area.
Winning isn’t just about getting all the numbers as high as possible. It’s about making sure that whatever you’ve got in your hand has some kind of abstract value, matched by your physical presence on the map. And that’s where difference lies: between the good players and the great ones.