Azul Wall Scoring Calculator
Total one Azul wall tile, a full Wall-tiling phase, floor penalties, end-game row bonuses, column bonuses, color sets, and a tie-break row check from the same score sheet.
1Named Wall Scoring Presets
Load a common Azul scoring state, then adjust the linked tiles, floor line, and end bonuses to match the player board in front of you.
2Wall, Floor, and Bonus Inputs
| Component | Input | Formula | Points |
|---|
3Formula Cards
Isolated Wall Tile
score = 1
If the new tile has no directly adjacent horizontal or vertical wall tile, it scores one point immediately.
Linked Wall Tile
score = H group + V group
When the tile connects both ways, count the horizontal group and vertical group separately, including the new tile in each group.
Floor Penalty
track = max(0, score - floor)
The seven floor spaces lose 1, 1, 2, 2, 2, 3, and 3 points, but the score marker never goes below zero.
End-Game Bonus
end = 2R + 7C + 10S
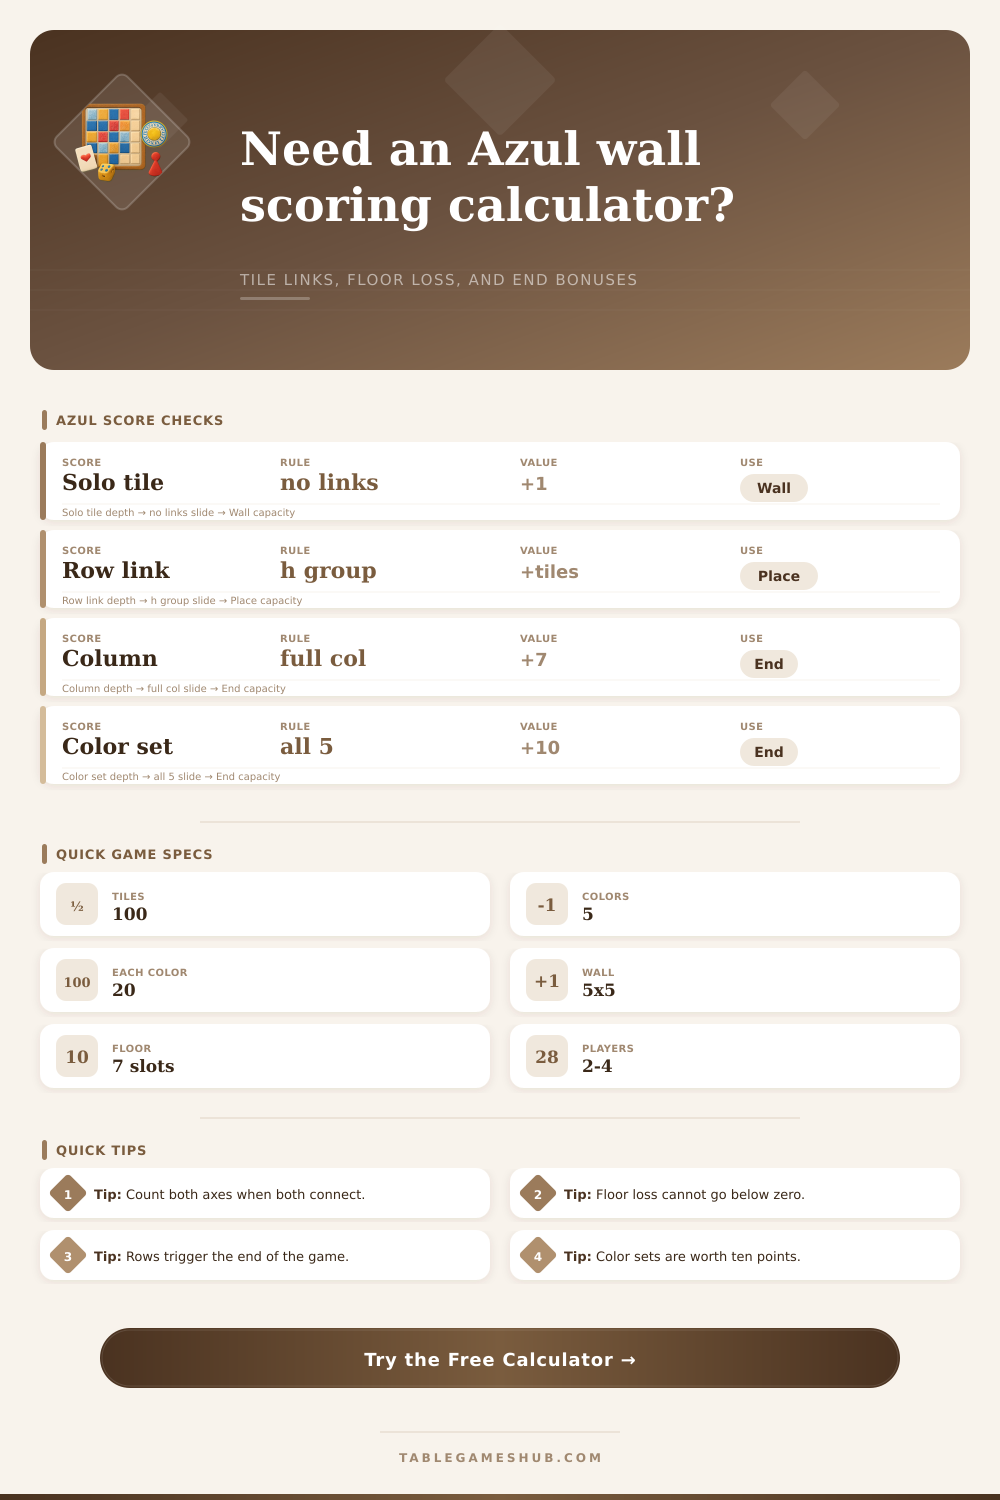
Complete horizontal rows, vertical columns, and full color sets are added after the final Wall-tiling phase.
4Azul Spec Grid
5Reference Tables
| Placement state | Horizontal count | Vertical count | Immediate score |
|---|---|---|---|
| No adjacent tiles | None | None | 1 point |
| Horizontal line only | New tile plus linked left and right | None | Horizontal group size |
| Vertical line only | None | New tile plus linked above and below | Vertical group size |
| Cross connection | New tile included | New tile included | Horizontal group plus vertical group |
| Occupied spaces | Penalty sequence used | Total loss | Score floor |
|---|---|---|---|
| 1 | -1 | 1 | Cannot go below 0 |
| 2 | -1, -1 | 2 | Cannot go below 0 |
| 3 to 5 | -1, -1, -2, -2, -2 | 4 to 8 | Cannot go below 0 |
| 6 to 7 | Full track through -3, -3 | 11 to 14 | Cannot go below 0 |
| Bonus type | Wall requirement | Points each | Calculator input |
|---|---|---|---|
| Horizontal row | 5 consecutive tiles across a row | 2 | Complete horizontal rows |
| Vertical column | 5 consecutive tiles down a column | 7 | Complete vertical columns |
| Color set | All 5 tiles of one color on wall | 10 | Complete color sets |
| Tie check | More complete horizontal rows | No points | Opponent complete rows |
| Players | Factory displays | Tiles revealed per offer | Scoring use |
|---|---|---|---|
| 2 players | 5 displays | 20 factory tiles | Smallest round offer size |
| 3 players | 7 displays | 28 factory tiles | Middle round offer size |
| 4 players | 9 displays | 36 factory tiles | Largest round offer size |
| All counts | 4 tiles each | Center grows during drafting | Does not change wall scoring math |
6Scoring Tips
Count the new tile carefully: in a cross, the newly placed tile belongs to both the horizontal group and the vertical group, so it is effectively counted in both axes.
Apply the floor last: add all immediate wall points first, then subtract the occupied floor spaces, then add end-game bonuses if the final row trigger has happened.
That’s how it begins: one click of a blue tile sliding into its place on your wall board. You’ve blocked off an opponent’s chance at a column. You’ve stretched out your own horizontal line another three tiles. Not bad, you’re feeling good. Then the turn ends. Your floor spaces gets filled in with discarded marbles. That initial confidence fades as you watch the penalty track jump back more further than expected. This is the kind of tension that makes Azul not only beautiful but also brutally unforgiving.
It looks like simple math. Until it’s not, as you attempt to weigh short-term gain against long-term bonus while juggling a loss track that penalizes hesitation. These are scoring mechanics. While the scoring mechanics punish isolation, connecting a tile to other tiles will give you points equal to how many tiles is now in the connected run. Connecting horizontally or vertically will just be sum of those two groups if they’re crossed with one another. Here is an example:
How Azul Scoring Works
This little detail is often missed as people get carried away trying to form horizontal lines. Don’t neglect the vertical; it adds to the point total, too! To help keep track while others watch, use calculator up top to enter tiles you’ve matched on each side. It’ll do the math for you.
But there’s more to it than simply points for walls. You win (or lose) games on the floor line. Below your board are seven spaces for any tiles you didn’t use. These is scored according to a growing scale of points, starting gently and getting sharp. Those points add up fast, and most people don’t realize this until too late. They make a couple seemingly innocent discard moves early in the game. By the end of the game, they’ve dug themselves a hole of fourteen points. The tool will automatically deduct from these scores, showing you net effect instead of just total placing score.
There’s also another wrinkle, the end game bonuses. There are two points awarded for completing a horizontal row, which will end the game if it’s the first row completed. You gets seven points for a complete vertical column. You get ten points for having each of the five colors represented by a tile on your wall. Those is meaningful amounts towards the total score. You have to consider when it makes sense to go for the 10 points from a complete set of a specific color because then you’ve got your floor line open for a few more turns. The tool has reference tables to explain this out neatly, so that you don’t need to flip back-and-forth in rulebook to check where you stand.
This is where the strategy kicks in. Not every point are created equally. That three point line across may look nicer than that two point line up, but maybe that two point line will net you a column bonus down the road? Turns out that’s infinitely worth more. The game requires forward thinking. Consider the number of tiles of each color left in the supply. Hoarding those blue tiles for that set bonus can lead to starving your own horizontal lines and leaving open points for opponents. It’s constantly juggling offense vs. Defense.
Many players gets stuck in reactive play. Instead of creating their own board state, they play whatever their opponent puts in front of them. As a result, your walls is all over the place and you’re paying a steep price on the floor. Pattern completion is where the top Azul player thinks. Where do I have to complete a shape? How does this factory fit my wall? What color is next in the sequence? If I lose a few points on the floor today, I’m going to win a huge bonus in the end game.
Cracking the code does take time. Expect to err. To miss a connected grouping. You might also accidental overlook the fact that the floor penalty increases quickly up to seven spaces but stays the same after that. With the proper aid, however, you’ll be able to concentrate less on calculation and more on tactics. It’s not about accumulating points; it’s about managing the flow of play and making your opponent choose between hard options. You should of focused on strategy sooner.
Azul, then, boils down to accuracy at speed. Your every move matter. Each tile discarded stings. However, the last row of tiles snapping into place (and the bonus points piling up), is reward for all the tension. Pay attention to what’s happening on the floor. Look at that wall closely. If you do, you will see how it all adds up.