Ark Nova Marine Worlds Calculator
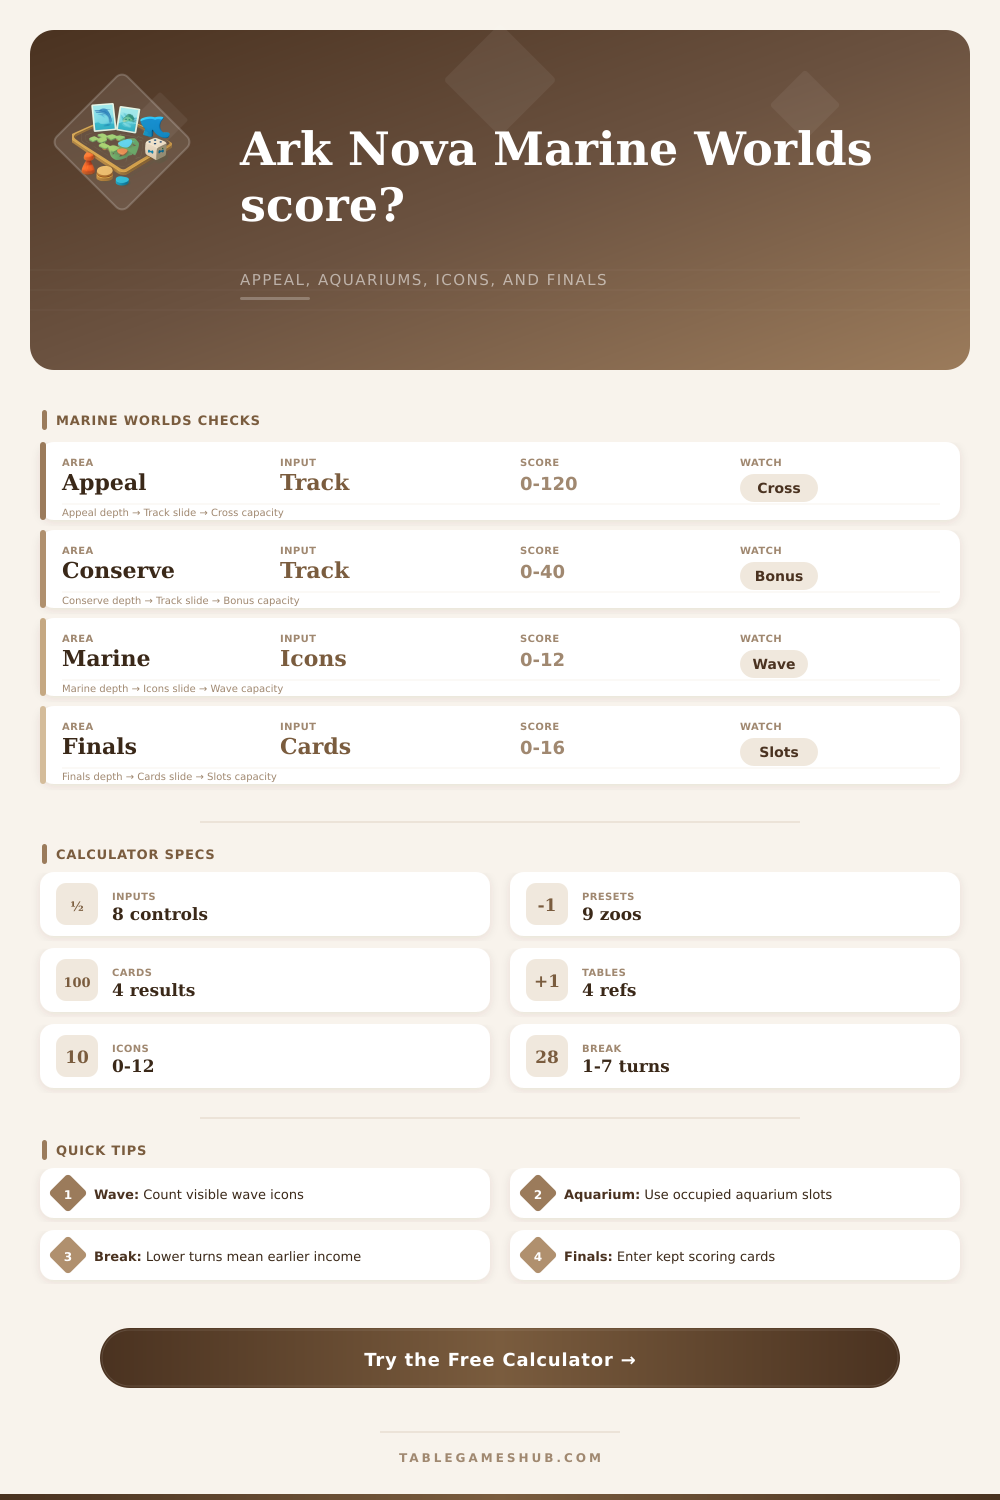
Audit a Marine Worlds zoo with appeal, conservation, reputation, visible marine icons, wave tempo, aquarium and enclosure occupancy, sponsors, break timing, and final scoring cards.
1Marine Worlds Presets
Load a named zoo state, then tune the track positions, water icons, sponsor pressure, animal housing, break window, and final scoring cards.
2Marine Score Inputs
3Marine Spec Grid
4Marine Worlds Reference Tables
| Track area | Entered range | Calculator weighting | Audit note |
|---|---|---|---|
| Appeal track | 0 to 120 | Direct crossing marker | Higher appeal can still lag if conservation is low. |
| Conservation track | 0 to 40 | Three appeal spaces per point | Used to estimate the appeal-conservation crossing gap. |
| Reputation track | 0 to 15 | Two index points per space | Represents card access and partner momentum. |
| Final scoring cards | 1 to 2 kept cards | Package value by timing | Double-card setups get more lift but need reputation support. |
| Occupancy state | Aquarium spaces | Enclosure spaces | Calculator effect |
|---|---|---|---|
| Opening reef | 1 to 2 | 3 to 5 | Light fill, strong flexibility for the next animals action. |
| Marine pivot | 3 to 4 | 6 to 8 | Balanced occupancy with sponsor and icon upside. |
| Packed harbor | 5 or more | 9 or more | High fill, final scoring pressure, limited placement space. |
| Conservation lagoon | 2 to 4 | 5 to 7 | Good room for association and release planning. |
| Package | Base lift | Icon scaling | Best audit use |
|---|---|---|---|
| Aquarium keeper support | 4 index | Small aquarium bonus | Checks whether early aquariums are paying off. |
| Marine research sponsor | 6 index | Reputation support | Pairs well with final scoring card access. |
| Coral reef sponsor cluster | 8 index | Strong marine icon boost | Best when visible water and reef icons are high. |
| Aquatic institute engine | 10 index | Conservation support | Useful for crossing-gap recovery plans. |
| Timing package | Break window | Final cards | Interpretation |
|---|---|---|---|
| Early break pressure | 2 turns | 1 kept | Good for income reset, weaker for long sponsor buildup. |
| Steady break plan | 4 turns | 1 kept | Balanced tempo with enough room for one marine chain. |
| Marine final online | 3 turns | 1 marine | Rewards visible icons and occupied aquariums. |
| Two finals online | 5 turns | 2 kept | Highest lift when reputation and board space cooperate. |
5Marine Timing Tips
Audit icons before finals: visible marine and wave icons can affect sponsor value, habitat tempo, and the projected lift from a marine-focused final scoring card.
Read occupancy with break timing: a full aquarium is strong only if the next break window still leaves enough action space to convert cards into track movement.
Because of this, you enter Ark Nova with a spreadsheet mentality. You’re keeping score, tallying up points as an accountant balancing a ledger. That isn’t bad, it’s only a problem when you suddeny realize that Marine Worlds isn’t math; it’s a question of timing.
You start to build momentum. This happens when your conservation marker get overtaken by your appeal track, or when multiple marine icons pops onto the board at the same time, triggering sponsor bonuses. Then there’s a frenzy of action. A wild whirlwind of activity, which explains why so many people gets caught up in these mid-game lulls where resources run out right when you desperately need them.
Why Math Is Not Enough
Of course, the calculator will do all the math for you (above), but it’s not the number that really matters more than knowing what the number means. Basically, this thing is looking at where you sit now in terms of both conservation and the appeal track, then measuring distance between them: the so-called gap, or the safety margin between your growing expenses vs. Your place-holding ones. So if you’re strong in the appeal department but weak in the conservation, you’re actualy ahead but functionally exposed because all your animal placement become defensive moves instead of offensive ones. That table on the page makes it clear how those two tracks combines to describe your endgame potential.
This momentum is fueled by our marine icons, which are frequently regarded as an afterthought until last scoring card appears in play. Visible icons represent points, certainly, but they’re also insurance against bad breaks. Water and wave icons, for example, should of been seen as more than multipliers; they’re certain assurance that those spots will be occupied long enough to activate a couple sponsor.
The tool calculates your habitat fill percentage relative to your marine index, so you can see if your board is too sparse (or, alternatively, dangerously cluttered). Most strategies fall apart at this point. If you break too soon, you reset your income and miss out on the compounding gains from your current engine. If you break too late, you run out of money before key animal placement. The calculator models different break windows and shows you how stretched you are in short-term. It makes you realize that having a solid position now won’t matter if you can’t afford next turn. That’s what most people overlook. Focusing instead on the score without considering whether it’s sustainable.
Things gets even more complicated with final scoring cards that have a condition, such as a marine icon or an already occupied aquarium. So how does the tool calculate the lift from a card with a condition? The tool assumes your existing setup and then calculates what estimated lift would be. This enables you to determine if it’s worth it to stay in and extend a card just enough to maintain the active status. It’s a definite gamble but not a guess anymore.
You’re basically buying more points over long term while sacrificing some stability around resources in the short run. And the calculator tells you if that trade is helpful to your situation based off your sponsor packages and reputation.
All this to say that if you want to play Marine Worlds well, you need to move past thinking like a builder and start thinking more like a curator. Filling is less important than maintaining a living ecosystem of resources, icons and points. All of these need to comes together at the right time. The tool spits out the numbers, and it’s up to you to decide what they mean, a good foundation or a flimsy house of cards. Watch your wave icons and schedule your breaks accordingly, and the rest tends to sort itself out like water coming over the sand.