American Mahjong Charleston Calculator
Check first and second Charleston pass order, optional across logistics, tile movement counts, hand-size status, and joker handling before play begins.
| Sequence | Pass 1 | Pass 2 | Pass 3 | Logistics Note |
|---|---|---|---|---|
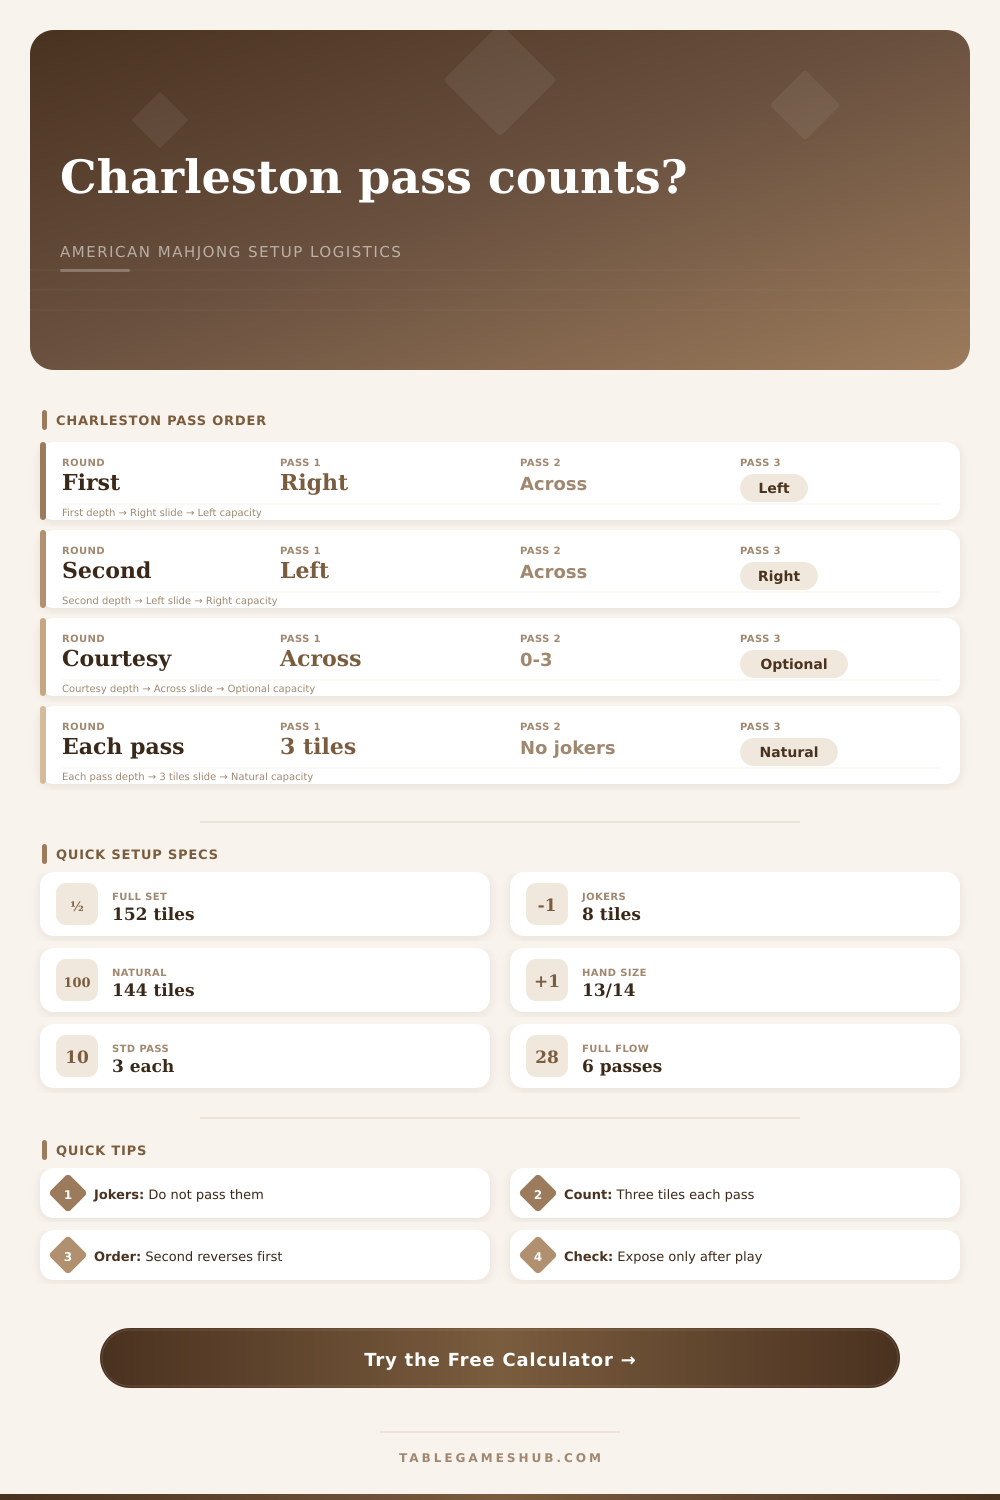
| First Charleston | Right | Across | Left | Standard opening sequence after the deal and before play. |
| Second Charleston | Left | Across | Right | Used only if all players agree to continue passing. |
| Optional across | Across | 0 to 3 tiles | None | Courtesy exchange between opposite players after Charleston passes. |
| No second Charleston | Stop after first | Optional courtesy if used | Begin play | Use this state when the table declines the second Charleston. |
| Tile Group | Count | Pass Eligible | Setup Use |
|---|---|---|---|
| Suit and honor natural tiles | 136 | Yes | Numbered suits, winds, and dragons make up most pass-eligible tiles. |
| Flower tiles | 8 | Yes | Flowers are natural tiles in American mahjong logistics. |
| Joker tiles | 8 | No | Return a joker offered in a Charleston pass and replace it with a natural tile. |
| Complete American set | 152 | 144 passable | Deal from the full set, then apply the joker restriction to passes. |
| State | East Rack | Other Racks | Check Meaning |
|---|---|---|---|
| Immediately after deal | 14 tiles | 13 tiles each | Charleston can be prepared before East discards. |
| During Charleston | Same count | Same count | Each standard pass sends three out and receives three in. |
| After East discard | 13 tiles | 13 tiles each | All concealed racks should balance unless a call occurs later. |
| Exposure visible | Varies | Varies | Exposure belongs to play state, so stop using Charleston counts alone. |
| Scenario | Required Pass Rounds | Per Player Movement | Four-Player Table Movement |
|---|---|---|---|
| Start of first Charleston | 0 completed | 0 out, 0 in | 0 outbound transfers |
| After first Charleston | 3 completed | 9 out, 9 in | 36 outbound transfers |
| After second Charleston | 6 completed | 18 out, 18 in | 72 outbound transfers |
| Full plus courtesy three | 6 plus optional | 21 out, 21 in | 84 outbound transfers |
In American mahjong, there’s some misunderstanding about the Charleston. For instance, new players might think it’s this free-for-all of everyone throwing out whatever tile they don’t want. In reality, it’s a carefully planned process and getting the order off just right is what sets the pace for the rest of the game.
Most people gets confused during the set-up phase, which means understanding the rhythm of passing is more important than knowing fancy hands. Here’s how it works: In any given round, you have three tiles and they move in a specific rotation through the circle of players. On the way there, however, these tiles will move in a certain pattern.
How to Play the Charleston Correctly
In the first Charleston, they move Right -> Across -> Left. Why? Because that way everyone gets his or her tiles touched by each adjacent player just once in the first round. If the group wants to try a second Charleston, they reverse the process. Pass your tiles Left -> Across -> Right. Again, on purpose. That way no one can just dump their bad tiles to the same unlucky neighbor in consecutive rounds. It redistributes them so that pool of tiles stays fresh.
One of the most common mistakes: Joker handling. Under no circumstances do you ever pass a joker in the Charleston. A joker is a wild tile that can be used to build your hand. You don’t use them to start exchanging tiles. If you’re on the receiving end of an offered joker during your turn, you’ve just been violated according to standard procedure, so give it right back to ’em, pronto and ask politely for a naturaly tile. The calculator will flag this error for you if you input a joker count which’ll spare you those uncomfortable disagreements at the table. It is a small thing, but it is a big deal. Leaving your jokers in your rack until the time comes to actually discard them keeps their strategy potential.
There is also another part of the flexibility category: a courtesy pass you can use (though it isn’t required). Once everyone has gone through mandatory passes, players have the option to swap tiles with each other at the table. It’s totally optional; some tables forgo this step altogether because they want the game to move faster. Other tables will do this once so people can fine tune their hands before they start discarding. You can pass zero, one, two, or three tiles across the table, or none at all. That’s where things can get complicated logistically. If you’re passing tiles around the table, make sure you know how many you’ve passed so you don’t end up with more/less tile than everyone else.
The second key thing to check is hand size. Each player will have 13 tiles and the dealer will have 14 after the deal. Don’t worry about this discrepancy; it’s perfectly fine. All of the racks should even out when you finish a Charleston. Typically, there are thirteen tiles per person, unless the dealer didn’t finally get rid of their extra tile. The reason for checking is so no one gets stuck with a dead hand, as well as to keep discard wall stocked up. If your hand seems too heavy or too light, the numbers probably got thrown off during the exchange.
The page has a handy reference table that lays it all out nicely, but the real art is knowing how the sequence flows so you can anticipate what’s coming around the bend. What do I have? Which tiles are my neighbors holding? How can they get those tiles to me? With the first Charleston, you eliminate the easy junk. Playing the second Charleston lets players trade based off the more subtle needs. It also provides an opportunity to respond to newly drawn tiles acquired during the initial round.
At the end of the day, though, it’s all prep work for the Charleston. It’s pre-storm. Avoid the traps and do it right. Manage the flow of the tiles well, and you are in position to play a smoother game. The math is easy, just pay attention when doing it. Count your tiles, stick to the rotation, go with the process. The game begins with the first pass, not the first discard.