Alhambra Score Calculator
Total building color majorities, wall segments, money tempo, reserve tiles, and final scoring pressure.
Calculated Alhambra Score
Used as a risk flag; only longest contiguous wall segments score.
Enter your placed buildings, the current best rival count, and the next rival count. The calculator splits tied ranks across the relevant scoring positions.
Blue Pavilion low value
Red Seraglio steady
Brown Arcade middle
White Chambers middle
Green Garden high
Purple Tower top value
| Building color | First scoring | Second scoring | Final scoring |
|---|---|---|---|
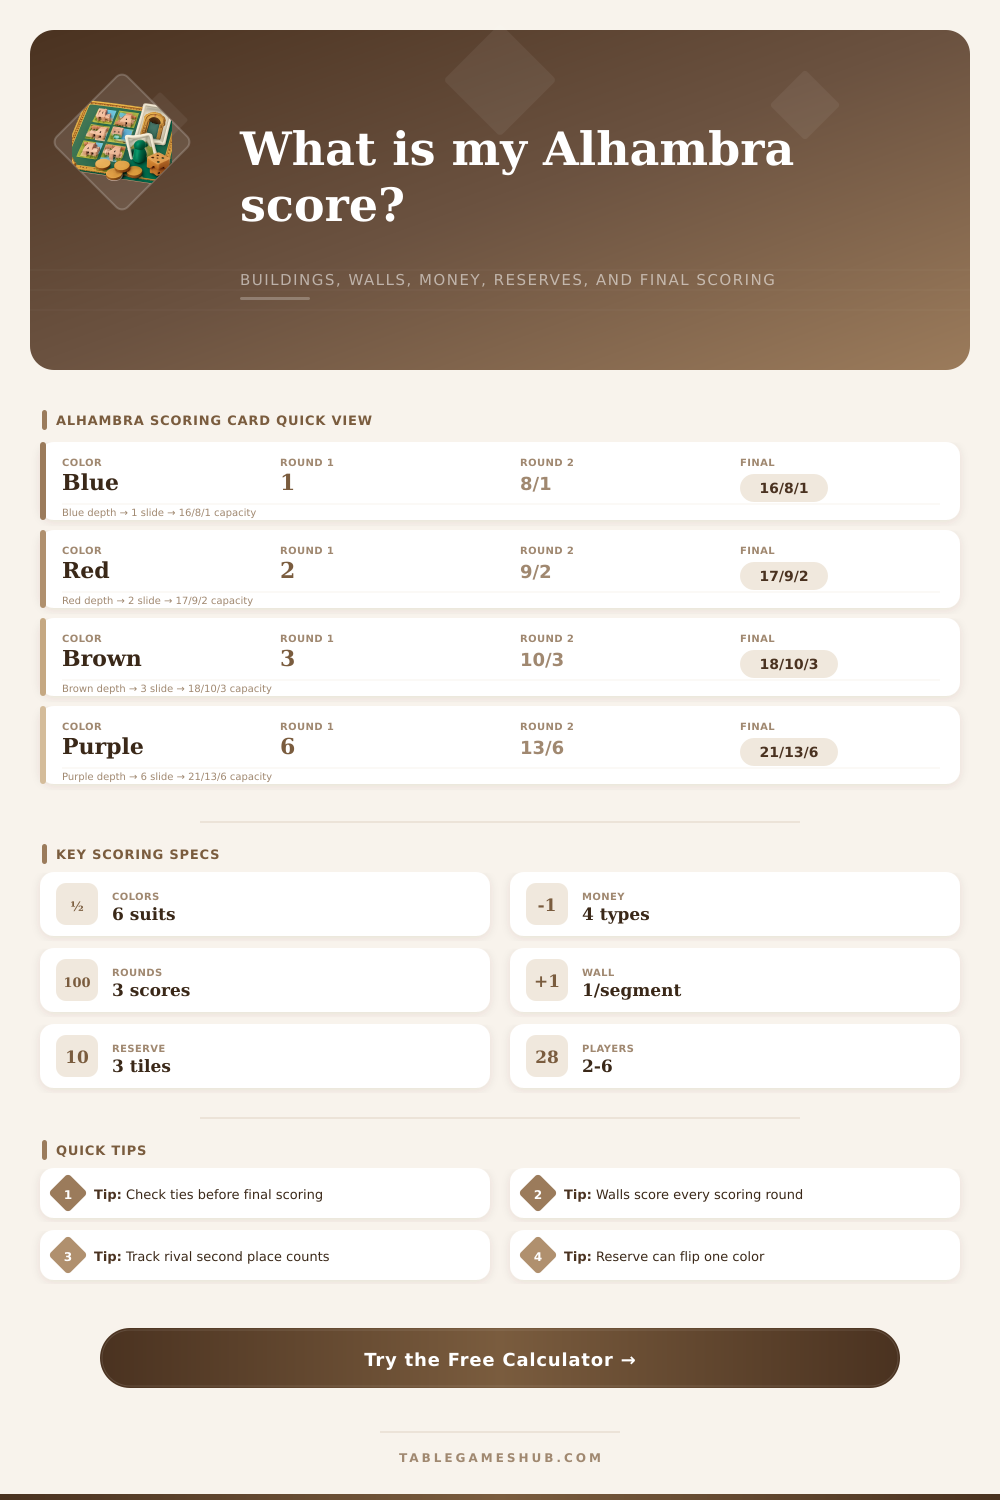
| Blue Pavilion | 1 point for 1st | 8 / 1 for 1st / 2nd | 16 / 8 / 1 for 1st / 2nd / 3rd |
| Red Seraglio | 2 points for 1st | 9 / 2 for 1st / 2nd | 17 / 9 / 2 for 1st / 2nd / 3rd |
| Brown Arcade | 3 points for 1st | 10 / 3 for 1st / 2nd | 18 / 10 / 3 for 1st / 2nd / 3rd |
| White Chambers | 4 points for 1st | 11 / 4 for 1st / 2nd | 19 / 11 / 4 for 1st / 2nd / 3rd |
| Green Garden | 5 points for 1st | 12 / 5 for 1st / 2nd | 20 / 12 / 5 for 1st / 2nd / 3rd |
| Purple Tower | 6 points for 1st | 13 / 6 for 1st / 2nd | 21 / 13 / 6 for 1st / 2nd / 3rd |
| Scoring area | What to count | Calculator input | Common audit mistake |
|---|---|---|---|
| Building majorities | Placed buildings by color | Mine, lead, next rival | Counting reserve tiles as placed |
| Wall segments | Longest continuous exterior wall | Longest wall segments | Adding disconnected walls together |
| Reserve board | Tiles waiting off-board | Held and ready reserve tiles | Forgetting placement restrictions |
| Money tempo | Cards and exact buys | Four currency counts | Overvaluing mismatched money |
| Money type | Tile market lane | Planning value | Score impact |
|---|---|---|---|
| Denari | Orange currency lane | Supports exact-buy turns | May secure a color majority |
| Dirham | Blue currency lane | Good for flexible mid-cost tiles | Can repair weak color counts |
| Ducat | Yellow currency lane | Helps buy high-value market tiles | Best when matched to visible need |
| Gulden | Green currency lane | Pairs with wall-heavy tile offers | Can add both color and wall points |
| Table state | Best calculator setting | Watch first | Typical swing |
|---|---|---|---|
| First scoring appears | First scoring card | Single first-place colors | 1 to 6 points |
| Second scoring appears | Second scoring card | Second-place payouts | 1 to 13 points |
| Endgame market | Final scoring card | Third-place scraps and walls | 1 to 21 points |
| Score planning | All scoring cards preview | Future wall repeats | Wall plus color gains |
With veteran Alhambra players, an air of silence around table means that there’s some serious number crunching going on. Players is keeping track of which colors have majority. They are pretending to be interested in stock market. Everyone is just waiting until that last scorecard is laid down.
Maybe you’ve got two purple towers and your rival has three. You know it. You can see it. But will your slight edge in purple towers makes a difference?
How to Use a Calculator in Alhambra
Most people find it hard to keep up with all of this back-and-forth, which is where a calculator comes in handy: It takes away any stress and replaces it with cold hard number regarding your current position.
The game revolve around building majority, but one problem is that careless play among casuals can result in point loss as card scoring change the value of color throughout the game. While small returns come early (red seraglios and blue pavilions), big payouts await in later rounds for purple towers: up to twenty-one points and generous second and third place prizes.
The key here is focus: don’t spread your resources too thin or you won’t score enough point to win. You must look ahead to scoring round about to arrive and figure out what color are likely to pay off most.
In terms of planning, walls add another layer of complicaton for beginners since they’re scored by absolute value, not relative number: Each tile adds one point to your total if you have longest contiguous stretch of exterior wall (no matter which player constructed it, or however many is playing). That’s a counter-intuitive twist that keeps someone competitive, even if they’ve got bad case of majority-building blues. So long as they play it cool and keep extending their wall construction. It’s sorta like a sneaky engine, incentivizing a slow-and-steady approach over all-out market meddling.
That’s where connectedness becomes a risk when using walls: A 10-tile-long wall that is divided into separate parts of 5 and 5 doesn’t get any points. To help players understand this, the calculator requires them to input length of their longest continuous line, which forces them to think about connection more than pure quantity. It will also visually display how adding connectors could boost your wall count by half or more if it joins two previously separate lines of tiles into a giant structure, even if that lowers amount of buildings you’ve created. This is what high level play look like: making that trade off.
Another aspect of money management are easy to ignore at first, but really gets in people’s way once it does: certain buildings requires specific coins. You may have plenty of other coins, but you will be stuck with nothing useful if you cannot produce more of the right kind. This will stall all your progress.
This tool takes into account what coin you have on hand and estimates how many tiles you can reasonably expect to buy before time runs out at end of scoring round. That way you won’t accidently over-commit to an expensive-to-finish majority of a single color.
The last option for surprise is to reserve tiles that are held off the board until you have an opening in the market. The risk here is that keeping tiles out of play means they won’t be played if game comes down to the wire. At least one tile will go unused if the game ends in a tie that these tiles could of broken, or vice versa. But in the end, having this knowledge about what’s in reserve help plan strategy for the outcome.
At its core, though, Alhambra is a game of hidden information and calculated risk, and the calculator illuminates results of those calculations without making them for you. It reveals whether you are tied, ahead, or behind by just enough to turn a hunch into a plan. It explains why someone is in the lead and what makes them vulnerable to attack. It also shows when you are at risk yourself. That clarity is more valuable than any number of tiles on table.