Cascadia Habitat Scoring Calculator
Estimate Cascadia habitat points from contiguous mountain, forest, prairie, river, and wetland groups, then add keystone tiles, nature tokens, wildlife score, corridor pressure, completion bonuses, and opponent majority checks.
Use this calculator at final scoring or during a late-game audit. Enter each habitat's largest contiguous group size, then compare your board against majority pressure and optional completion bonuses.
Cascadia habitat result
| Habitat size | Modeled points | Board read | Watch point |
|---|---|---|---|
| 1 to 2 tiles | Low floor | Starter patch | Usually needs wildlife support. |
| 3 to 4 tiles | Medium floor | Playable group | Good if it ties opponent size. |
| 5 to 7 tiles | Strong group | Majority threat | Often worth protecting late. |
| 8 or more tiles | Premium group | Likely leader | Check if it starves other habitats. |
| Bonus source | Input used | Score treatment | Calculator note |
|---|---|---|---|
| Nature tokens | Tokens remaining | 1 point each | Keystone setups often protect this floor. |
| Majority | Opponent pressure | Lead or tie swing | Clear leads beat narrow tie breaks. |
| Corridor | Largest lane | Tempo bonus | Long lanes raise habitat security. |
| Completion | Bonus dropdown | Optional add-on | Use only when your table scores it. |
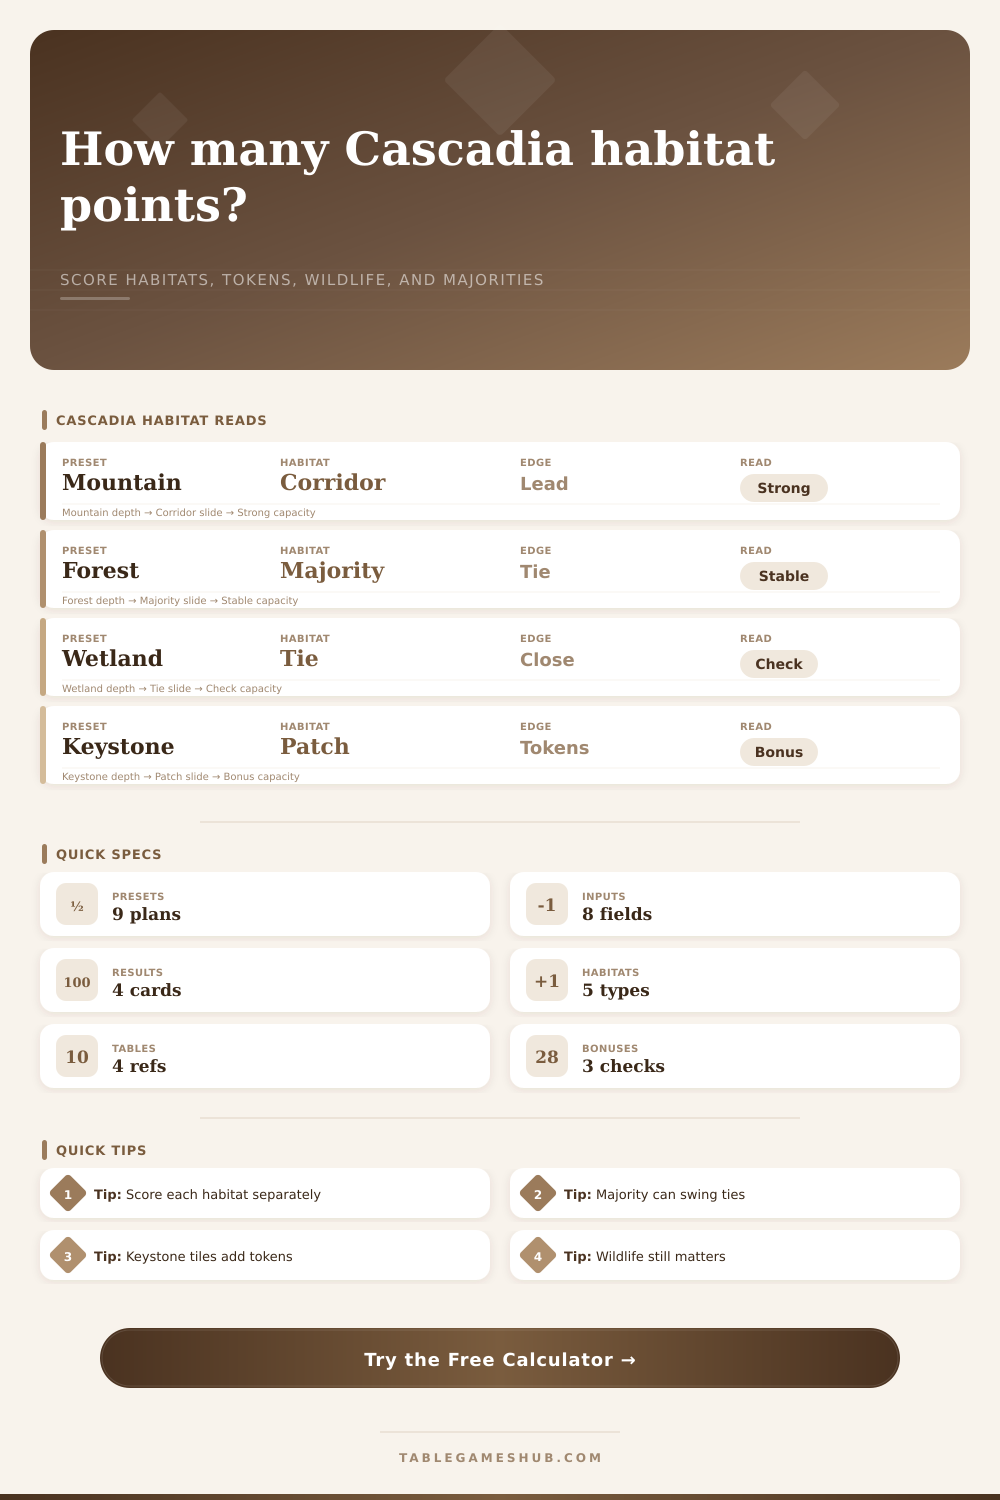
| Preset | Main driver | Typical shape | Result to watch |
|---|---|---|---|
| Mountain Corridor | Long mountain lane | One dominant group | Best habitat card |
| Forest Majority | Forest lead | Wide central patch | Majority bonus |
| Wetland Tie Break | Tied wetland size | Close opponent race | Bonus swing |
| Keystone Patch | Token stack | Many keystone tiles | Nature token value |
| Salmon Balance | Wildlife score | Even habitats | Total score |
| Input | Clamp range | Rounding | Role |
|---|---|---|---|
| Contiguous habitat sizes | 0 to 20 | Whole tiles | Base habitat score and largest patch. |
| Keystone habitat tiles | 0 to 12 | Whole tiles | Patch stability and token support. |
| Nature tokens | 0 to 20 | Whole tokens | Final token points. |
| Wildlife card score | 0 to 120 | Whole points | Combined final score. |
| Largest corridor | 0 to 25 | Whole tiles | Connected-board pressure read. |
Finally, after three hours laying out tiles on your Cascadia board, you’ve woven river lanes through mountains, around that pesky bear in the corner, and now the game’s ended: time to score.
Scoring is typicaly the least enjoyable portion of any game because it demand careful addition. What if there’s a single prairie tile splitting up your forest patch? Turns out, it was really two patches. The math is done for you by a calculator. Now you can pay attention to what that means rather than doing the arithmetic.
How to Score in Cascadia
It guesses at the connected groups of habitat and the strain they’ll receive from other player. It converts a confusing map into a clean number. Continuity is key. Isolated islands are no good. A sequence of five forest tiles with a river between them is two separate, smaller group. It’s two groups which is significant. The point curve encourages density (a tight cluster of seven mountains beats a scatter of nine).
The score table check your biggest clusters against normative scores. All you have to remember is who touches whom.
Tiles are more than just habitat points. Bonus potential depend on your board state. Nature token are created and protected by keystone habitats. Each scores a point at game’s end. Players often trade a token for a tile placement that barely improves their habitat size, it is a bad deal. Enter your current keystone count and remaining tokens into the tool to see if your investment was worthwhile.
If you have no tokens and three keystone tiles, you probably should of didnt invest in them wisely. Maybe you went after wildlife bonuses that didn’t matter to your overall score.
The other complicating factor with wildlife scoring is that it’s not tied into habitat groups until the very end. It could be that youve got an outstanding set of elk and bear cards, but your board shape isn’t all that good. In this case, the calculator tacks on your wildlife score to your habitat total.
A lot of guys will build huge river systems early for those tempo bonuses. Then they ignore the rest of their wildlife engine. When they realize their habitats are all pieced together, they can’t make up animal points. Tables within the tool help you know how a strong group compare to a top group.
Casual games underestimate majority pressure. Placing the biggest patch of a certain terrain type wins you the majority bonus which swings the game. Forests give you another example: What if there is a tie in how many forests you have? Then it’s who placed the most recent one, or who has the most. You tell the calculator if you’re leading or not. It recalculates your score estimate.
You realize you’ll miss out on first place bonuses if you come in second. With this understanding of inputs, playing the middle game shifts. You begin to assess if that tiny little piece will advance it up a rung in scoring. Your prairies are no longer simply filler but become potential dividers that ruin your forest majority if placed poorly. That forest majority isn’t so safe anymore. While there’s still time, you check your approach.
It’s not only used at the end-of-game. For Cascadia, shape and immediate gain is in a delicate balance. A tight cluster of habitats often scores better then lots of small ones spread out. It’s not like there’s one optimal move. It depends on what works for your specific board state.
Where did your strategy fall on the calculator? How do you shift it up next time? The calculator will always be there, but the board’s charm goes away to quickly. Understanding how you won or lost makes the game more fun. It takes out the frustrated feeling of forgetting a count.