Tuscany Star Track Calculator
Estimate a Viticulture Tuscany influence-star plan from stars placed, region values, majority pressure, order support, worker timing, VP and lira mix, opponent stars, and final scoring horizon.
Use this for the Tuscany influence map and star placement race, not for full score-sheet totals. It values regions as a planning estimate, then adjusts for contesting stars, action timing, wine-order support, residual income, and the distance to the final year.
Star Track Projection
| Plan shape | Stars placed | Best input to raise | Calculator read |
|---|---|---|---|
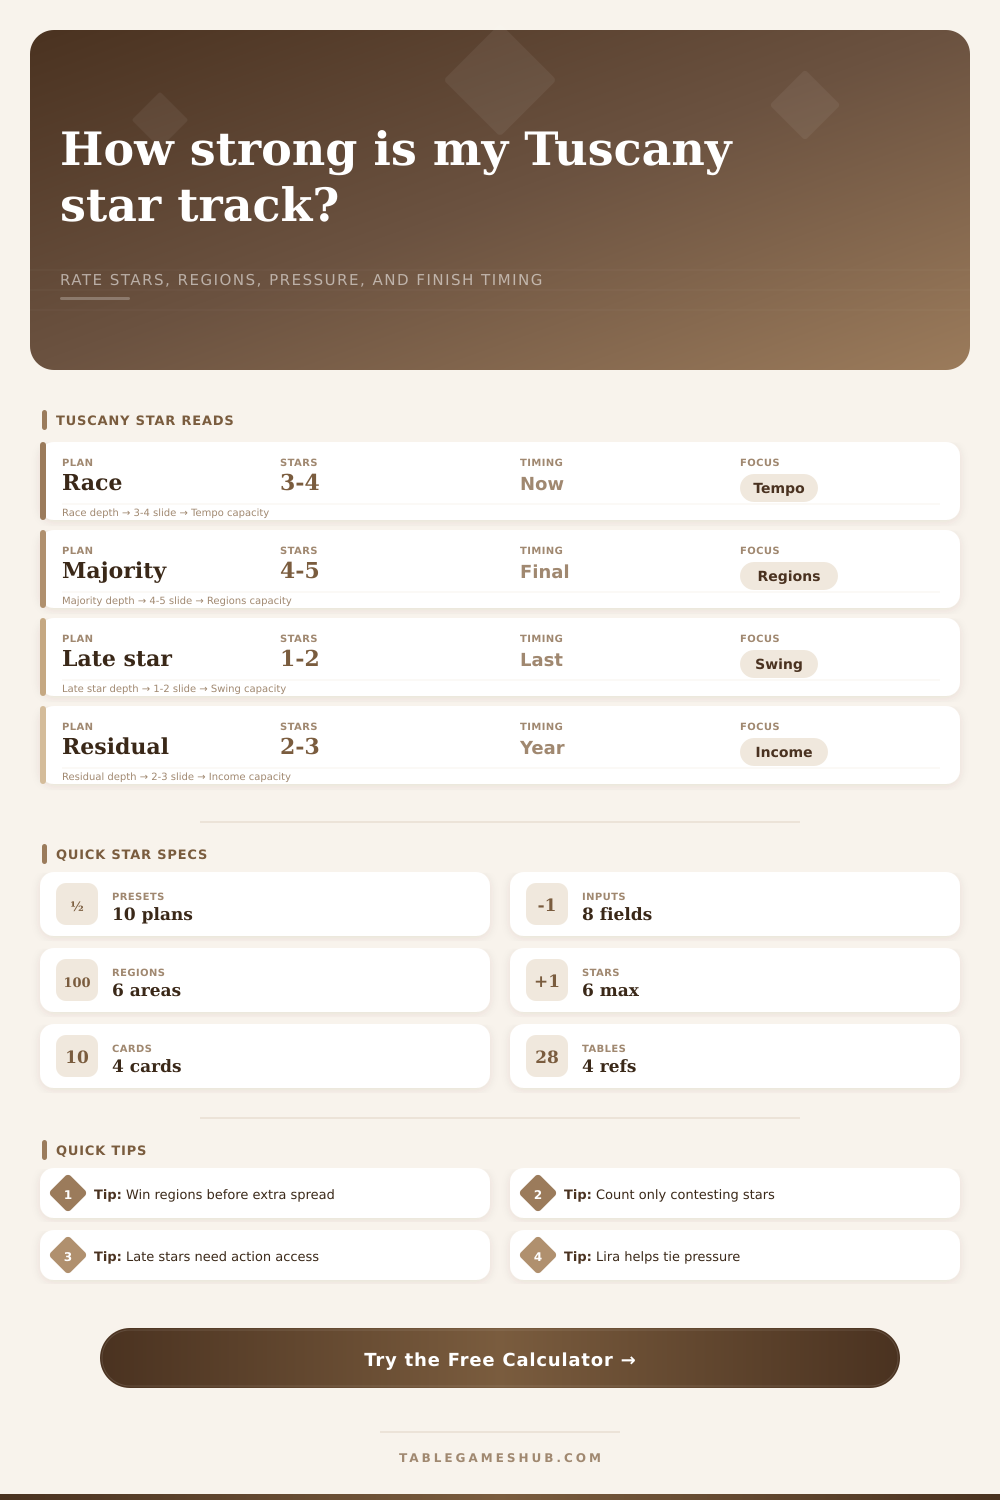
| Influence race | 3 to 4 stars | Worker timing access | Tempo matters because a reachable star can become a region hold before rivals answer. |
| Region majority | 4 to 5 stars | Majority pressure | Security rises when your placed stars outnumber contesting stars in the same areas. |
| Late star placement | 1 to 2 stars | Final scoring horizon | Immediate final turns need higher region value because there is no time for residual setup. |
| Residual region | 2 to 3 stars | VP/lira mix | Residual regions rate better when lira can still buy or support final VP actions. |
| Input | Range | What it changes | Watch point |
|---|---|---|---|
| Stars placed | 0 to 6 | Base claim value, spread penalty, and majority security | Six stars can still be weak if they are spread across low-value regions. |
| Average region value | 1.0 to 3.0 | Core VP-equivalent value per star | Raise it for final scoring regions or regions that unlock important support. |
| Majority pressure | Light to severe | Contest bonus and security risk | High pressure rewards secure majorities but punishes thin claims. |
| Opponent contesting stars | 0 to 18 | Rival density and defense need | Only count stars that matter to your selected regions. |
| Final scoring horizon | Now to long | Timing multiplier and residual chance | Long horizons help income and worker plans; short horizons favor direct VP. |
| Support layer | Calculator field | Score role | Best use |
|---|---|---|---|
| Wine order support | Wine/order support | Adds direct finish backing to the map estimate | Use when a star plan protects a region while orders supply reliable VP. |
| Worker timing | Worker timing access | Multiplies the chance that a planned star actually lands | Raise it for wake-up advantage, bonus worker access, or uncontested spaces. |
| VP/lira mix | VP/lira mix | Adjusts whether support is scoring now or mainly helping tiebreaks | Use VP-forward settings when lira can still become actions, wine, or points. |
| Final horizon | Final scoring horizon | Rewards plans with enough turns to convert influence into value | Use low horizon settings when the next action may end the game. |
| Preset | Board state | Result card to watch | Calculation signal |
|---|---|---|---|
| Influence Race | Medium star count with a rival close behind | Timing Grade | The plan succeeds only if worker timing is strong enough to place first. |
| Region Majority | High-value regions with several contesting stars | Majority Security | Security can matter more than one extra low-value star. |
| Late Star Placement | Short horizon, few stars, direct finish pressure | Finish Priority | Direct VP and high-value regions are favored over slow residual plans. |
| Residual Region | Moderate stars with lira or income backing | Influence Claim Value | The score improves when residual support has time to convert. |
| Six-Star Spread | All stars placed across the map | Majority Security | A wide map still needs enough majority pressure to defend final regions. |
In Viticulture: Tuscany, a new element of spatial tension is introduced, a level the base game doesn’t really require. You’re not only dealing with guests and vineyards anymore, but also a literal land grab, an auction of influence whose spoils is control of the board. Influence, though, appears easy enough on its surface until it’s not. Suddenly, all your opponents moves their workers around to block any hope of success, even though you previously had a direct line to three stars. It seems random, but it feels chaotic because there is no framework to guide it. This lack of structure make it seem like chaos, because it is chaos.
The map is approached most often based off a score sheet, with players tallying up their stars and treating them like points. This is an elementary mistake. Stars aren’t just points; they’re levers. There are only lever. These are levers to unlock actions, levers to gain a majority, and levers to generate residual income streams which only pay off at the end of the game. It’s all about what they enable, not their location. A single star in a high-value area isn’t worth much unless there is sufficient worker access to use the options adjacent to it. On the flip side, a seemingly minor star might be the difference between gaining a majority that helps break a tie in your favor.
How to Play Better in Tuscany
Count matters, but now it’s time to evaluate your timing. So let’s say you put down three stars, that sounds like a pretty good score. But if another player fills all available spaces before you get there, your stars won’t do anything until you can use them. When you plug in both your star count and what timing access workers give you, the calculator above will crunch numbers. That way you can turn that vague sense of “being behind” into an actual security rating. A low timing grade tells you your physical presence on the board exceeds your capacity to take advantage of it. You’re vulnerable.
The second frequent error is neglecting the opposition. Newbies get so hung up on where they think they should place their stars that they forget about competing star around them. The opposing pieces represents a drag on whatever gains you might make towards a majority. Now you have to spend more resources to either take them out, or protect yourself from them, and that really cuts into how much impact you can achieve with that piece. It is a small change of mindset but one that would of save a game or three. Instead of rushing out to grab any star in sight, you begin protecting the ones that will truly support your engine.
Aggressive plans do have one fatal flaw: Residual income. Players who grab immediate points right away, making big moves early in the game without thinking about the long term, aren’t hurt yet. In fact, they’re doing great by middle game. But by endgame, the player who’s collected slow-burning regions has quietly pulled ahead. Their income is scaling and yours is plateaued. By adjusting for your lira to VP ratio, the tool helps you measure impact of this tradeoff. If your plan relies more on cash (and less on points), then the calculator tells you that your star plan must be sustainable, it has to support you not just now, but further down the road. It makes you consider how far away the finish line is and whether or not what you’ve built so far can last when that final scoring comes around.
The map itself becomes a conversation between time and space. There’s only so much time, with only so many workers that can be placed into only so much space. Each placement of a star is a declaration regarding what you believe the others will do. The reference table on the page tells you when pushing for a majority now is worth it versus holding back until late-game income. It removes the need to guess based off instinct.
So, ultimately, how do you win Tuscany? How do you read the room better than everyone else? When do you know that a star is a treasure and not a trap? When do you realize your job is no longer just moving pieces around? It is about playing the game using timing, pressure, and leftover value instead of just counting numbers on the board. When you’re able to do that, the game becomes so much more open. And you start planning moves instead of reacting to them. Your understanding of the weight of the stars will definately change. But they won’t move themselves.