Agricola Field Sowing Calculator
Plan how many grain and vegetable fields to sow, how many crops the remaining harvests pull, and whether baking plus bonuses cover the family food bill.
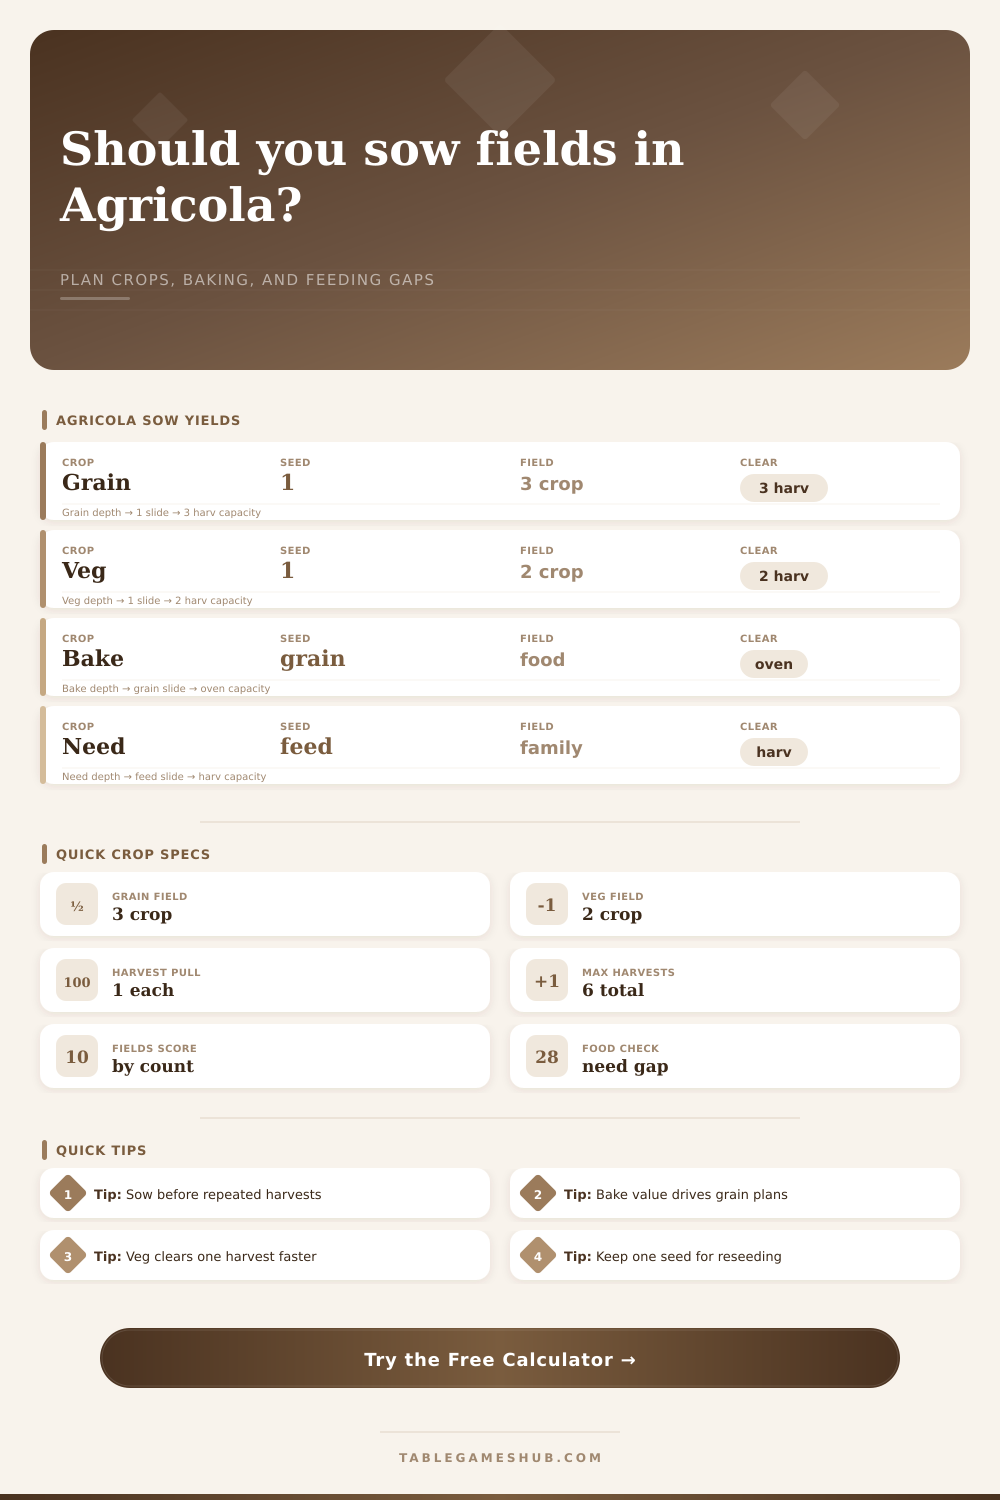
This tool models the Agricola Sow action: a grain seed makes a 3-grain field, a vegetable seed makes a 2-vegetable field, and each harvest removes one crop from each planted field.
| Crop plan | Seed spent | Supply added | Tokens on field | Harvests to clear |
|---|---|---|---|---|
| Grain field | 1 grain | 2 grain | 3 grain total | 3 harvests |
| Vegetable field | 1 vegetable | 1 vegetable | 2 vegetables total | 2 harvests |
| One Sow action | One seed per field | Based on crop type | Any number of empty fields | Depends on crop |
| Late sow | Still needs a seed | Still fills the field | Unharvested crops remain | Limited by final harvests |
| Remaining harvests | Grain collected per field | Vegetables collected per field | Standing crops after final harvest | Best use case |
|---|---|---|---|---|
| 1 harvest | 1 grain | 1 vegetable | High standing stock | Emergency food or scoring |
| 2 harvests | 2 grain | 2 vegetables | Veg field clears | Vegetable cash crop |
| 3 harvests | 3 grain | 2 vegetables | Grain field clears | Full grain engine |
| 4 or more | 3 grain now | 2 vegetables now | Possible re-sow window | Double sow planning |
| Food conversion | Input setting | Grain field food over 3 harvests | Vegetable field food model | Planning note |
|---|---|---|---|---|
| No oven | 0 food per grain | 0 food from bake | 2 food per harvested veg | Use crops for scoring or later cards |
| Basic bake | 2 food per grain | 6 food | Up to 4 food | Grain begins to compete |
| Strong oven | 3 or 4 food | 9 to 12 food | Up to 4 food | Grain usually leads feeding |
| Premium bake | 5 food per grain | 15 food | Up to 4 food | Prioritize grain seeds |
| Final crop count | Grain points | Vegetable points | Field pressure | Calculator use |
|---|---|---|---|---|
| 0 crop | -1 | -1 | No seed base | Find at least one seed |
| 1 crop | 1 | 1 | Minimum scoring | Protect the category |
| 4 crops | 2 | 4 | Veg cap reached | Shift fields to grain |
| 8 or more | 4 | 4 | Score cap reached | Use excess for food |
The Sow action in Agricola is a commitment. Once taken, you are locked in for the remainder of the game. This isn’t just about plunking down a seed, but planning forward your resources over multiple round of Harvest. How will you know when your tokens will come back? Will they be there in time? This is where many players fail.
They see an empty field and think they should fill it because leaving land barren feels like wasted potential. Plant something in that field, or else! But timing is everything in the game. Planting too late can mean only harvesting one token during last round, thus transforming a potentially fruitful investment into a small reward.
Mastering Sowing in Agricola
After typing in how much of each seed you have left and what is growing, the calculator will crunch those numbers for you. It will tell you how many crops you can actualy pull and whether you’ll have a food gap. It’ll also determine if you’re collecting enough food to keep up with your family’s cooking demands. If it isn’t, it’ll break that down as well.
A handy reference table on the page shows how many harvests from different crops will fill a field. There aren’t any numbers to remember here; except that veggies only require two pulls to deplete a field whereas grains requires three. Depending on where you fall in the round order, knowing that will alter the way you play.
If you’re sowing early, consider using grain engine strategy. If you sow early, those grain crops takes three harvests to empty, providing a substantial supply for scoring and baking. If you’re in last place however with just two harvests remaining, you’ll end up leaving a token on the board which doesn’t score anything (except as a bare minimum).
This makes your field relatively inefficient, a grain field planted too late might yield only one token before final harvest, turning a promising investment into a modest payoff. With grain, you might still have to leave a token on the board if planted too late, but vegetables clear faster so there isn’t as much risk later in the game. The window in which you can collect these is shorter, which offers some temporal safety but costs you in seed efficiency. You’ll spend more getting the seed initially because they are rarere.
Once you start converting grain into food (at a 3:1 or higher ratio), baking totally alters the picture. By feeding your family directly from the field while also scoring points, grain becomes a very powerful engine of survival. That benefit vanishes if you don’t get an oven upgrade.
When you enter your conversion rate (grain per baked goods) into the calculator, it shows you the balance sheet of your situation. Does it reveal a surplus of food, or a deficit looming? If there’s a deficit (negative number), either dip into your store of food or pull a card. Otherwise, you’re going to starve. A surplus (positive number) shows you can safely avoid planting more, and do something else with your time.
After harvest, many players stop considering their standing crops because they tend to focus only on what they collect during the game. If you’re nearing the scoring cap those remaining tokens does count. Even if you think you’ll never be able to get everything from a field, sometimes it’s best to plant one anyway. Even though you won’t get it all, you at least get the category point and avoid penalty for having no crops in that field.
The tool shows both: how much was already harvested and what’s still out there. That way you can weigh whether you want that last seed for points; or should of kept it handy for an emergency meal. If you have actions and fields but no seeds to put in them, seed management becomes a hidden bottleneck in farming.
It’s a single grain seed that can be your lifeline in the last round; one that means at least one crop and no penalty. On the other hand, if you hold too much then you tie up resources that could otherwise go to purchasing upgrades/furnitures. You have to decide: do I really have this amount of seed in my current stockpile? Or am I just hoping to get it some day? The calculator assumes you spend everything you currently possess, whether that is your actual stockpile or just wishful thinking.
In short: Sowing is a matter of weighing risk versus reward. You need fields that pay off before they croak; you want crops that nourish your family while building your score. The tool provides the numbers; now it’s up to you to read the board. What’s your opponent doing? Are they flooding the supply market? Are they hogging all the baking tasks? Adjust accordingly.
Timing is everything with a field. Plant it too soon and it just sits there. Too late and it dies on the vine. If you can find the sweet spot between these two extremes, then you’ll turn empty dirt into a steady stream of victory points.