Azul Mosaic Completion Calculator
Project your wall fill, endgame row, column, and color bonuses, then subtract floor damage to see whether the mosaic race is worth chasing.
Mosaic Completion Projection
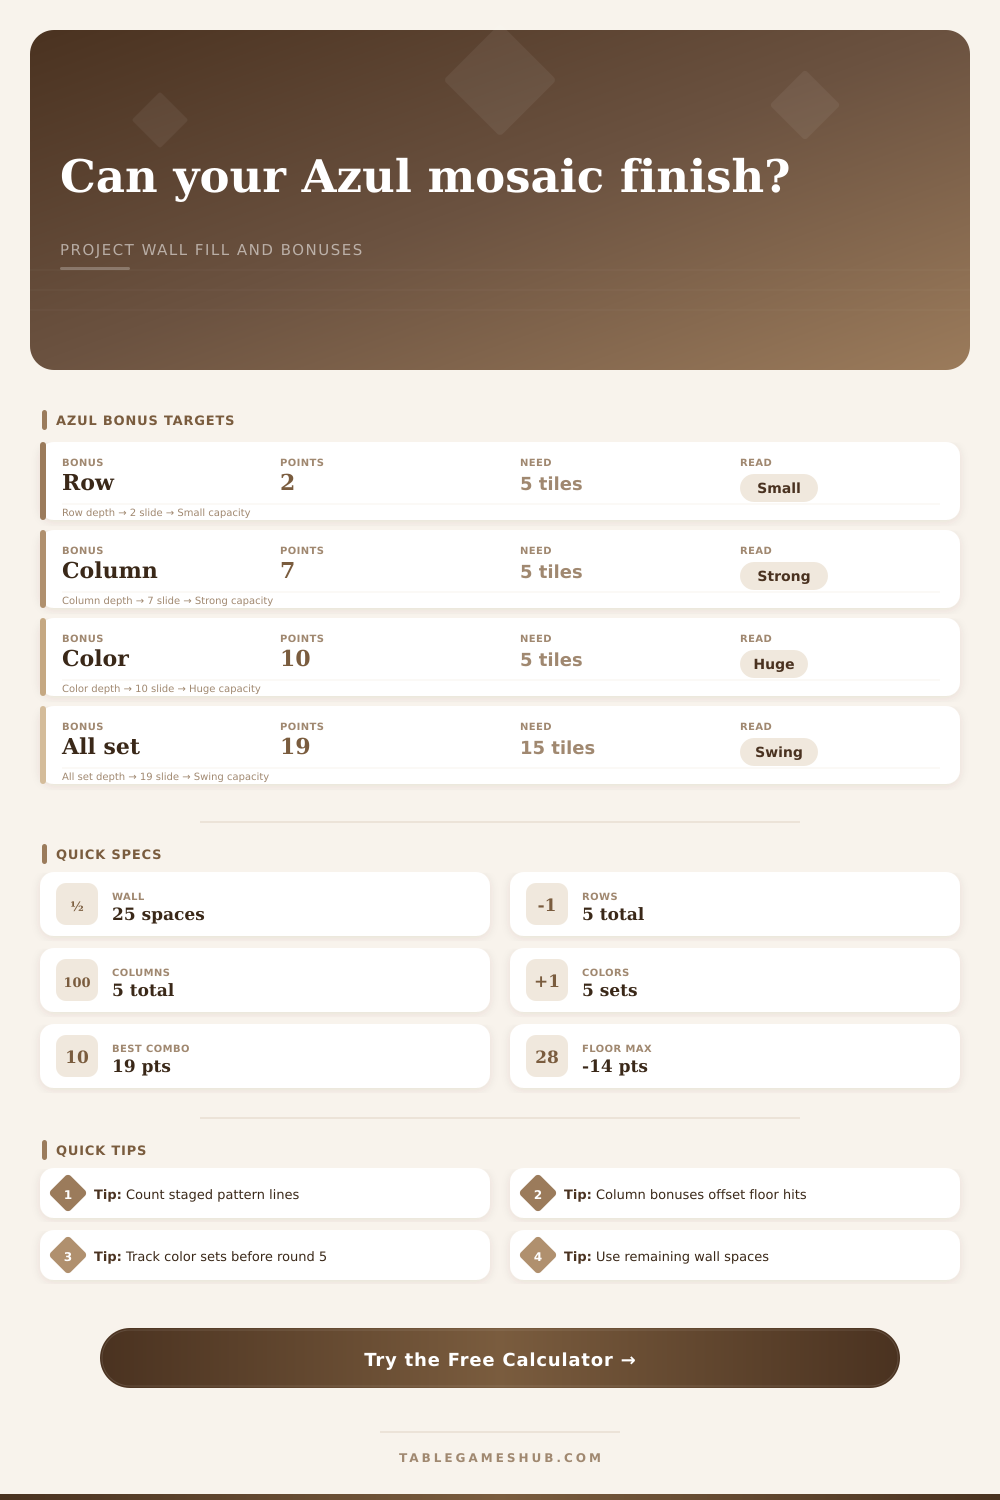
| Endgame bonus | Points | Requirement | Use in calculator |
|---|---|---|---|
| Completed row | 2 | 5 wall tiles across | Small target |
| Completed column | 7 | 5 wall tiles down | Main chase |
| Completed color | 10 | All 5 of one color | Big swing |
| Row, column, color | 19 | Three bonuses close | Final puzzle |
| Round | Pressure | Tiles staged | Completion read |
|---|---|---|---|
| 1 | Low | 1-3 | Build shape |
| 2-3 | Medium | 3-6 | Open routes |
| 4 | High | 5-9 | Pick target |
| 5+ | Final | Any close line | Score now |
| Pattern line | Capacity | Wall tile | Planning note |
|---|---|---|---|
| Top line | 1 tile | 1 placed | Fast row trigger |
| Second line | 2 tiles | 1 placed | Good pivot |
| Middle line | 3 tiles | 1 placed | Stable setup |
| Bottom lines | 4-5 tiles | 1 each | Late payoff |
| Wall fill | Spaces left | Bonus pace | Risk note |
|---|---|---|---|
| 0-40% | 15-25 | Early | Stay flexible |
| 41-64% | 9-14 | Midgame | Shape matters |
| 65-84% | 4-8 | Closing | Count colors |
| 85-100% | 0-3 | Endgame | Avoid floor |
So how do you play? What’s the right decision in the final round of Azul? Should you place your last few tiles on the floor, risking that they might prevent you from scoring a point? Or should you keep them so you can claim color bonus instead? It feels like a moment of high stakes that’s actualy just a math problem.
Enter what you have left to play, and the calculator does all the work for you. No more guessing about whether your gamble will pay off or come back to bite you.
How the Azul Calculator Helps You Play Better
This is the core of Azul: The trade-off between completing things and the penalties for not doing so. Each tile you add to your wall gets you nearer to end-game bonuses for completed rows/columns/colors. But each tile that doesn’t hit your mark are added to the floor line, where it becomes a liability that you’ll have to subtract from your final score. It’s a small trade-off; the bonuses is instant, whereas the penalties are delayed. You get the bonus today, you pay tomorrow.
Enter your current physical state of board into the calculator. How many columns and/or rows is filled in? That’s free points! Next consider your color sets. Any completed color set gets you 10 more points, that can be the difference between a close win and a hammer blow. Input this info and the calculator will predict your final fill percentage on the wall. And it’ll estimate net swing based off floor damage.
Note the pattern in line input. This is where you’ve laid out (staged) tiles that you’re allowed to set in your pattern right now. You’ll see from the picture that it’s important not only what tiles you pick up but also where they go. Often players think that because they picked up some tiles then they can fill a line. Actualy it may not be possible for the shape of the space to accommodate any tile. How the tool clarifies this: how many tiles do I really need to score my desired bonus?
Players get humbled on the floor. Pattern lines that holds multiple tiles in late rounds mean one bad grab will cost you four or five points at scoring time. Sure, you might shrug off a small floor hit. You could of did this to get the big bonus of filling a whole column, which is worth seven points. But if you’re shooting for just a row bonus that’s worth two points, any floor penalty, no matter how small, erases your margin. The calculator accounts for it by subtracting expected floor loss from expected bonuses. It shows you whether a potential risk is mathematically justified, but it doesn’t make the decisions for you.
Pacing is important and there is some good context here in the reference tables on the page. Rounds 1-3 are early and are about keeping options open and starting to build a shape. Rounds 1-3 are early and are about keeping options open, while midgame is when you start committing to specific columns or colors; by round four or five flexibility dissapears. By round four or five, flexibility disappears. You need to have an exact idea of what you’re going to finish by the time the round starts. Reacting to new opportunities in the later part of the game will usually result in wasted moves. Those wasted moves makes floor tiles that will end up hurting you more than helping.
This changes how you play. You’re no longer going with what looks good in the moment; you plan three rounds ahead. You don’t fill a hole if it’s blocking a better color combo. You keep some holes open to use for one color different than another. It becomes more carefuly patient and less “collect it all now.” It doesn’t tell you what to do, but it takes away wondering if what you did is mathematically correct or not.
Azul, at its core, is a game of resource management while under time pressure. There’s only so much space for tiles on your wall; there are only so many moves you get. Each decision is one less opportunity. If you can project where you’re going to be early, then you don’t end up panicking like some player do in the last few rounds. You know what you want, you know how much it’ll cost. You can confidently execute instead of hoping. The mosaic is not just a puzzle to solve but a narrative to finish well.