Azul Floor Line Penalty Calculator
Estimate the point loss from overflow tiles, first-player marker pressure, box-lid spill, and whether the move still earns enough wall value to justify it.
Azul Floor-Line Result
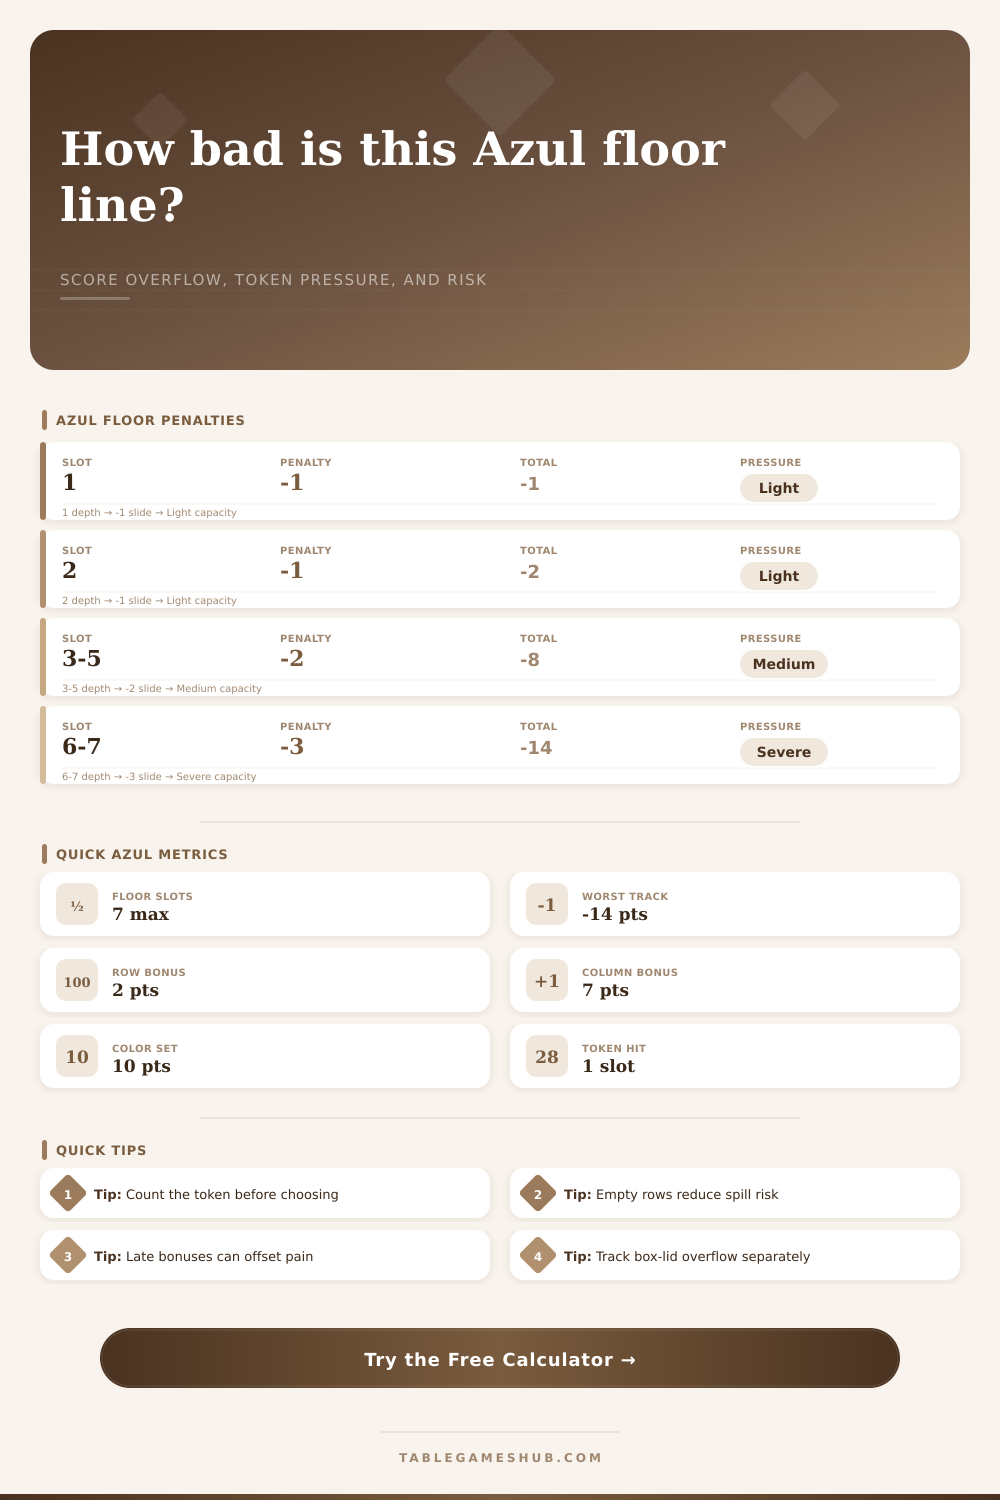
| Floor Slot | Penalty | Running Loss | Read |
|---|---|---|---|
| 1 | -1 | -1 | Light tax |
| 2 | -1 | -2 | Still safe |
| 3 | -2 | -4 | Real cost |
| 4 | -2 | -6 | Needs value |
| 5 | -2 | -8 | Heavy spill |
| 6 | -3 | -11 | Danger zone |
| 7 | -3 | -14 | Severe |
| Bonus Race | Points | Best Use | Penalty Buffer |
|---|---|---|---|
| None | 0 | Pure tempo | 0 slots |
| Row | 2 | Close line | 1-2 slots |
| Column | 7 | Late push | 4 slots |
| Color set | 10 | Final race | 5 slots |
| Combo | 12-17 | Last round | Full floor |
| Scarcity | Value Add | When It Fits | Warning |
|---|---|---|---|
| Abundant | -1.0 | Many copies visible | Do not overpay |
| Normal | 0.0 | Several routes | Use floor math |
| Scarce | +1.5 | Few copies left | Track colors |
| Critical | +3.0 | Last chance | Check bonus |
| Risk Band | Score | Typical Floor | Move Read |
|---|---|---|---|
| Low | 0-3 | 1-2 slots | Usually fine |
| Caution | 4-7 | 3-4 slots | Need purpose |
| High | 8-11 | 5-6 slots | Demand payoff |
| Severe | 12+ | Full track | Only for race |
Now imagine you have four blue tiles and you are looking at that same factory. There is only three spots open on your pattern line. What do you do? Take two of those tiles and place them on your wall. Those other two need to go on your own floor board. Now this may not seem like a big deal. But it’s how a lot of people lose the game. It isn’t the act of placing the tiles. Those extra tile accumulate across a few rounds. And they begin taking away a large chunk from your end score.
Before making that decision, this page’s tool gives you a way to measure the risk. It asks for information such as whether first-player token is in play and how many of those slots are taken up on floor. (That first-player token is important; it’s considered an occupied spot when scoring.) If the token occupies the third slot, then your next two-tile spill become a serious hit different than just a minor penalty.
How to Handle Extra Tiles
The price increases on the floor board and it’s important to know how to win. Early game spilling seem harmless; the initial spots are merely worth a single point apiece. But once you pass the halfway mark, the penalties increases sharply. Once past the midway point, every extra tile are worth three points. So if a player lets their floor go unchecked during rounds two and three, they can find themselves losing lots of point come rounds four and five due to this growing rate of increase. The calculator do all the math for you; no need to memorize where each spot goes up by how much.
Also consider that spill may cost you more elsewhere. Perhaps that tile denies a competitor a ten-point full color set bonus. That denial is worth something too, and might offset a severe floor penalty. The tool will take into account scarcity and opponent pressure. If there’s a particular color that’s short on the table, then denying someone that color or hoarding it are more valuable to you than a clean floor. On the flip side: if tiles is plenty, you typically shouldn’t take a spill to get two easy points on the wall. The whole risk equation shifts when tiles are scarce.
A common, ubiquitous tile is mostly worth only what it’s worth (face value). A rare tile, one that closes your last color set or fills a column bonus, is more valuable, as this speeds you to the end-game bonuses. You can see in the table below that different bonus races cushion against penalty floors. Filling four floor spots for a column bonus is reasonable; a single row bonus rarely offset wasting three tiles.
Every single point matter later in the game. Every single point. Early on, you’re building out your wall and setting yourself up with options; later on, you’re maximizing your density, trying to get as many bonuses as possible. That changes things, a move which seemed reasonable in round two could now be disastrous in round four. How much more can you milk out of some colors? How much can you afford to dump? If all you have is a single row open for blue, then just dumping excess blue on the floor is wasted effort, unless it prevents someone else from getting a massive haul.
A good player thinks of his floor board as a running tab on foregone expenses. If he can pick up some tempo, or block an opponent, he’ll take a little penalty now, but he’ll monitor bottom line. At a point where the running loss reaches eight or ten tiles, he changes tactics, from aggressive denial to conservative protection. From then on, you won’t risk another single tile added to the track. This is a psychological move from offense to defense.
In the end, the key to mastering Azul isn’t so much how well you place patterns as it is learning to control this negative space. Everything not used effectively become the floor. Understanding the real cost of overflows prevents little misplays from adding up to significant defeats. This cost is the price paid for moving from one set of scarcity to another while considering the unseen impact of the first-player token. Instead, each spill becomes an investment that must pay dividends elsewhere. It’s that kind of discipline which transforms a tile-picking beauty into a knife-edge struggle of restraint and math.
You should of seen how much it matters. One small mistake could of ruined everything. The luxurios feel of the game dissapears when you lose.