🧵 Waist Dart Calculator
Balance waist suppression, dart depth, and placement for a cleaner fit.
📍 Presets
⚙ Pattern Inputs
📊 Breakdown
| Stage | Value | Formula | Fit note |
|---|
📐 Fit Components
📋 Reference Tables
| Suppression gap | Fit feel | Typical split | Draft note |
|---|---|---|---|
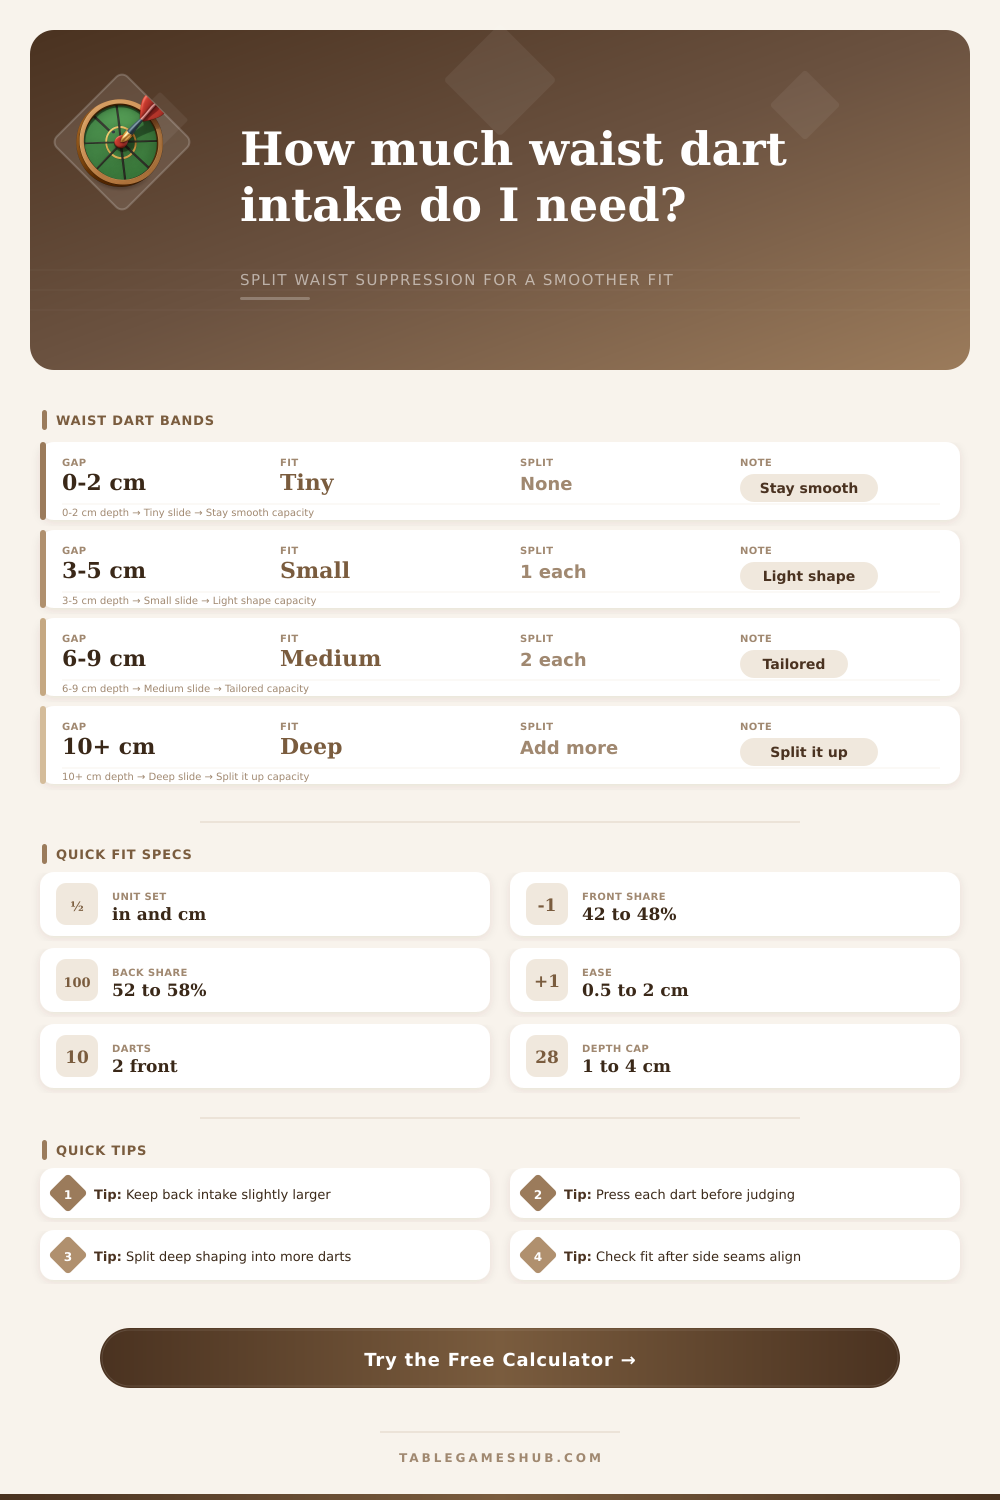
| 0 to 2 cm | Tiny shaping | Often none | Keep the side seam calm and skip extra intake unless the fabric is stiff. |
| 3 to 5 cm | Light shaping | One dart each | Works well for relaxed tailoring and softer silhouettes. |
| 6 to 9 cm | Tailored fit | Two darts each | This is the sweet spot for many fitted skirts and dresses. |
| 10 cm plus | Deep shaping | Split it up | Use more darts or move some shaping into seams for a cleaner line. |
| Garment | Front count | Back count | Why it works |
|---|---|---|---|
| Pencil skirt | 1 to 2 | 2 to 3 | Back waist and seat usually need the largest share of shaping. |
| Tailored blouse | 1 to 2 | 1 to 2 | The front can hold bust curve and still need a soft waist pinch. |
| Fitted dress | 2 | 2 | Balanced shaping keeps the side seam smooth without overbuilding it. |
| High-waist trouser | 1 | 2 to 3 | The back rise, seat, and waistband often carry extra intake. |
| Fabric | Factor | Dart feel | Notes |
|---|---|---|---|
| Standard woven | 1.00 | Classic | Use as the baseline when testing a new block. |
| Crisp cotton | 1.05 | Sharp | Press cleanly so the dart line reads crisp and controlled. |
| Stretch woven | 0.85 | Shallow | Keep intake modest so the cloth can still move at the waist. |
| Denim | 1.10 | Deep | Use stronger shaping and test a muslin before the final cut. |
| Placement | Front guide | Back guide | Shape note |
|---|---|---|---|
| Small waist gap | Close to CF | Close to CB | Keep everything light and use shorter legs. |
| Curvy hip | Slightly wider | More spread | Let the back carry more intake and length. |
| Bust curve | Shift outward | Stay centered | A little front space helps the fabric fall over the chest. |
| Full seat | Stay compact | Deepest intake | Use the back to manage extra waist-to-hip volume. |
💡 Tips
Start with the back
If the waist gap sits mostly in the back, send the extra intake there first before trimming the front.
Press before judging
Press dart legs toward the center and check the waistline again after each change so the fit reads cleanly.
Use this waist dart calculator to compare body waist, pattern waist, and ease, then balance front and back intake so your pattern closes cleanly and stays comfortable in fitting.
Waist darts are structural element that allow for flat fabric to conform to the curve of the human body. The waist darts are used to bridge the gap between the person’s rib cage and there hips. Additionally, waist darts assist in the garment’s ability to follow the body’s natural curve of the spine and abdomen.
If a person do not utilize waist darts correctly, the garment may bunch at the waist or it may gate at the center back of the wearer. To prevent these issue, a person has to understand how to calculate the amount of fabric that they must remove from the pattern to accommodate for the bodys shape. To create waist darts on a garment, a person has to calculate the total amount of suppression that the garment require.
How to make and fit waist darts
Suppression is derived from the difference in the waist measurement of the pattern and the actual waist measurement of the body. To calculate this value, a person must take the waist measurement of the body and add a small amount of ease to the pattern to allow for movement. Once the person has calculated the total suppression value, it must be divided between the front and back of the garment.
Many people choose to give more suppression to the back of the body than the front of the body. For instance, a person might distribute 42 to 48% of the total suppression to the front of the garment and the remaining percentage to the back of the garment. The type of fabric that will be used to create the garment will play a key role in determining the way in which the waist darts are to be sewn into the garment.
For instance, crisp fabrics like cotton allow for the sewing of deeper waist darts since the fabric will hold the darts without creating bubbles within the cloth. Fluid fabrics and fabrics with elastic element do not hold the same amount of darts as crisp fabrics, so shallower waist darts should be sewn into these elements. Additionally, heavy fabrics like denim require more suppression to create the illusion of a garment that fits the wearer good.
Furthermore, denim requires more pressing of the waist darts to ensure that the darts lie flat with the garment. Lastly, the type of garment will dictate the manner in which the waist darts are to be created. For instance, trousers will require more suppression at the back of the garment relative to a dress.
When creating waist darts on a garment, there are some common mistake that people should avoid. For instance, some individuals may treat the waist darts as a decorative element of the garment rather than a structural element that has to be calculated correct. Another common mistake is to supply too much suppression for the front of the body, which will leave the back of the body looking baggy at the seat.
To avoid these mistakes, the person should measure the waist when they are relaxing their abdomen. Additionally, enough ease should be allowed in the garment so that the waist darts dont cause the wearer to develop discomfort when they are sitting down. The placement and the length of the waist darts on a persons body are two other aspects of the garment that will play a role in ensuring that the garment fits well.
The waist darts on the front of the body should be placed wider from the center front if the person has a large bust size. Additionally, the waist darts on the back of the wearer should be designed to spread towards the sides of the body to allow for the control of the shape of the wearer’s seat. The length of the darts should scale with the distance between the wearer’s waist and their hips.
For individuals whose hips are fuller than others, the waist darts should be longer. Lastly, the waist darts should be pressed towards the hem of the garment for the proper fit of the garment. The number of waist darts that are created on the garment will play a role in how the structure of the garment distributes tension between the wearer’s body curve.
Using two waist darts on each side of the body is typically better than using one large dart for that portion of the garment. For garments with less than 2 centimeters of suppression, there may not be the need for waist darts for that portion of the garment. Instead, the side seams of the garment can be eased to accommodate for the body.
Between 3 and 9 centimeters of suppression will require one or two waist darts on each side of the body. For garments with more than 10 centimeters of suppression, there will be the need for additional waist darts or seam to the garment to remove the excess amount of fabric. Once the person has sewn the waist darts into the garment, the alignment of the side seams of the garment should be checked.
If the side seams of the garment are not aligned with the body prior to sewing the waist darts, the suppression between the front and back of the garment will have to be rebalanced. The person should also mark the tips of the waist darts precisely. If the waist darts are marked too high on the body, they will poke out from the body when the wearer is wearing the garment.
Additionally, if the waist darts are marked too low on the wearer’s body, the darts will not provide the proper amount of shaping. If a person follows these steps to create the waist darts on their garment and calculates the suppression of the garment correctly, the waist darts will allow the garment to drape smooth over the body.