Terra Mystica Cult Track Calculator
Plan final cult scoring by testing priest pushes, favor and town jumps, round tile bonuses, opponent positions, key thresholds, power income, and end VP.
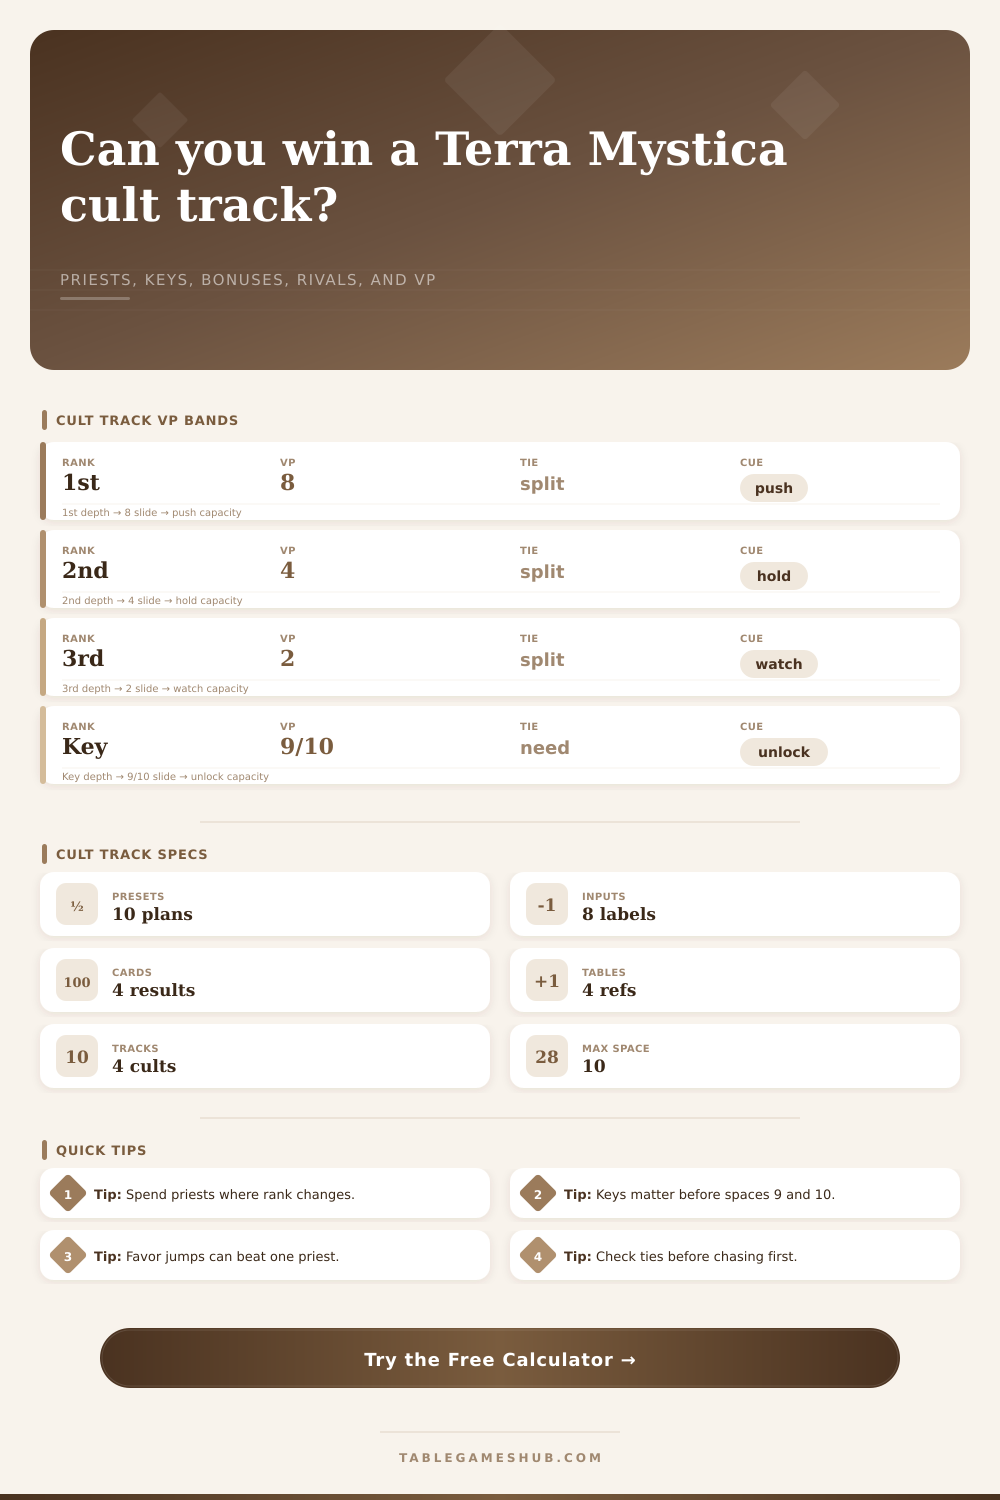
| Final Cult Rank | Solo VP | Tie Handling | Calculator Use |
|---|---|---|---|
| First on a track | 8 VP | Shared with tied leaders by scenario estimate | Primary target for priest pushes |
| Second on a track | 4 VP | May average with adjacent bands | Often best when first costs too many steps |
| Third on a track | 2 VP | Low-value tie unless already close | Used as floor protection |
| Below scoring rank | 0 VP | No meaningful final score share | Usually ignored unless threshold mode is selected |
| Preset Family | Best For | Typical Inputs | Primary Output |
|---|---|---|---|
| Priest push | One track just behind an opponent | 2-4 priests, one key | Rank gain and final cult VP |
| Favor jump | Temple or sanctuary timing | Bonus steps plus modest priests | Whether a favor replaces a priest |
| Cult bonus round | Late scoring tile turns | Power income and step VP tile | Immediate VP plus end VP |
| Majority defense | Protecting two scoring tracks | Even positions, close opponents | Tracks held, tied, or lost |
| Key Threshold | Meaning | Risk | Best Response |
|---|---|---|---|
| Ignore gate | No key check applied | Can overstate legal top-space moves | Use only for rough planning |
| Space 9 | First locked cult space matters | May waste a priest if no key is ready | Secure a town before pushing past 8 |
| Space 10 | Top cult space is the goal | Opponent can block majority with less effort | Compare 8 VP gain against town timing |
| Both spaces | Two-key finish is required | High cost and narrow timing | Reserve keys for tracks with real rank gain |
| Round Tile | Modeled Bonus | When It Matters | Planning Cue |
|---|---|---|---|
| Priests to cult | 2 VP per priest spent | Large priest bank turns | Count immediate VP separately from final rank |
| Cult step gain | 1 VP per assigned step | Favor and town movement turns | Bonus steps can produce both tile and rank VP |
| Track reaches 8+ | 4 VP when selected cult hits 8 | Focused Fire, Water, Earth, or Air pushes | Stop at 8 when extra top spaces do not change rank |
| No cult tile | 0 immediate VP | Pure endgame comparison | Spend only where final rank improves |
In the last round, this makes Terra Mystica feel a little chaotic. You know you’ve got three priests in your hands and four cult tracks to consider, plus an opponent who just moved into first place on Fire. Do you play for victory? Or do you play for second? Or do you save resources to power up, only to find that it happens one turn too late? More often than not, it’s about figuring out precisely how many turns it’ll take to swap places with somebody. More then just a guess.
The point system for Cult scoring isn’t linear; going from 3rd to 2nd gets you two victory points and going from 2nd to 1st gets you four. That imbalance make it wasteful to jump one spot in some cases if you don’t account for it properly. For example, you could use two priests to leapfrog someone in Water, then find out later that using those two priests for first place in Air would of gotten you twice the return. With the calculator, you can make those calculations in real time, turning gut feel into information.
Smart Ways to Win Points
Finally, there’s also timing to consider in cult track strategy. You’ll notice a lot of people only look at their own place and don’t take into account movement potential of favor tiles or town bonuses. Town bonuses and favor tokens aren’t just stationary. Favor tokens can shifts your marker multiple spots ahead without consuming any power. If you don’t think about this temporary advantage when planning, you’ll find yourself wasting priests on unnecessary moves. The tool factors this bonus step in so you can see what effect a favor jump has alongside your more permanent priest investments. Small details like this add up and matter when every point adds to the eventual total.
Even experienced teams trip up on other complexities like keys. On the cult tracks there’s the addition of spaces nine and ten which require a key, so you can’t even march into first place if you don’t have one. One mistake people often make is trying to push past space eight without securing a key. Sure, maybe you’ve got the power and the priests, but without the key token itself, your marker stays still while your rival move forward. The reference tables lays it all out nicely. They show you where it is worth holding back to search for keys instead of pressing a track you do not have legal access to.
The other thing about ties: They have their own mental accounting. If there are two tied for first, the two of them shares out the eight points, with both getting four apiece. Sounds fair. But what this does is convert a big win into a tie and a small one. Should you spend your final priest to break that tie? Or should you save that priest to use on another track or even produce something? That’s where the calculator helps map those situations, so you can determine when tying is important enough to try for, or not.
While it might seem like the cult track is about pushing your markers as many spaces as you can to maximize your score, that’s not it at all. It’s about moving your markers just enough so that you achieve the maximum rank using fewest resources. One common error is over-investing in a given track. People tend to get too focused on getting into space ten. They don’t realize they could of had three other tracks ranked first or second instead of fourth for the same investment. You need to be considering the entire board when balancing your four tracks. You should consider more than just the one you’re working on.
Don’t spend your power until you try out various approaches using the inputs. Many times, you’ll find that the risky push isn’t really going to increase your VP by enough to make it worth while, in which case, sit tight and concentrate on town-building instead. Let the math do the talking for you; let it guide you toward striking at the right time and holding back at the right time too. You’ll have an idea of just how much each priest is worth, so you can quit playing the guessing game and begin doing some math on your road to victory.