Sagrada Favor Token Calculator
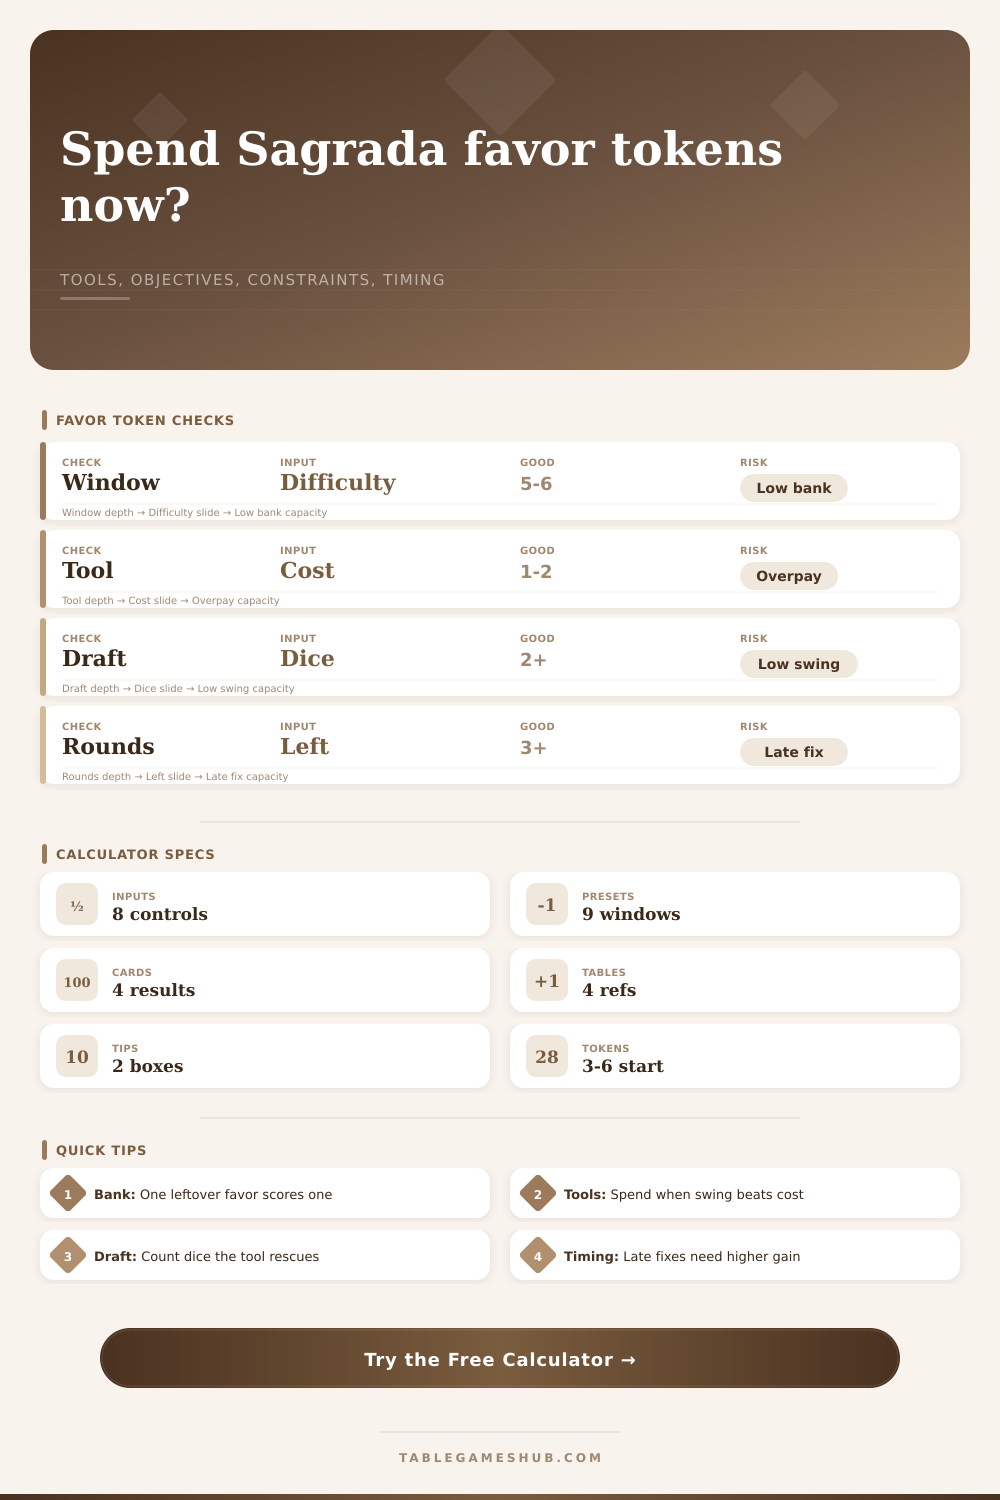
Compare the one-point value of saved favor tokens against tool card tempo, dice rescued, placement constraint pressure, public objective gain, private color value, and rounds left.
1Sagrada Favor Token Presets
2Window, Tool, Draft, and Objective Inputs
| Line item | Entered value | Scoring logic | Point effect |
|---|
3Sagrada Favor Component Grid
4Favor Token Reference Tables
| Window type | Starting favor | Typical use | Favor risk |
|---|---|---|---|
| Low difficulty | 3 tokens | Flexible placement, fewer tool spends | Running empty early is costly |
| Moderate difficulty | 4 tokens | One key tool plus final token score | Second tool needs clear points |
| Complex window | 5 tokens | Tool safety for shade and color rules | Hoarding may waste tempo |
| High complexity | 6 tokens | Multiple fixes or a tool chain | Spend only into objectives |
| Tool moment | Token cost | Best target | Calculator signal |
|---|---|---|---|
| First use | 1 favor | Convert a draft into a scoring die | Spend when net swing is positive |
| Second use | 2 favor | Finish public objective pattern | Needs at least two direct points |
| Tool chain | 3 favor | Move plus revalue or round-track rescue | Use only with high leverage |
| Final round | 1-2 favor | Prevent an empty cell or high private miss | Direct score beats compounding |
| Constraint state | Examples | Tool value | Watch item |
|---|---|---|---|
| Open grid | Many legal cells remain | Low rescue bonus | Favor may score better later |
| Mixed limits | Color and shade spaces both matter | Balanced objective push | Count public points honestly |
| Tight shade | Numbers repeat near the target area | Strong revalue or move payoff | Do not create adjacency conflicts |
| Near-lock | Only one or two cells can accept dice | High rescue bonus | Tool must solve the whole chain |
| Rounds left | Favor posture | Good spend reason | Common result |
|---|---|---|---|
| 7-9 rounds | Patient bank | Tool opens several future cells | Compounding value matters |
| 4-6 rounds | Flexible spend | Objective and private color both gain | Best zone for one-token tools |
| 2-3 rounds | Selective rescue | Round-track die fixes a blocked area | Spend only with direct score |
| 0-1 rounds | Final audit | Tool prevents empty cell or places a high private die | Compare to leftover favor points |
5Favor Token Tips
Price the token first: a saved favor is already worth one point, so a tool should either score more immediately or protect a die that will clearly score later.
Do the chain audit: when a move, revalue, or round-track tool fixes several legal placements, count every rescued die before deciding the spend is too expensive.
In Sagrada, you’re facing off against other players. Imagine you have three favor tokens left. Your private color objective is hanging by a thread, you might need a tool card to save it. Do you use those tokens now? Or do you hope to save them for the end game? Even veteran player get nervous at that moment.
On the one hand, you could use them right away to finish your goal. But on the other, you want to keep some for the final score. That’s what makes the late game exciting: the balance between short-term benefit and long-term security. Each token you spend represent a point that goes toward someone else’s board. You hesitate, and it’s as if you’re hesitating about yourself.
When to Spend Your Tokens
This dilemma is where the calculator comes into play. In many ways, it is turning an intangible answer in a quantitative solution. How much do you have in the bank? What does the tool cost? How many rolls could it saved? The tool calculates these inputs and compares them with how many victory points the token would yield if kept alive. That’s easy math, but not always an easy conclusion. Keeping a token equals certain points. Playing a tool card mean betting on eventual points.
The question is whether you can get those points back before time runs out. Think about how difficult your window pattern is to work around. Did you choose a complex one with five or six starting tokens? Then chances are you’ll have more wiggle room then the person with a simple three-token window. But it’s also tougher because you need stricter adjacency rules between those colors/shades. Those rules will cause otherwise harmless dice to become useless clutter unless you do something about them.
That’s where placement constraint pressure enters the picture. If you’re running on a tight board, with just one or two spots left for any given shade, then saving that die suddenly skyrockets in value. Suddenly the tool isn’t really an option anymore. It’s a necessity to avoid leaving yourself with a blank cell at scoring time.
But it’s all about when. Compounding returns work in your favor if you spend them early enough. A dice save in turn 3 can open up several placement options during following six rounds. It will generate points well above what it costed. However, that compounding window closes as the end of the game approaches. By rounds eight and nine, a tool has to either score directly, or keep someone from missing something valuable, to make up for investment. No more waiting around.
The timing dynamics are spelled out well in the reference tables on the page. They illustrate when you should switch from bank patiently to picky rescue as the minutes run down. Everyone makes this error. They underestimate the token. Margins are thin. That’s one point to consider. Don’t waste tokens on cards like Tool, which only save you an average die that would of given you something useful later anyway. Don’t take a 3 token hit to help you reach an Objective that nets you just two points. That’s losing.
And you’ll know all of these things from looking at the results, specifically leverage. Leverage measures your net gain divided by the number of tokens spent. High leverage scores indicate each token you spend buys you big time. Low leverage scores? You’re spending way too many tokens for minimal gains. You’re spending way too much money for minimal gains.
Private color goals add more detail. The cards with large point potential asks for specific positioning. That last die is blue and there’s no adjacent space; this may take the help of a tool to reach. Here, the calculator factors in protected private value. How many points would you lose without the tool’s help? Even though the public goals don’t light up right away, if the tool can save you from a catastrophy on your own board, it could still be money well spent.
In the end, though, Sagrada’s a game about effective resource management. Each favor token is an either/or decision between aggression and safety. The calculator removes emotion from that equation; it lays out the trade-off in black-and-white. When to spend? When to hold? When should you fold? All of those questions get answered.
Sure, you still gotta play the damn thing. But no longer do you need to depend on gut feeling alone. The dice will continue to rattle. The decisions will continue to be made. Now you know exactly how much every token’s worth before letting them slip through your fingers.