The Red Cathedral Resource Calculator
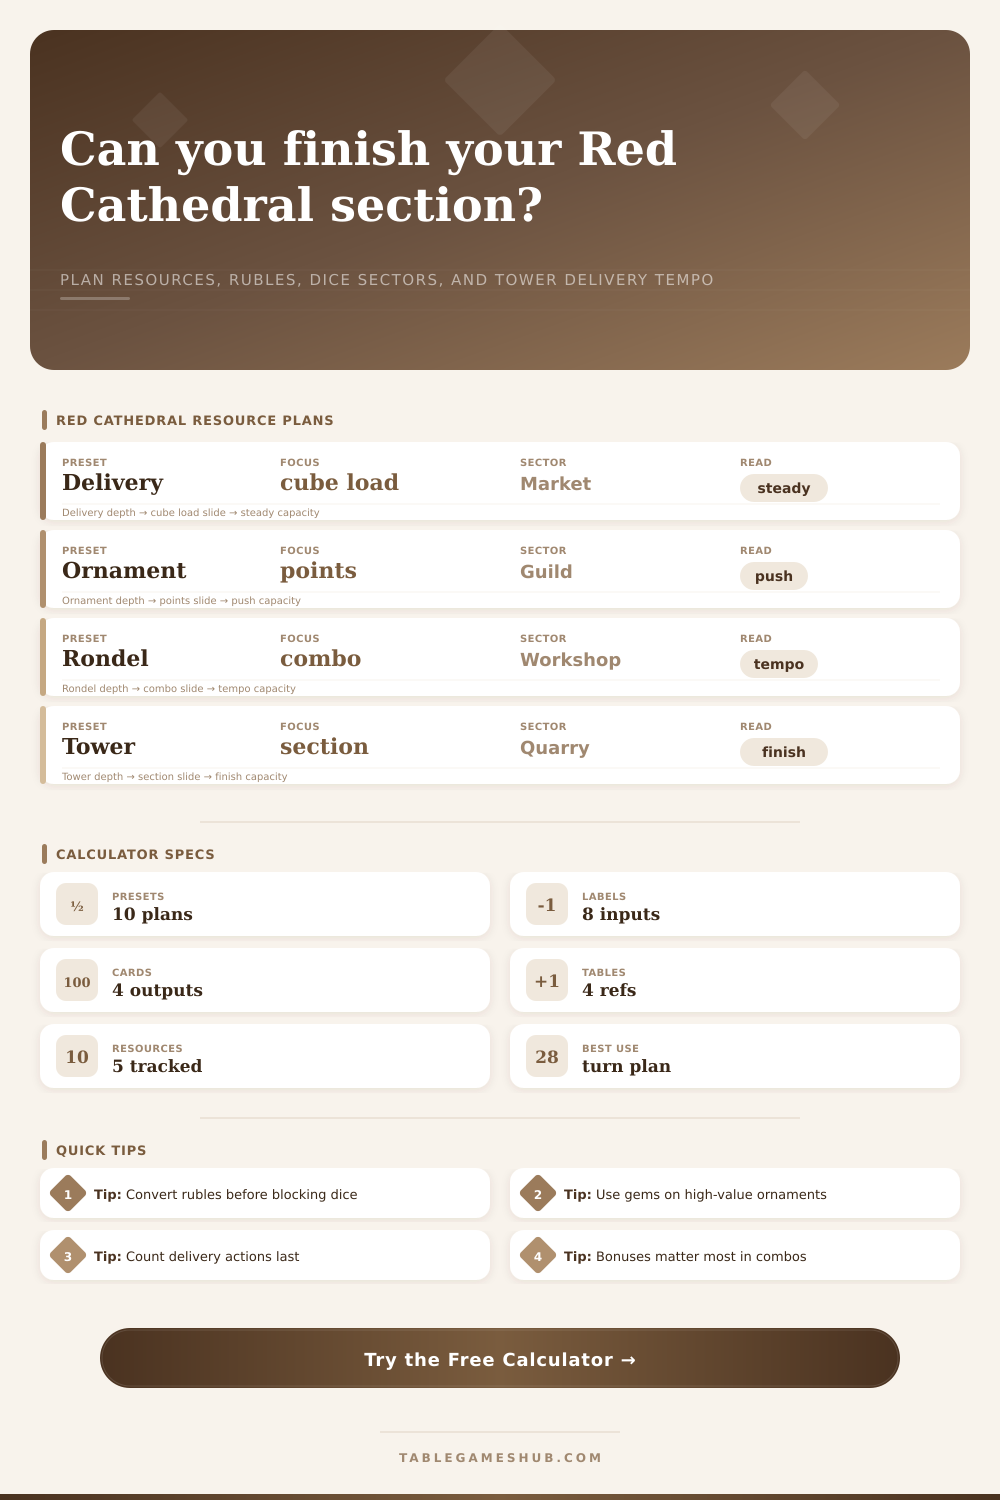
Estimate whether your current rondel, workshop, ruble, and influence position can fund a tower section or ornament push before another player blocks the dice sector.
This calculator treats resources as planning units: basic goods cover construction demand, rubles can buy missing tempo, gems help ornaments, and workshop bonuses reduce the delivery gap.
| Dice sector | Main pickup | Planning value | Best when |
|---|---|---|---|
| Brick | +2 brick | 2.0 units | low sections |
| Wood | +2 wood | 2.2 units | mixed cards |
| Stone | +2 stone | 2.6 units | heavy finish |
| Gold | +1 gold | 1.8 units | premium cards |
| Gem | +1 gem | 2.1 units | ornaments |
| Rubles | +5 rubles | 1.7 units | buy gap |
| Workshop bonus | Effect | Tempo | Calculator use |
|---|---|---|---|
| Basic | -1 basic need | +1.0 | discount |
| Coin | +3 rubles | +1.0 | buy power |
| Gem | +1 gem value | +2.1 | ornament |
| Delivery | +1 capacity | +1 action | load fix |
| Wild | swap material | +1.5 | gap cover |
| Tower plan | Card load | Resource target | Read |
|---|---|---|---|
| Small section | 1 card | 4 units | single action |
| Middle section | 2 cards | 7 units | needs setup |
| Upper section | 3 cards | 10 units | combo turn |
| Race finish | 4+ cards | 13+ units | plan buffer |
| Result band | Gap | Tempo read | Table action |
|---|---|---|---|
| Ready | 0 or less | deliver now | claim section |
| Close | 1 to 2 | one pickup | take sector |
| Stretch | 3 to 5 | combo needed | use workshop |
| Short | 6+ | too much | delay finish |
That’s not to say “Just use your tower card,” though; it’s more of a “Use your tower card now” card. The idea is to get your stuff into a section so that no one else go and blocks off that dice sector with their own goods.
There is always some tension between having plenty of goodies and knowing how to spend them. Maybe you have a pile of bricks but need both wood and stone for that top part, those red cubes will be nothing more than decor items at this point. The calculator takes all that random stuff you’ve got lying around and lets you know: Yes/No, do I think I’ll have room to finish off a section this turn? Know what you’re working with.
Plan Your Moves
Some raw materials is heavier than others in terms of build pressure. Wood, stone, bricks: They don’t all weigh the same. You’ll notice that stone isn’t as common on dice face. This makes it more difficult to locate, which sets the tempo of your builds. Even scarcer is gold, meaning it’s sometimes wise to hold onto a single gold piece for a premium card versus using it right away on a small upgrade. On the other end of the scale are gems, which also act as direct ingredients for ornaments; those cards that score you straight-up victory points without the need for delivery.
Enter the contents of your hand keeping this in mind: Is it possible you have a lot of money but little stone? Then your limiting factor isn’t money; it’s stone. But the actual strategy lies in the dice sector input. Because that is what stands out immediately, and it is what you should of know. The reference table on this page shows which sectors contribute each planning unit. For example, the gem sector isn’t going to be anything like the two units of progress from a brick sector. But it will be something else: ornament potential.
Sectors that fill your gaps are what you’re after if you’re trying for a delivery finish. Sectors that get the gem face is what you’re after if you’re chasing points. The calculator weighs those pickups. This lets you see if a single turn will close the gap between what you’ve got and what the tower wants. These modifiers shift the math dramaticly and make those workshop bonuses much more valuable since they shrink the gap you must bridge.
While it may seem insignificant on piece of paper to get a +1 bonus on delivery efficiency, it really does mean saving a full action which otherwise goes towards shifting cubes around the rondle. If you’re short by a single unit (or even a few) of some resource, then rubles becomes a safety valve. Three rubles tend to equate to buying one turn’s worth of progress, so this comes into play here. Spending coins is prudent when you need to pay a small amount to cover a rounding error. But spending them on building out an entire project is typically wasting them. You don’t want to rely on your cash reserves to do the bulk of your heavy lifting. Make your gold do the work.
The final check is delivery actions. You can’t build something unless you have actions remaining on your turn even if you have all the resources required for that section. A lot of people trip up in this area by saving up so many resource that they’re bursting at the seams only to find out they took the dice face instead of delivering goods and now they don’t have any more action. Does the output match your current action count? If the tempo reads say you’re short, you have two choices. You can accept that this section will have to wait until next round, or you can take a sector that awards additional capacity.
Red Cathedral is realy about planning how to align your inventory with the game state rather than just accumulating stuff. Don’t hoard anything except what’s put into an ornament; consider all furnitures temporary until they’re locked there. It’s not about having more of anything, but having the correct things when opportunity arises. If you learn the mechanics behind those inputs then the fear of missing out on a tower section dissapears. You will be able to anticipate your opponent’s move just by looking at the board before he picks up the dice.