Caylus Favor Track Calculator
Choose a castle window, current marker columns, and immediate tactical need to rank the four royal favor lines for your next Caylus favor phase.
| Favor line | Column 1 | Column 2 | Column 3 | Column 4 | Column 5 |
|---|---|---|---|---|---|
| Prestige points | 1 VP | 2 VP | 3 VP | 4 VP | 5 VP |
| Deniers | 3 deniers | 4 deniers | 5 deniers | 6 deniers | 7 deniers |
| Resource cubes | 1 food | 1 wood or stone | 1 cloth | Exchange 1 cube for 2 non-gold cubes | 1 gold |
| Construction | No effect | Carpenter: wood building, 1 wood less | Mason: stone building, 1 stone less | Lawyer: residence for 1 cloth | Architect: prestige building |
| Castle section | No houses | Small presence | Strong presence | Majority pressure |
|---|---|---|---|---|
| Dungeon | -2 VP | 1 house: no favor | 2+ houses: 1 favor | Cap still columns 1-2 during scoring |
| Walls | -3 VP | 2 houses: 1 favor | 3-4 houses: 2 favors | 5+ houses: 3 favors |
| Towers | -4 VP | 2-3 houses: 1 favor | 4-5 houses: 2 favors | 6+ houses: 3 favors |
| Source | Typical favors | Timing note | Calculator warning |
|---|---|---|---|
| Jousting Field | 1 favor | Requires cloth and denier before the Joust activates | Great for pushing column 2 before Dungeon scoring |
| Most castle batches | 1 favor | Awarded after castle construction order is resolved | Often pairs with resource or construction tempo |
| Castle scoring | 0-3 favors | Based on houses in Dungeon, Walls, or Towers | Multiple favors must split across different lines |
| Prestige buildings | 1-2 favors | Church, Statue, and Monument can award favors | Do not chain same-phase construction line use |
| Need | Favor line to prefer | Column goal | Why it matters |
|---|---|---|---|
| Immediate points | Prestige points | Any legal column | It converts cleanly and never depends on board availability. |
| Worker pressure | Deniers | Column 2+ | Cash protects later placements and provost control. |
| Missing cube | Resource cubes | Column 2-5 | Targeted cubes finish castle batches and unlock gold. |
| City development | Construction | Column 3-5 | Building favors bypass occupied or absent construction spaces. |
Another thing that really bugs me is standing in the Jousting Field with my cloth in hand waiting to purchase a favor because I realize my marker is stuck at column one since Dungeon hasn’t scored yet.
No, the game doesn’t care what you intend to use the gold for or how many points you’ll get. All Caylus cares about is state of the board. And the favor track isn’t just a reward system. It’s a timing puzzle. Sometimes you’re able to take a favor when you need it. Other times, not so much. You have to learn when.
The Favor Track Timing Puzzle
Once you put down your starting markers and know what you need tactically at any given moment, the calculator above does the math for you, so you don’t always need to refer back to castle section rules.
And while most people think of the four favor lines as their own little minigame, chasing prestige points because hey, they’re pretty; or amassing deniers because cash is where it’s comfy, those lines actualy interact with the castle scoring phases in ways that are easy to miss until it is too late. Those lines also intersect with the castle scoring phases in subtle ways that can be difficult to understand until it is too late.
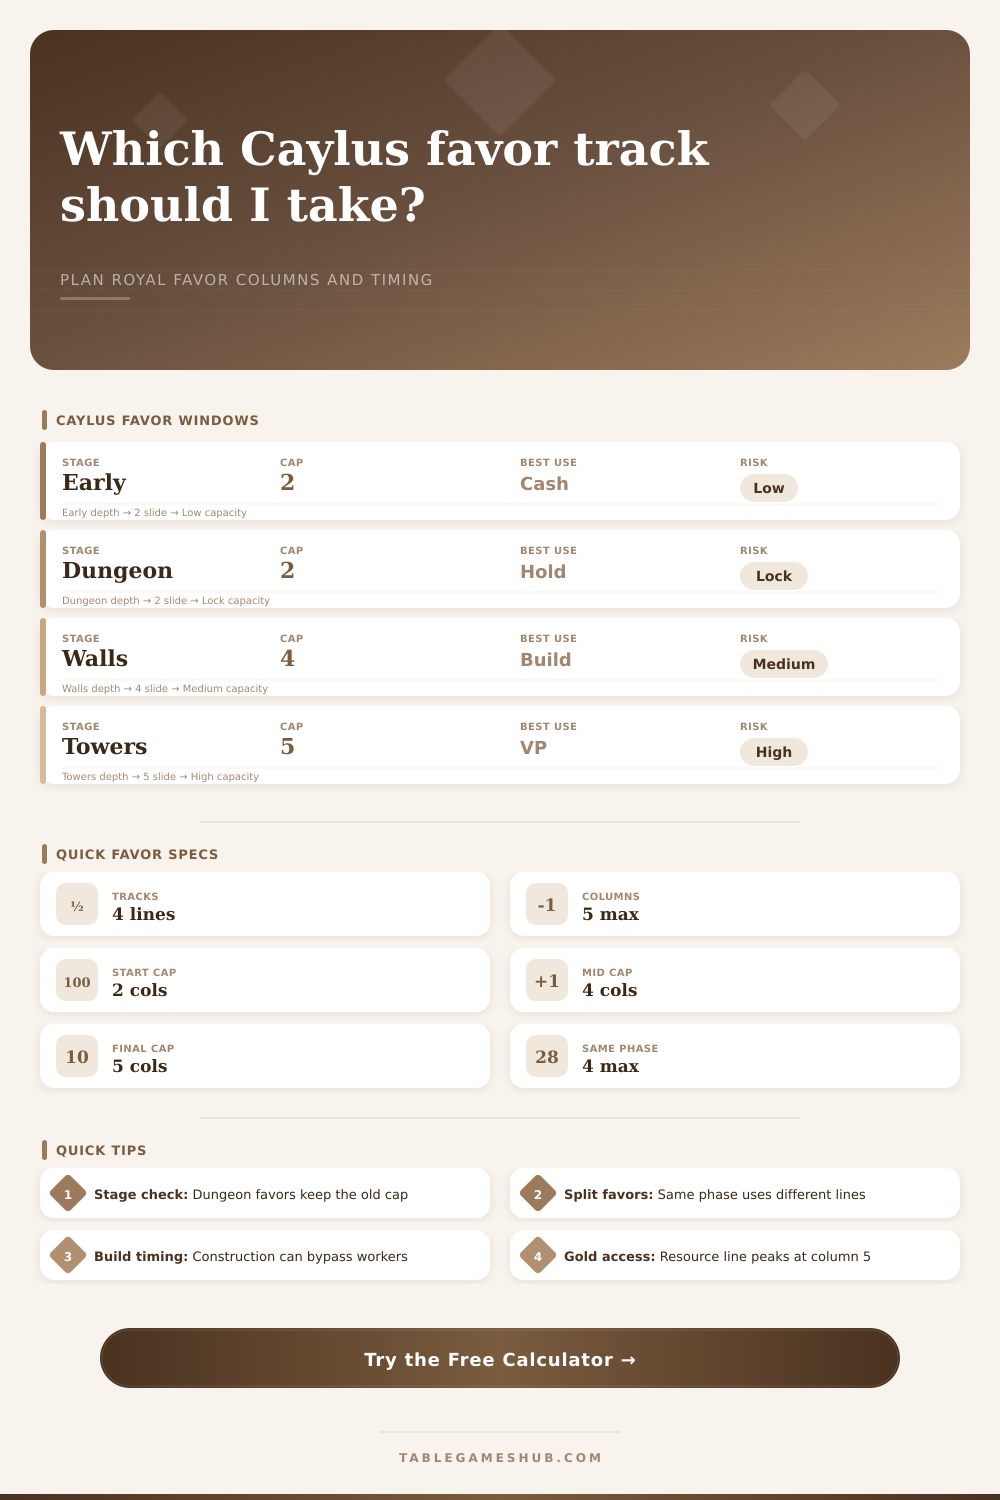
That cap on columns is the key constraint. You are locked into columns one and two when its Dungeon time. Want to get a gold cube? You need to be on column five by then. Nope! You have to wait until Tower or Wall scores, which means losing another turn. Lose a turn in Caylus? You usually lose the game.
This understanding of the time gate alters placement of your workers. Since you know for certain you’ll be scoring those Walls, you might focus on places that could open up next column of the favor track. This is better than rushing to take highest-dollar building.
It’s all laid out nicely in the reference table on the page, which details that as castle sections are scored the cap grows from two columns to four and eventually to five. It is a simple mechanic, but it makes you plan ahead multiple turns. Do I really need the favor I desire, or is it even legal yet?
Another issue is one of cash flow. A lot of players blow off the denier track and don’t get to it until they’re broke. At that point, they can no longer climb up the columns because they already spent all the favors that would of helped them do so on something else.
Those first few columns provides you with three or four deniers. Doesn’t seem like much, but early in the game, it could be the difference between placing a worker on a resource-rich spot versus having someone else do so. The error here is assuming you’ll always be able to produce cash down the road. You won’t. If you don’t have buildings producing resources and marketplace is empty, tough luck.
Then there are the wild cards: The construction favors. If your worker’s spot is filled (or doesn’t exist), these let you place a house anyway, which also circumvents the typical traffic jam in the first and last positions on the board. The catch? These only become available once you’re farther down the track. To get benefits of having an architect or lawyer, you have to reach either column three or four on the construction line.
This isn’t something you can rush. There’s a tradeoff here, between getting a house now versus gaining benefits later. Speed vs. Power.
So all this comes down to being flexible with the favor track. Good players don’t lock into one thing and stick with it throughout the game. They change depending on what other people try to do and what the board provide them. Maybe somebody is focusing on the prestige track and locking out some of those markers so I’ll go resources instead. Or maybe the castle scoring opens up higher columns and lets me get some points, then I’m pushing hard at that. It’s a back and forth of opportunity versus restrictions. Play the phase that you’re in, not the phase you want to be in.
Ultimately, the whole point isn’t to have markers on the track. It’s to have markers on the track that benefit you or hurt your opponent as much as possible within the rules. And that is the difference between playing and winning. You can’t disrespect the gates because they will shut on you.